If you develop applications for a living, you will be the author of many bugs over the course of your career. One of the challenges of fixing bugs is the ability to reproduce the issue. The easiest way to do this is to see the bug in its failed state. But, when bugs are found upstream, that usually means tying up environments until the developer can “come to your desk” and take a look at the environment to triage the issue.
The Delphix DDP allows you save and share data state between data pods. This allows us to treat data as code: cloning and branching as needed. When you can get the exact state of data you need , on demand, your environments and operations are no longer held hostage by data.
In the last scene, we saved the data state of the failed test in our Test data pod. Though we realize this situation
would be simple to recreate manually, in this scene we are going to “pause” the current
data in our Develop data pod, and replace it with the data from the bug bookmark that was
automatically created in the last scene.
YOUR STEPS FOR THIS SCENE:
- Bring the Delphix Engine tab to the foreground
- If you are still logged in as qa, then logout
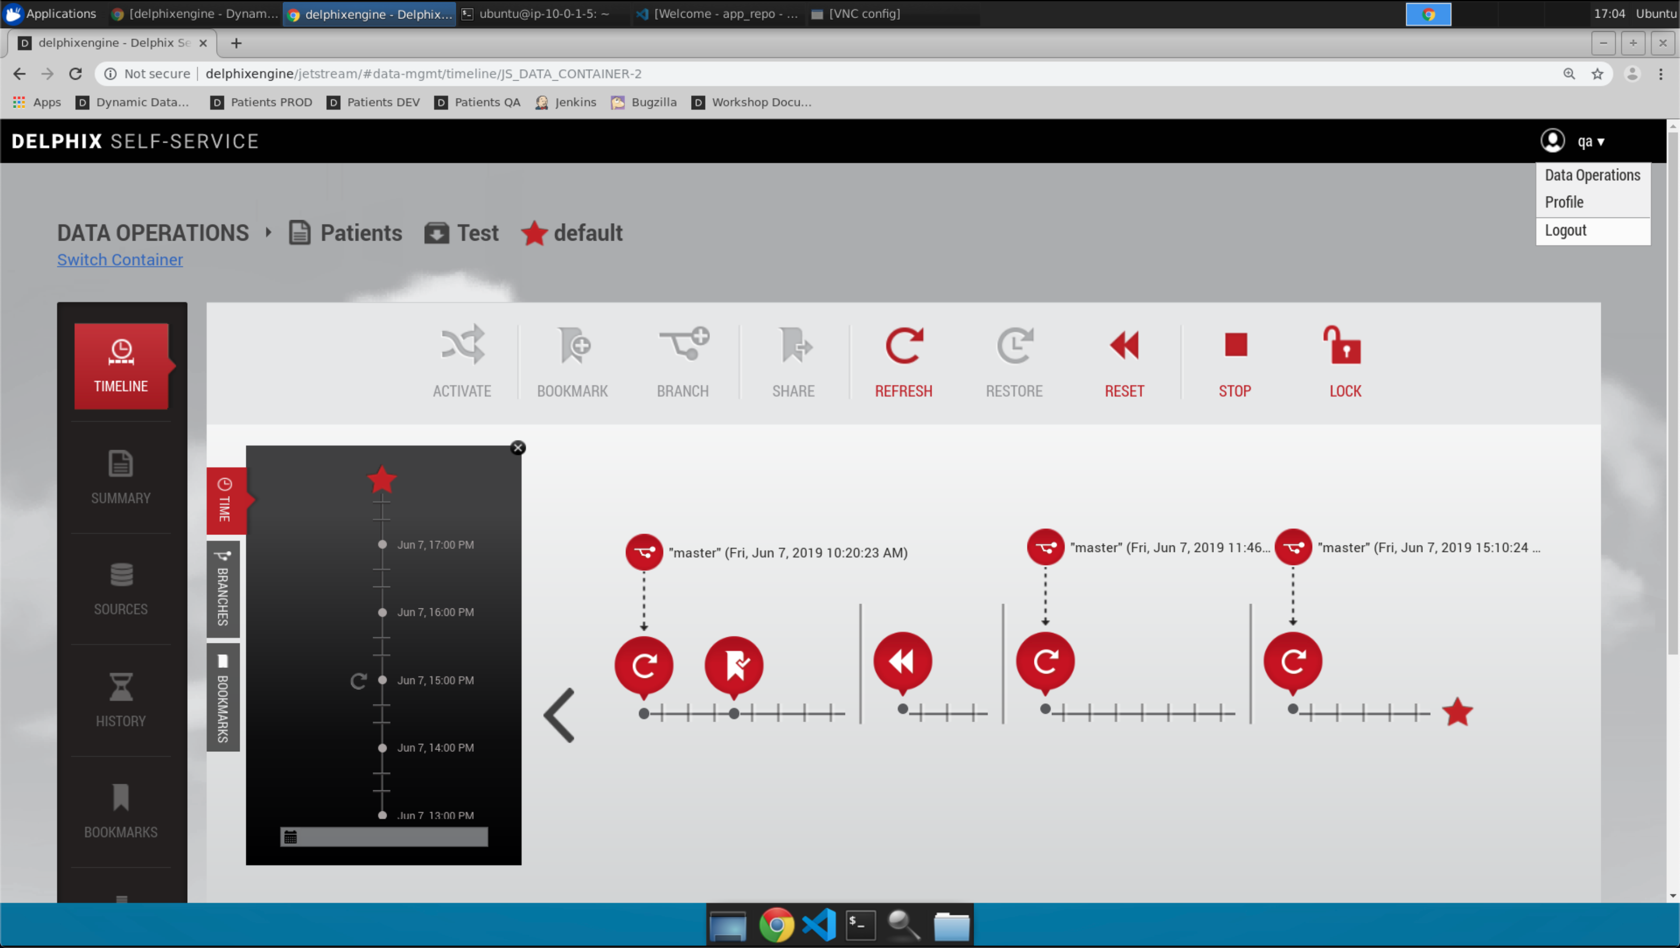
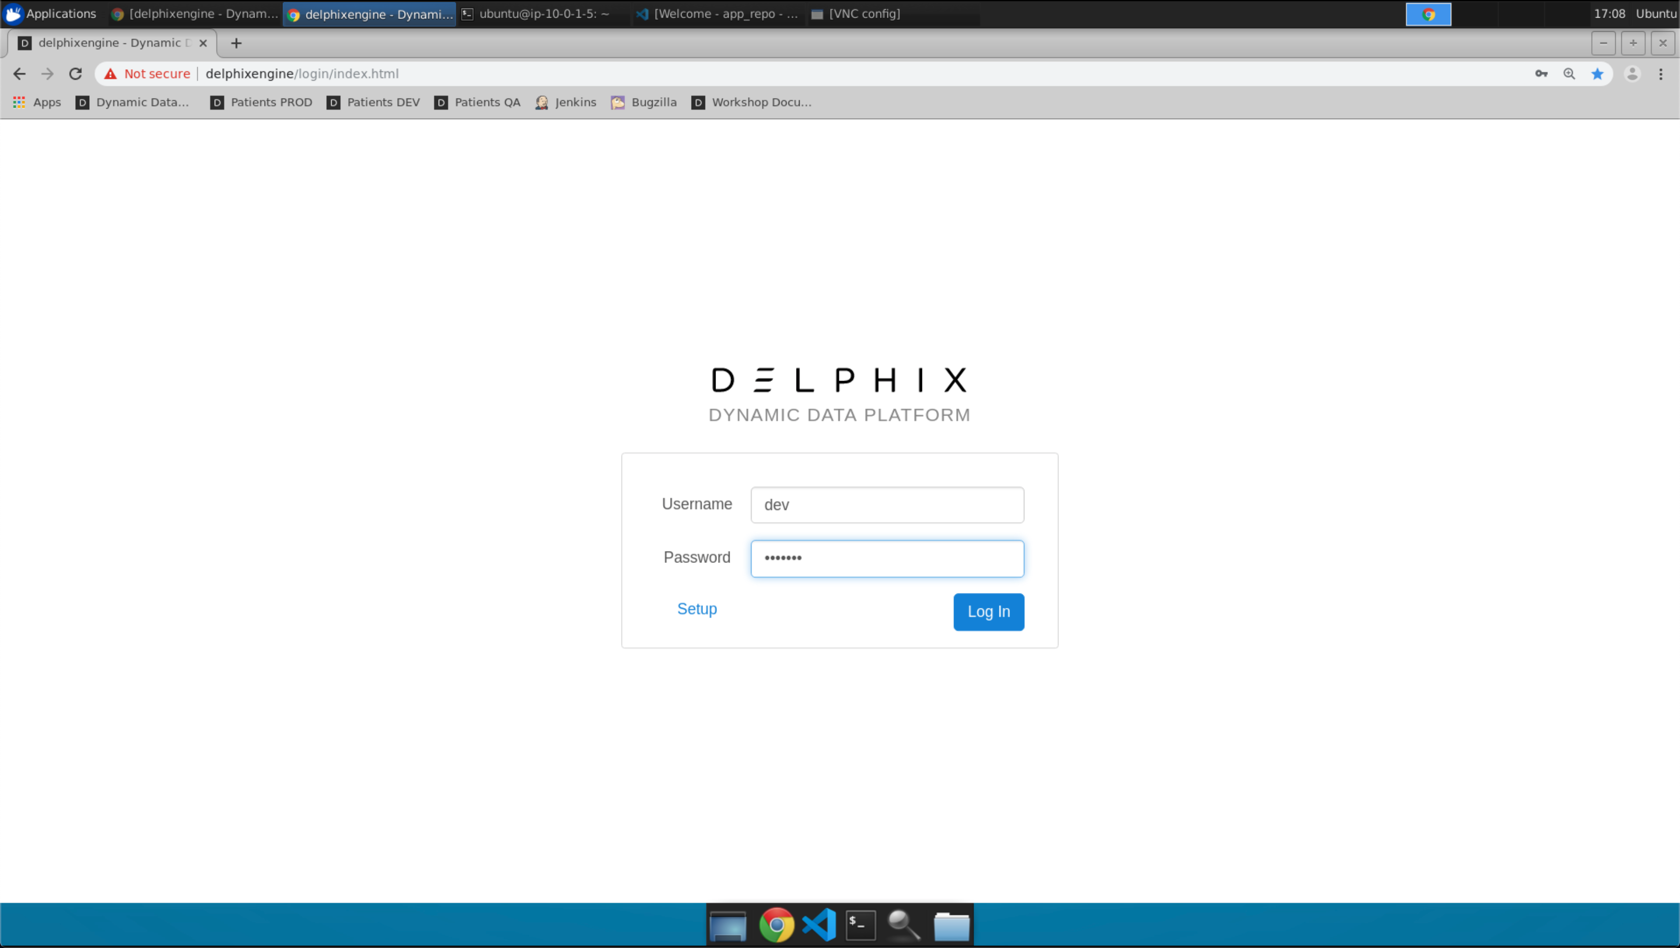
- Login as the dev user. The password is delphix
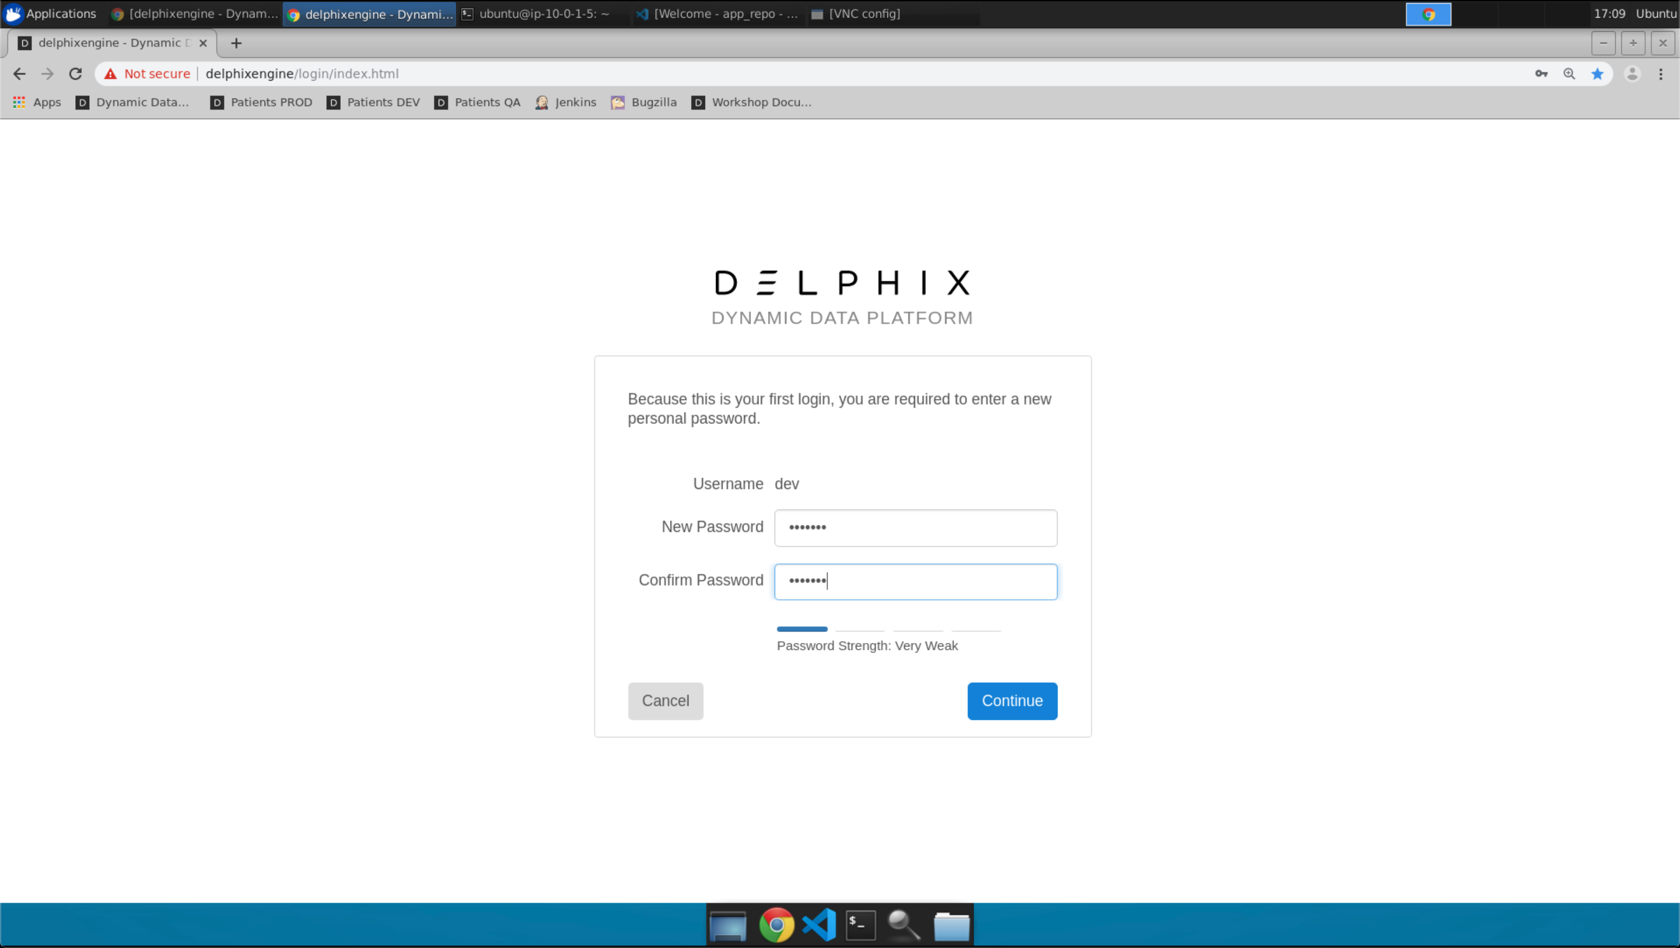
- If this is your first login, you will be prompted to change the password. Set the password to delphix
- You should now be in the Data Operations screen. Click on
Developdata pod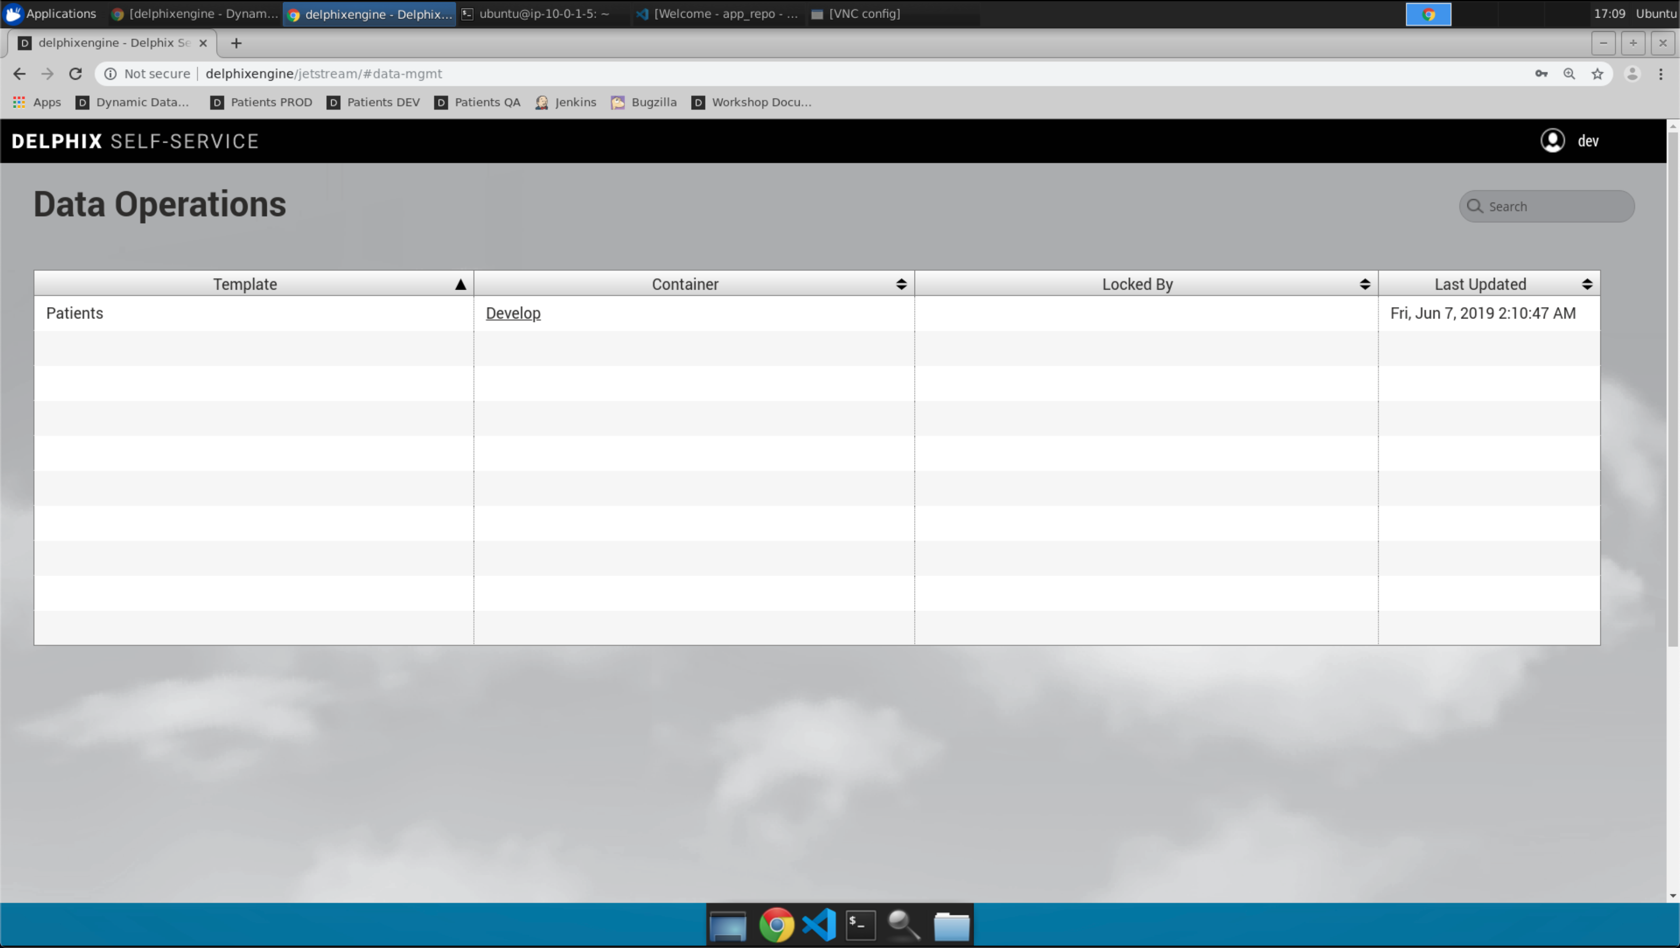
- You should now see the timeline for
Developdata pod. Click on the Bookmarks button.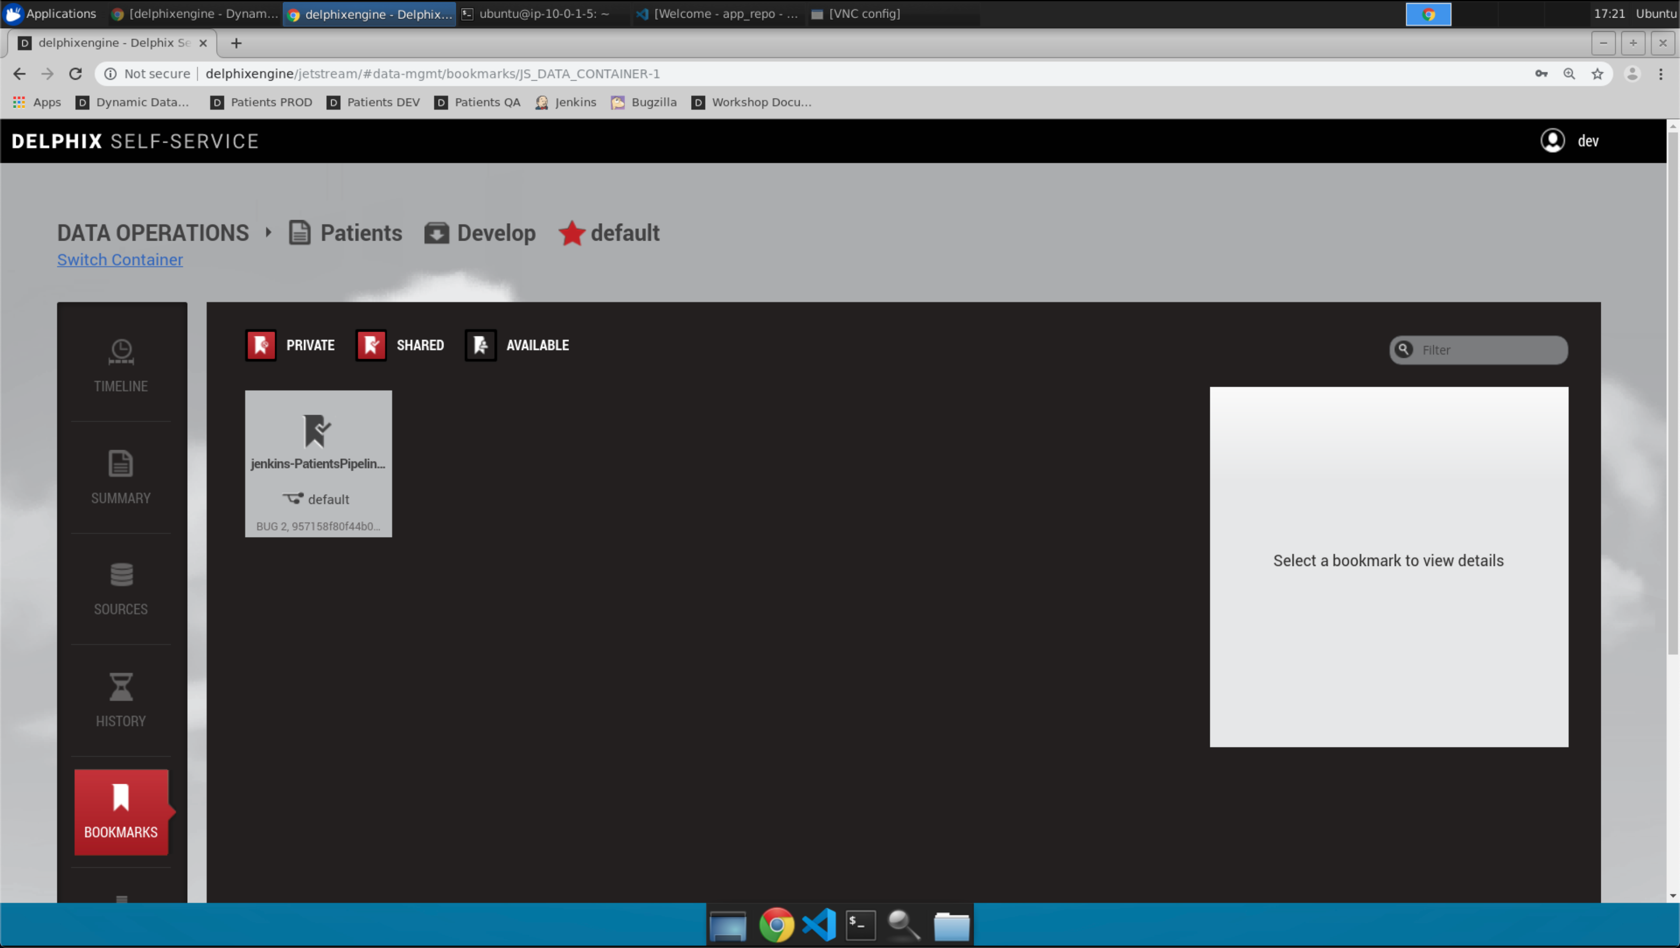
- By default, you’ll only see the bookmark that was automatically generated when our initial build failed (column name). Click Available.
- You should now see bookmarks that have been shared with you from other data pods.
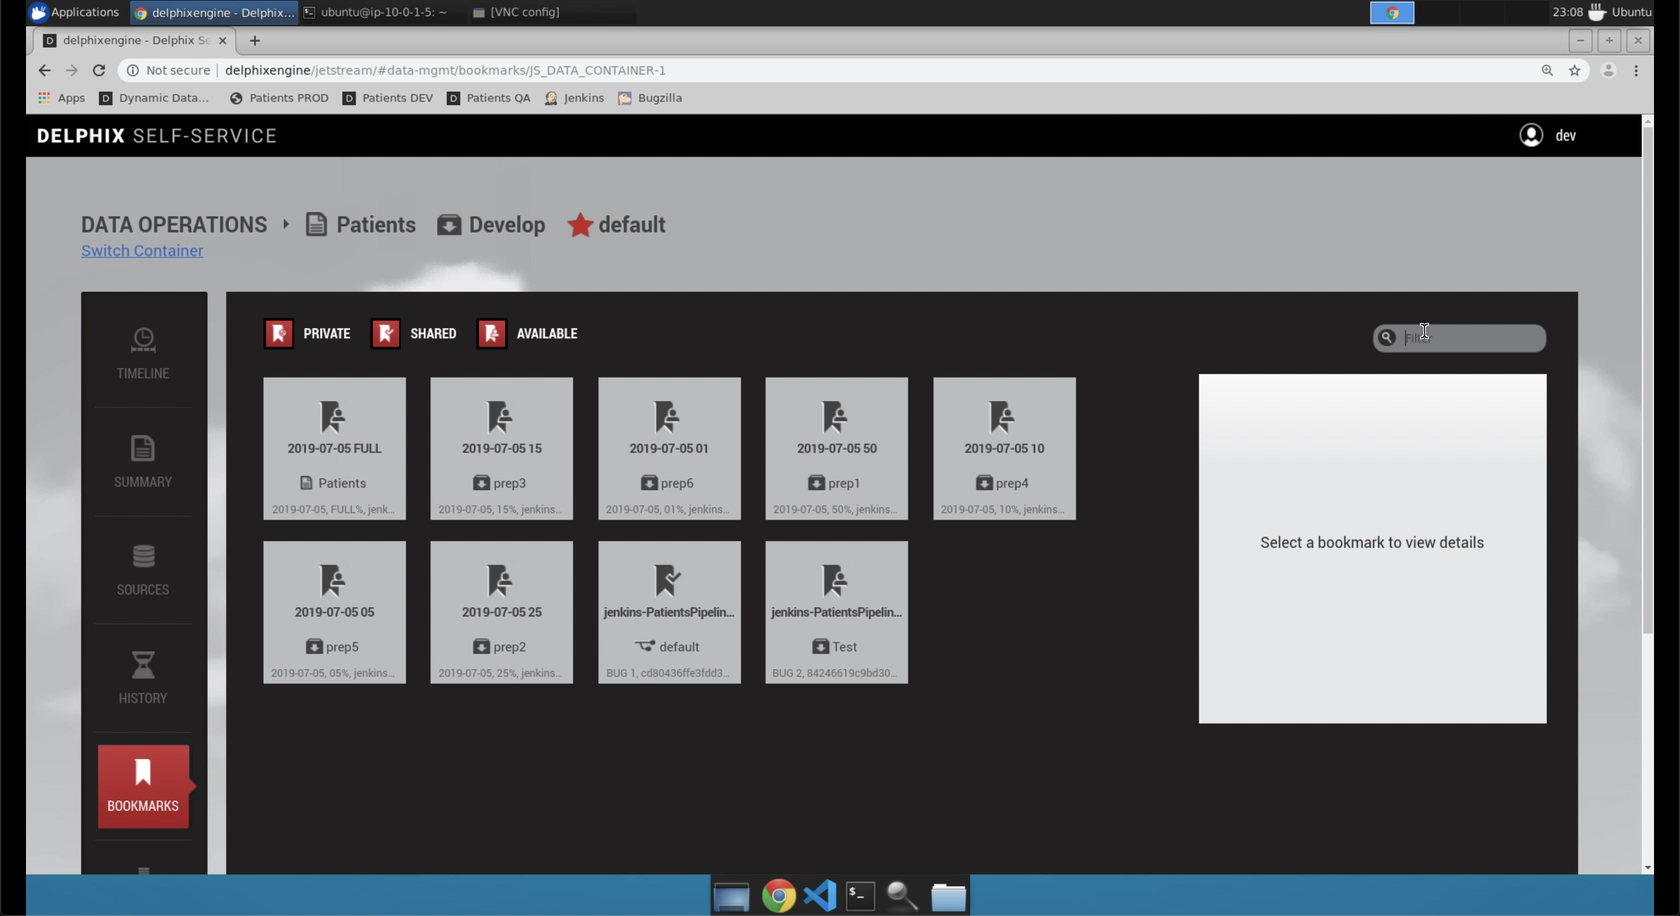
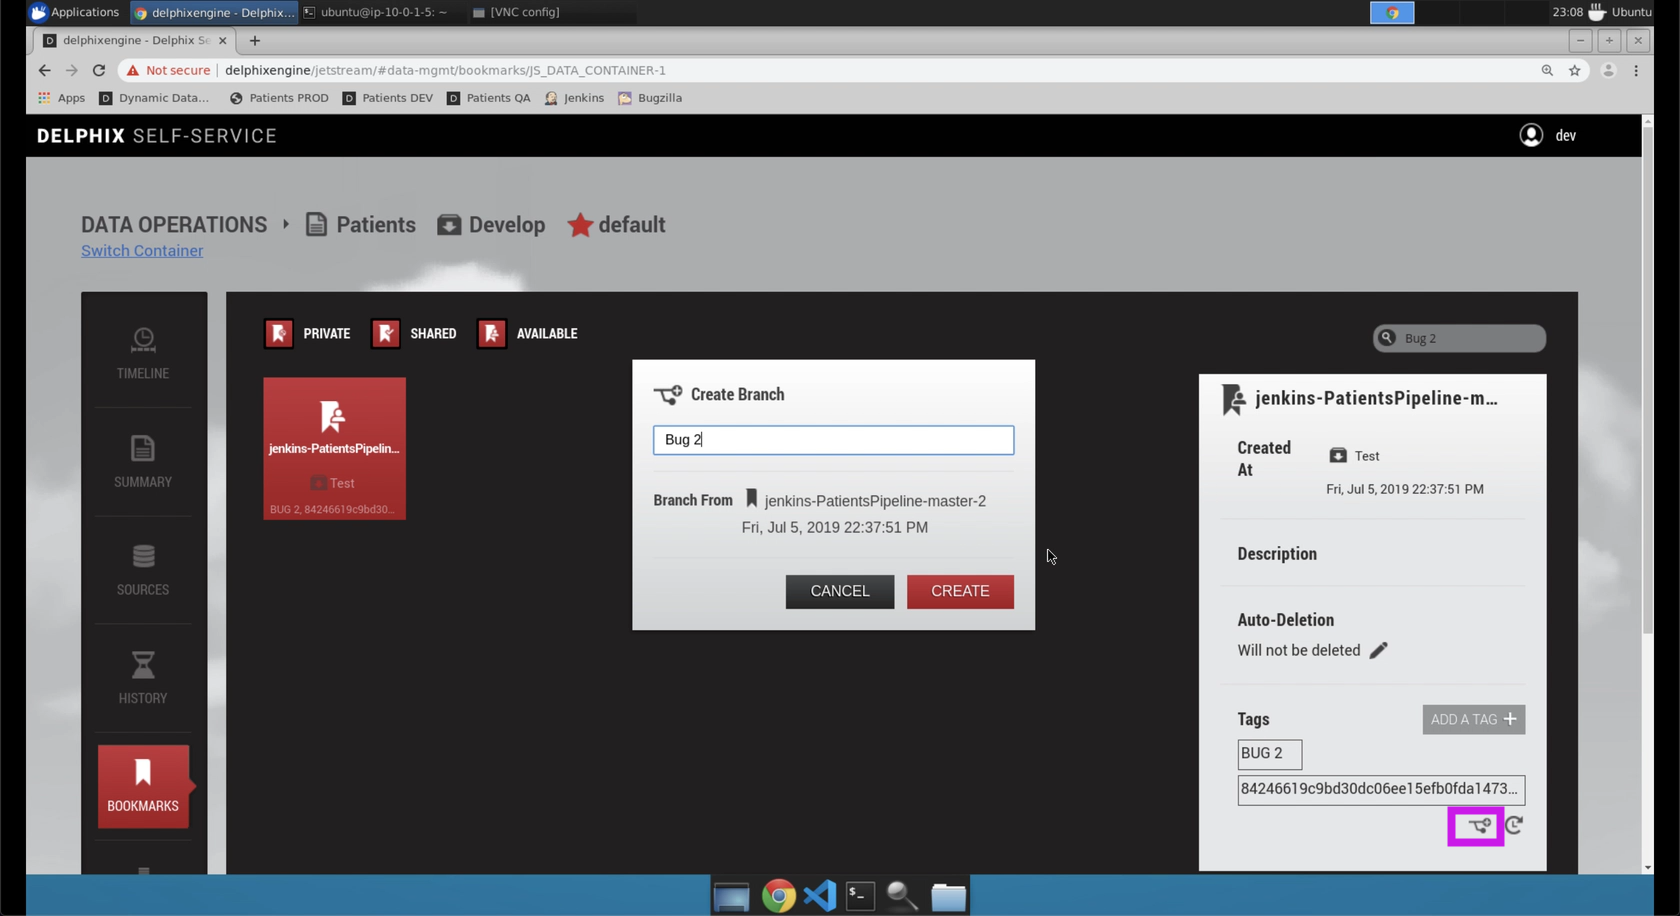
- Bookmarks are searchable. Search for the bookmark that corresponds to your bug or test from Act I. In the example below, my bug is Bug 3.
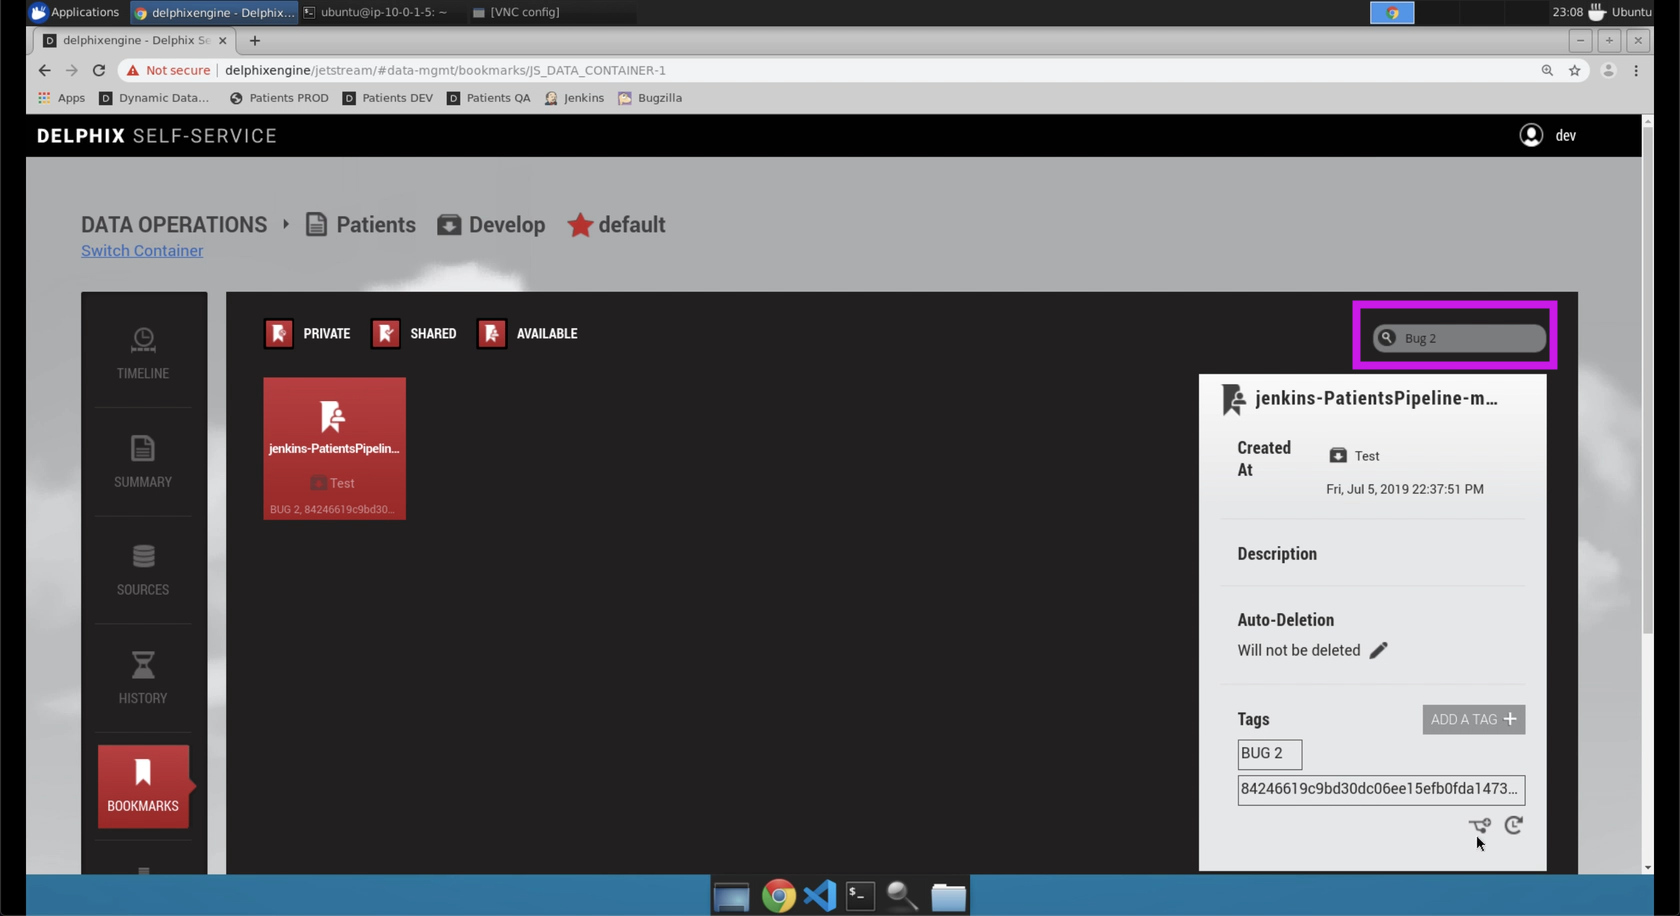
- Click the boomark.
- Click the branch icon (purple box, below)
- Name the branch after your bug, ex.
bug 3 - Click Create.
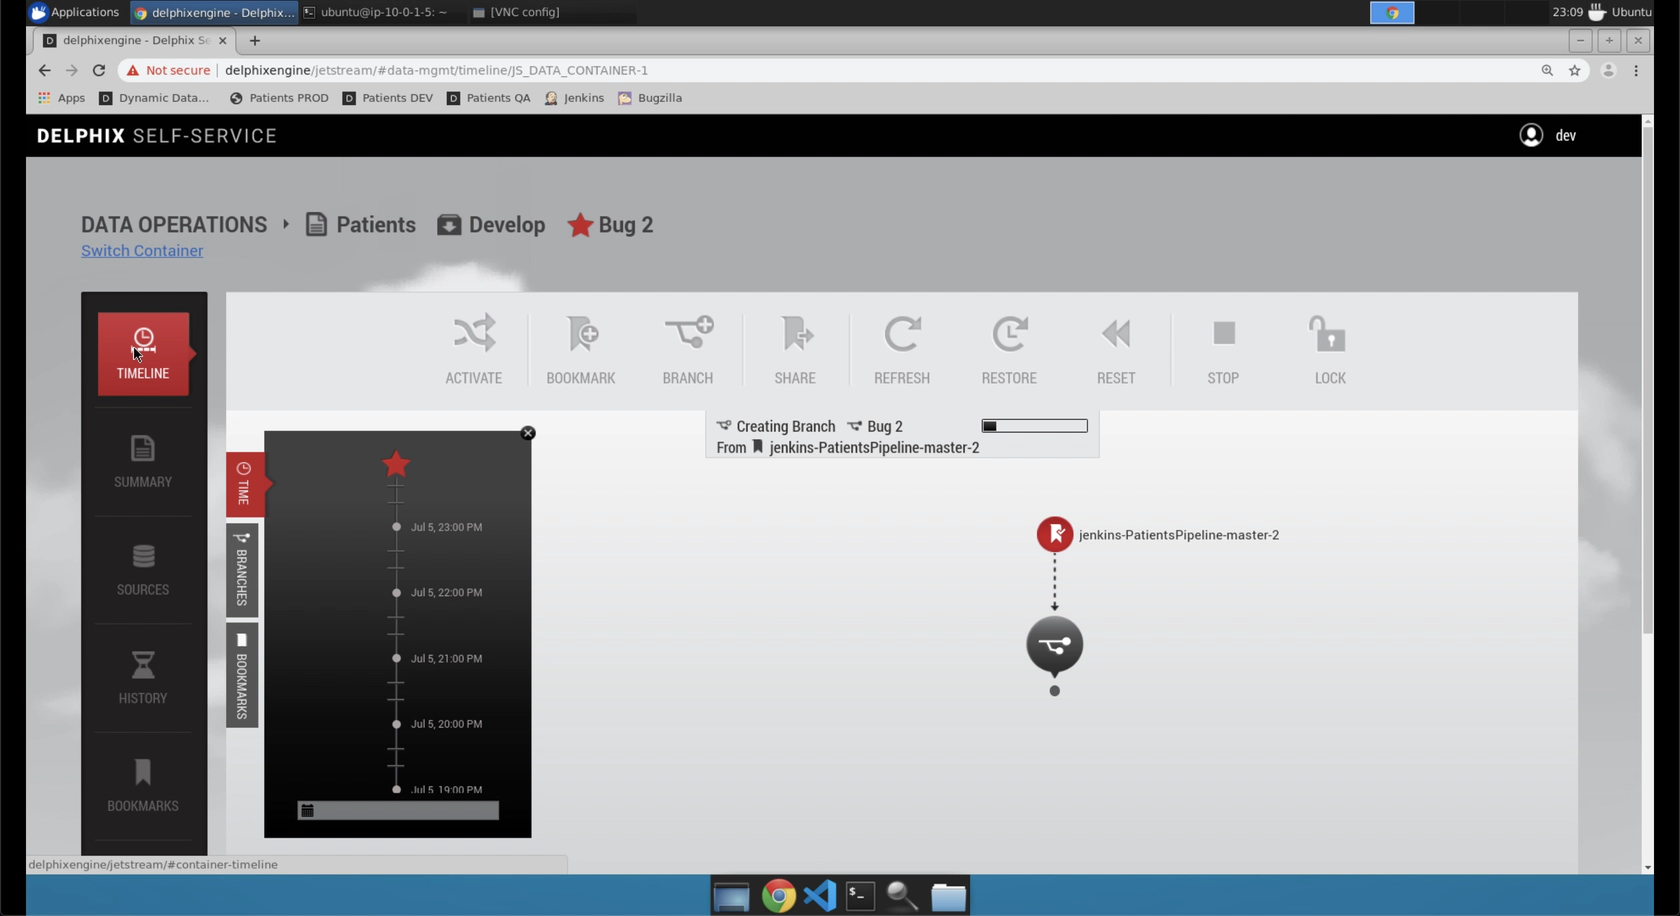
- Click Timeline.
- You will now see the Creating Branch progress bar. After completion, proceed to the next step.
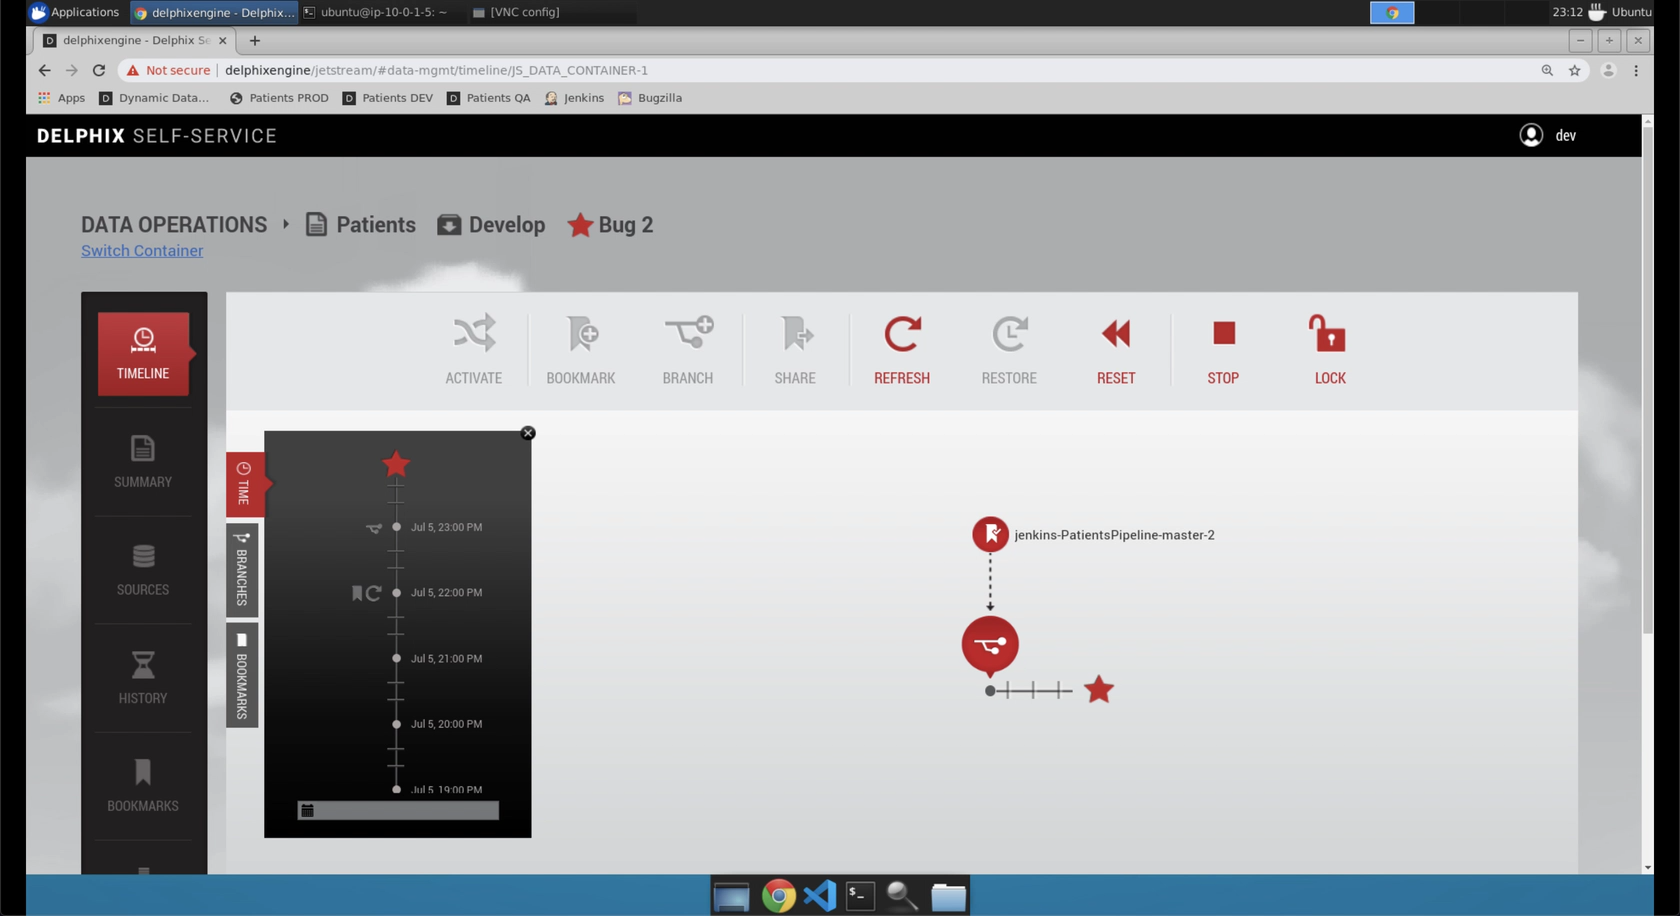
- When it is complete, you will see the name of your new branch across the top and you will see that the timeline of the data pod starts from the bookmark you had previously selected.
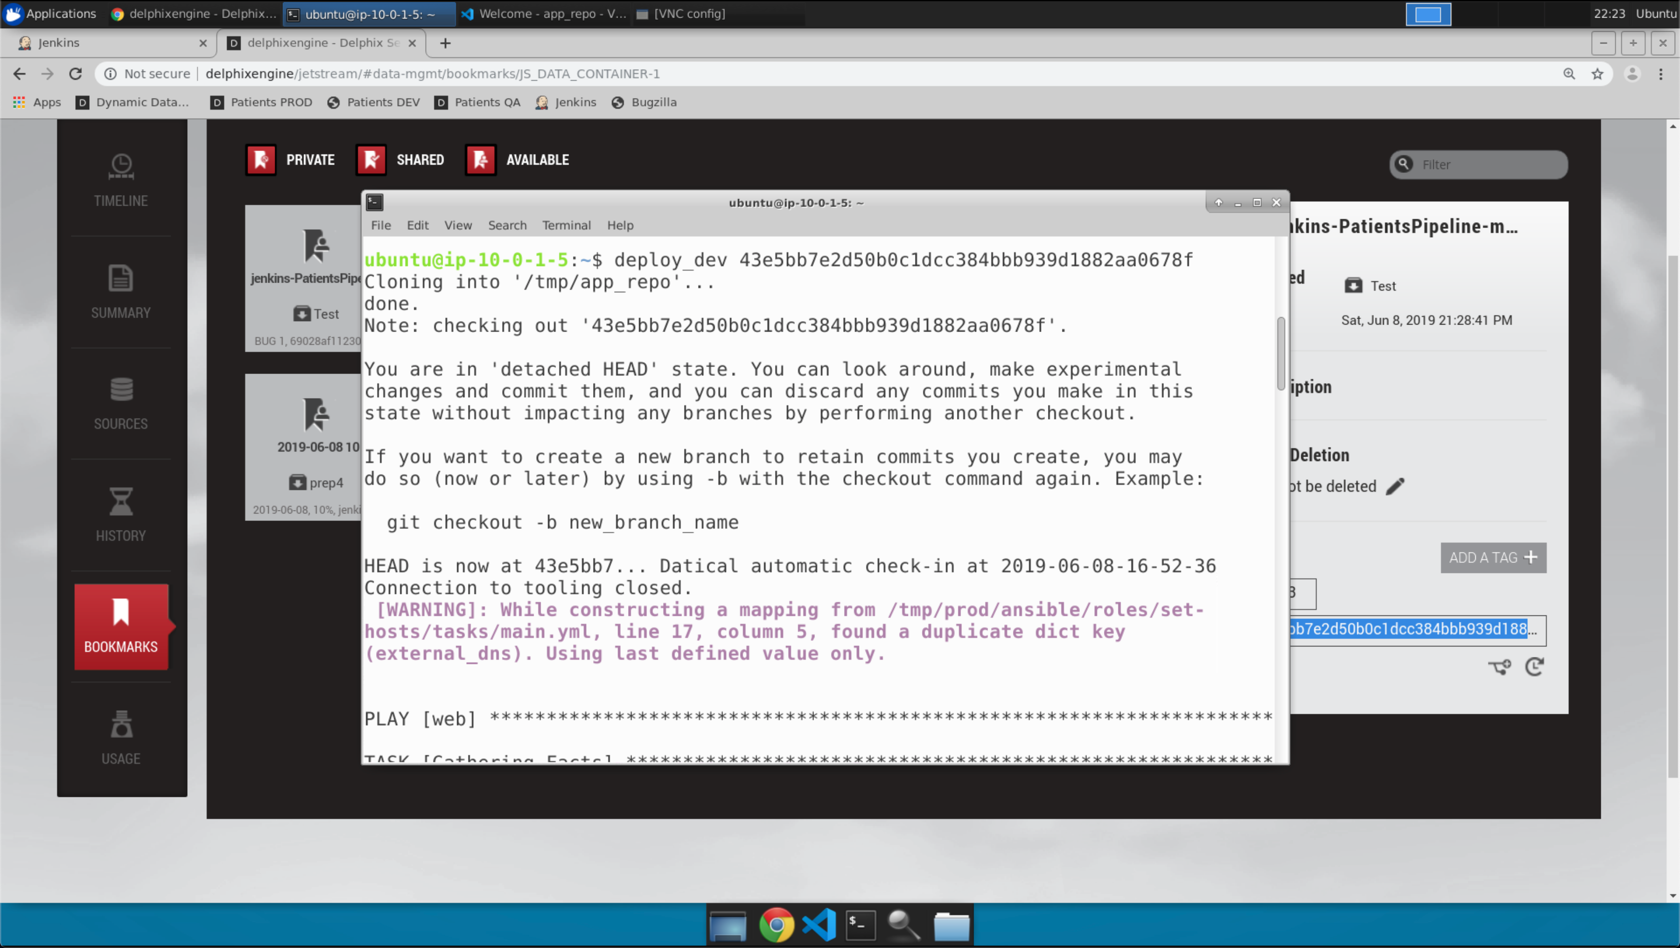
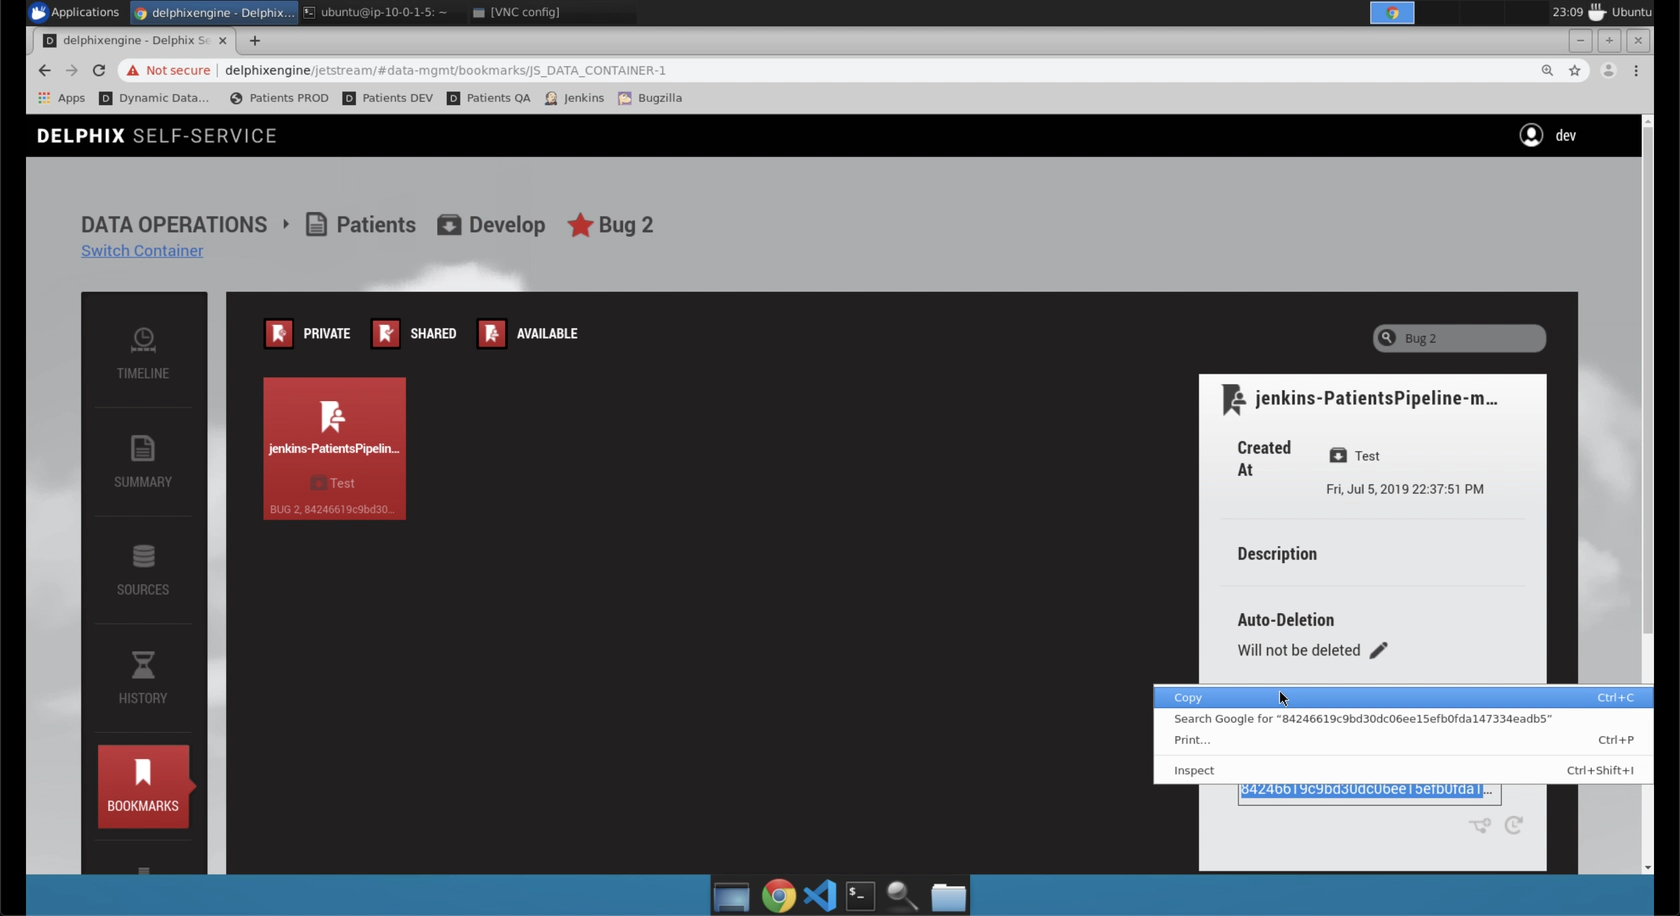
- Go back to the bookmark and copy the git hash from the tag to your clipboard
- Open a terminal window and enter
deploy_dev <git commit hash>.