For this workshop we have provided two modalities to make, view, and process our code changes. If you are more of a graphical interface user, then you can follow the path using VS Code. If you are a command-line user, then you can follow the path using the terminal & git. You will follow either the VS Code steps or the git steps. You will not do both.
If you will be using VS Code, use the VS Code icon on the desktop to launch VS Code. This may take a few moments to load.
As we covered before, our initial changes to add the notes functionality have been pre-staged, for your convenience.
YOUR STEPS FOR THIS SCENE
- Launch VS Code, bring it to the foreground, and click on the Source Control Button (in yellow square, below)
- Enter a commit message, anything will do (i.e. “Notes Field”)
- Click the checkmark icon to commit the changes (in orange circle, below).
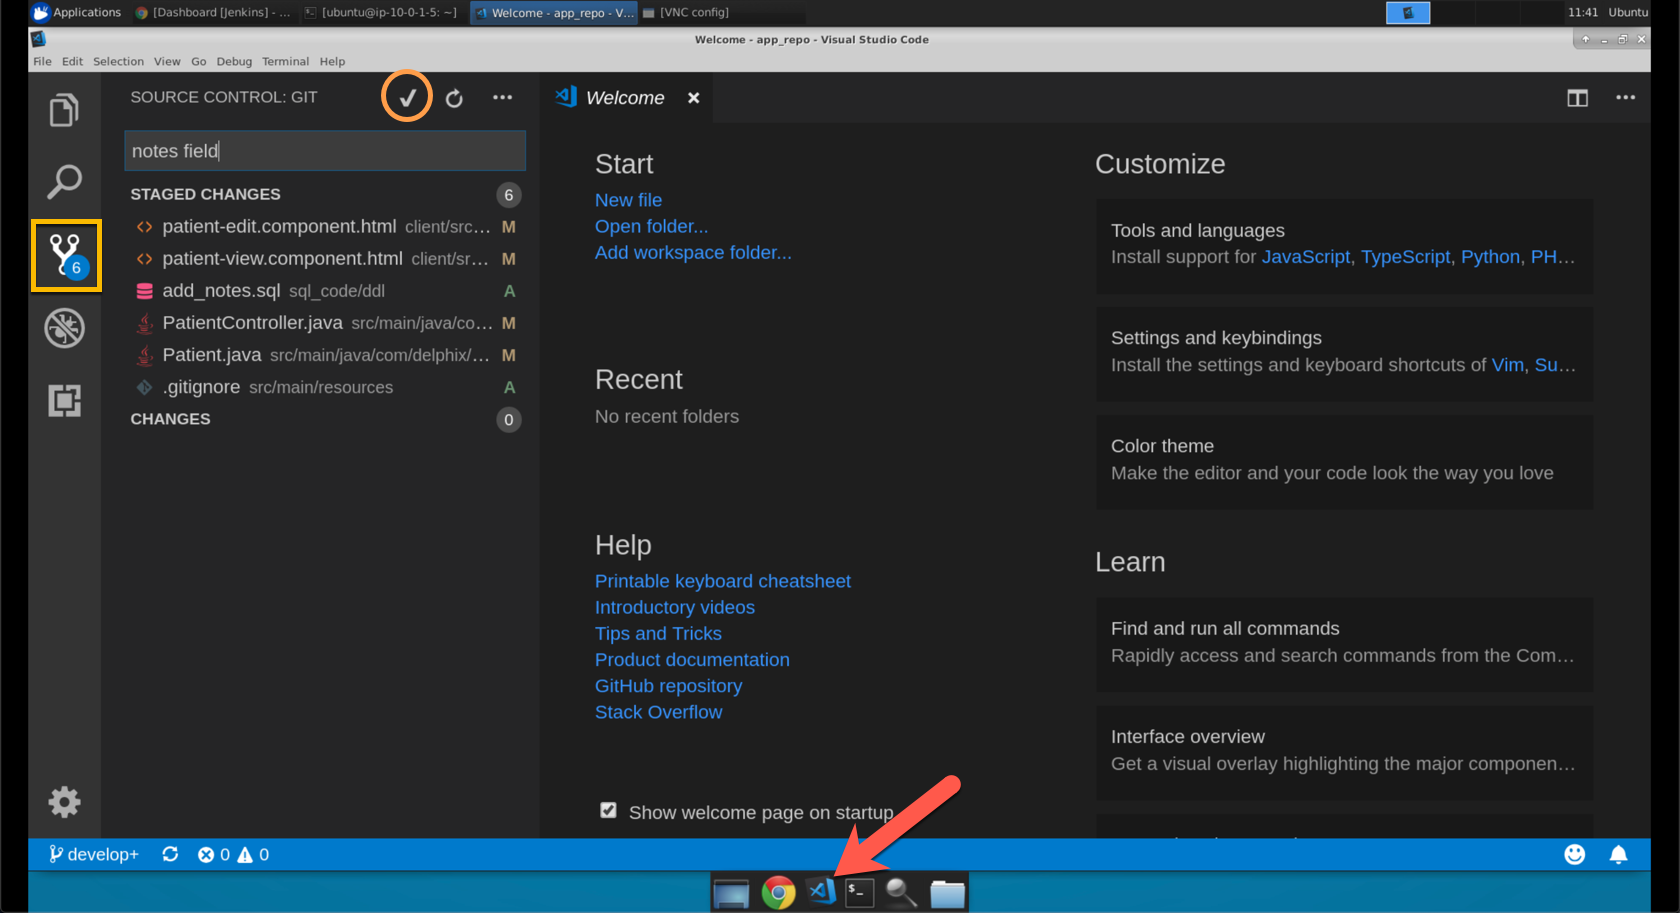
- Now push the changes. You can do that by either clicking sync icon across the bottom (in yellow square, below) OR by using the
more actionsmenu and selectingpush(highlighted in blue, below)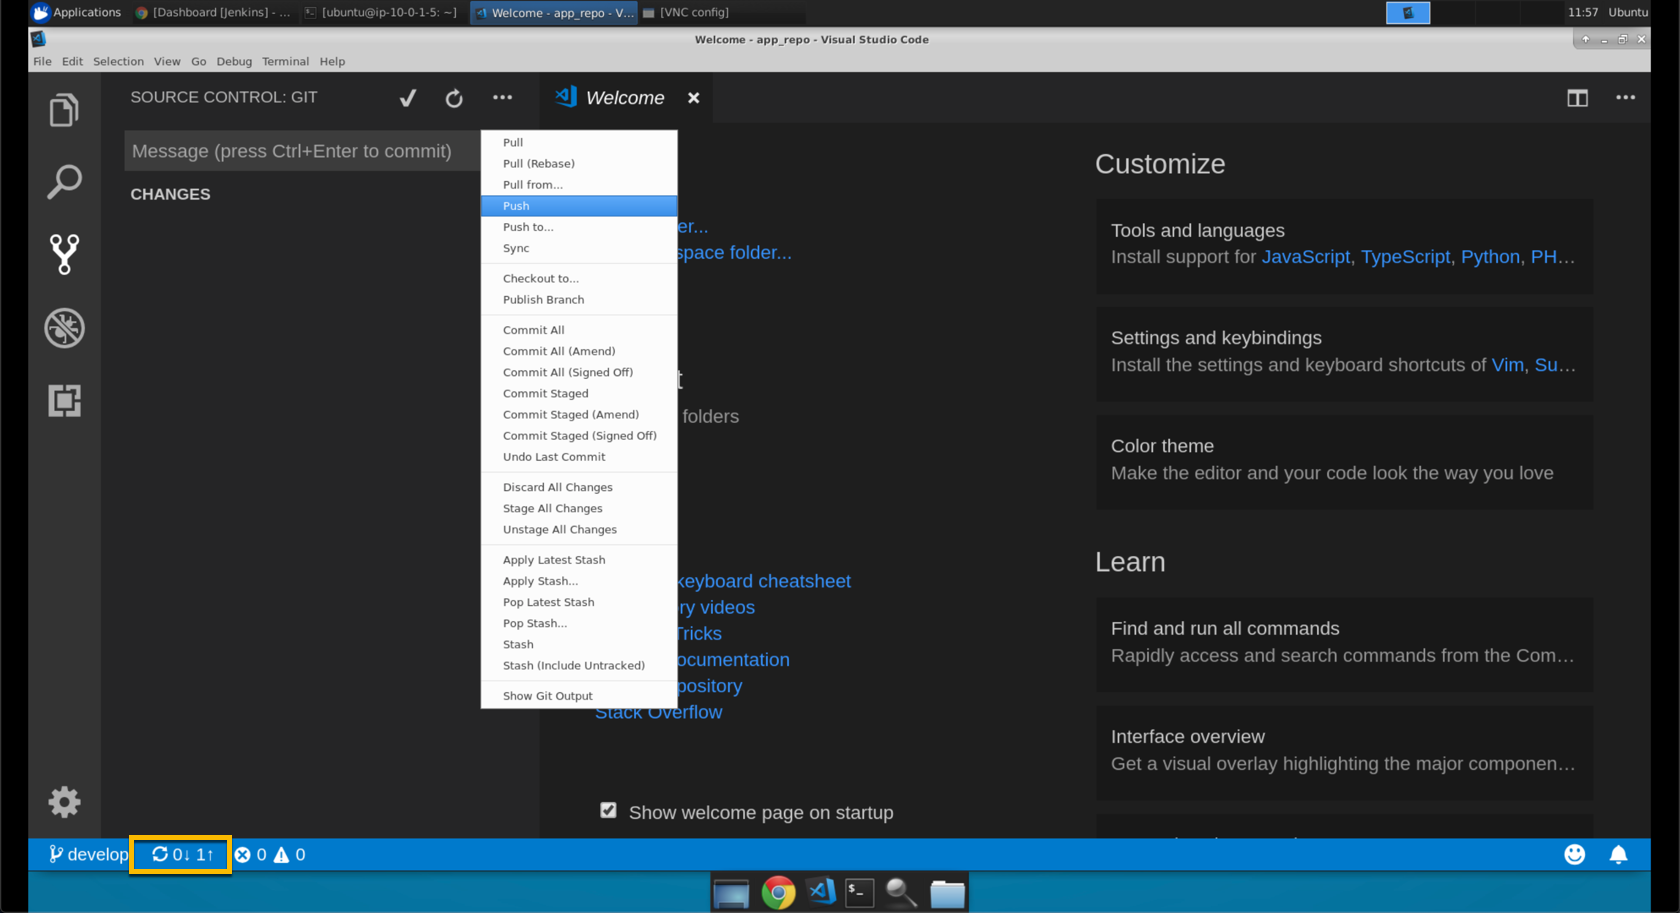
- Click ‘OK’ if you are prompted to confirm.
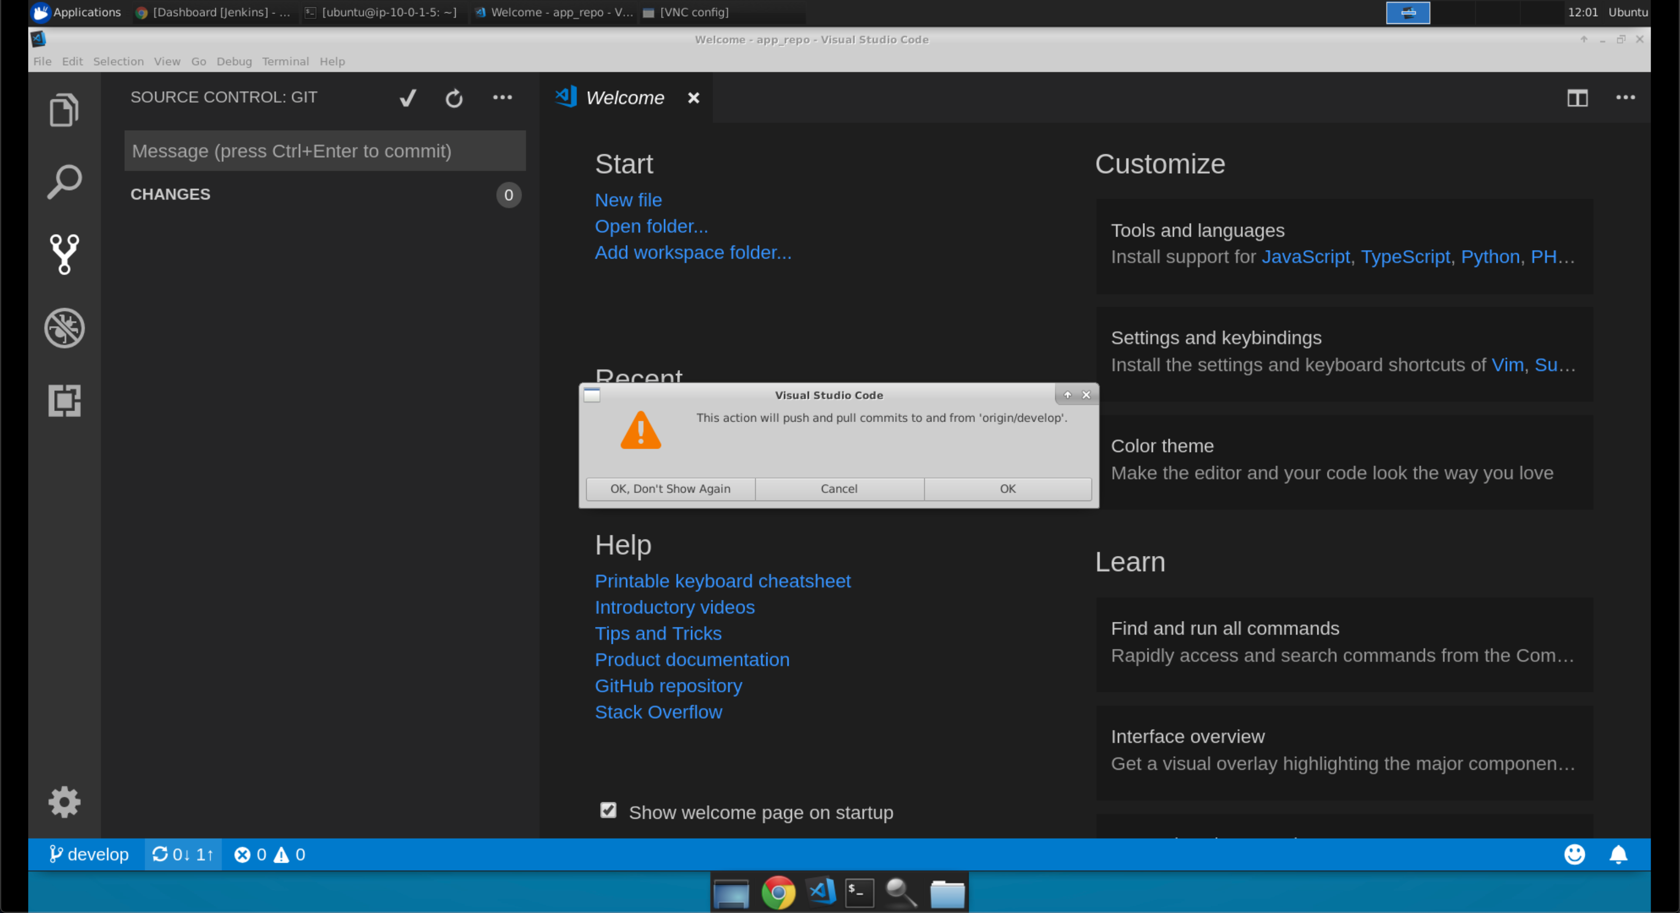
- If you are prompted to
periodically run 'git fetch', clickNo.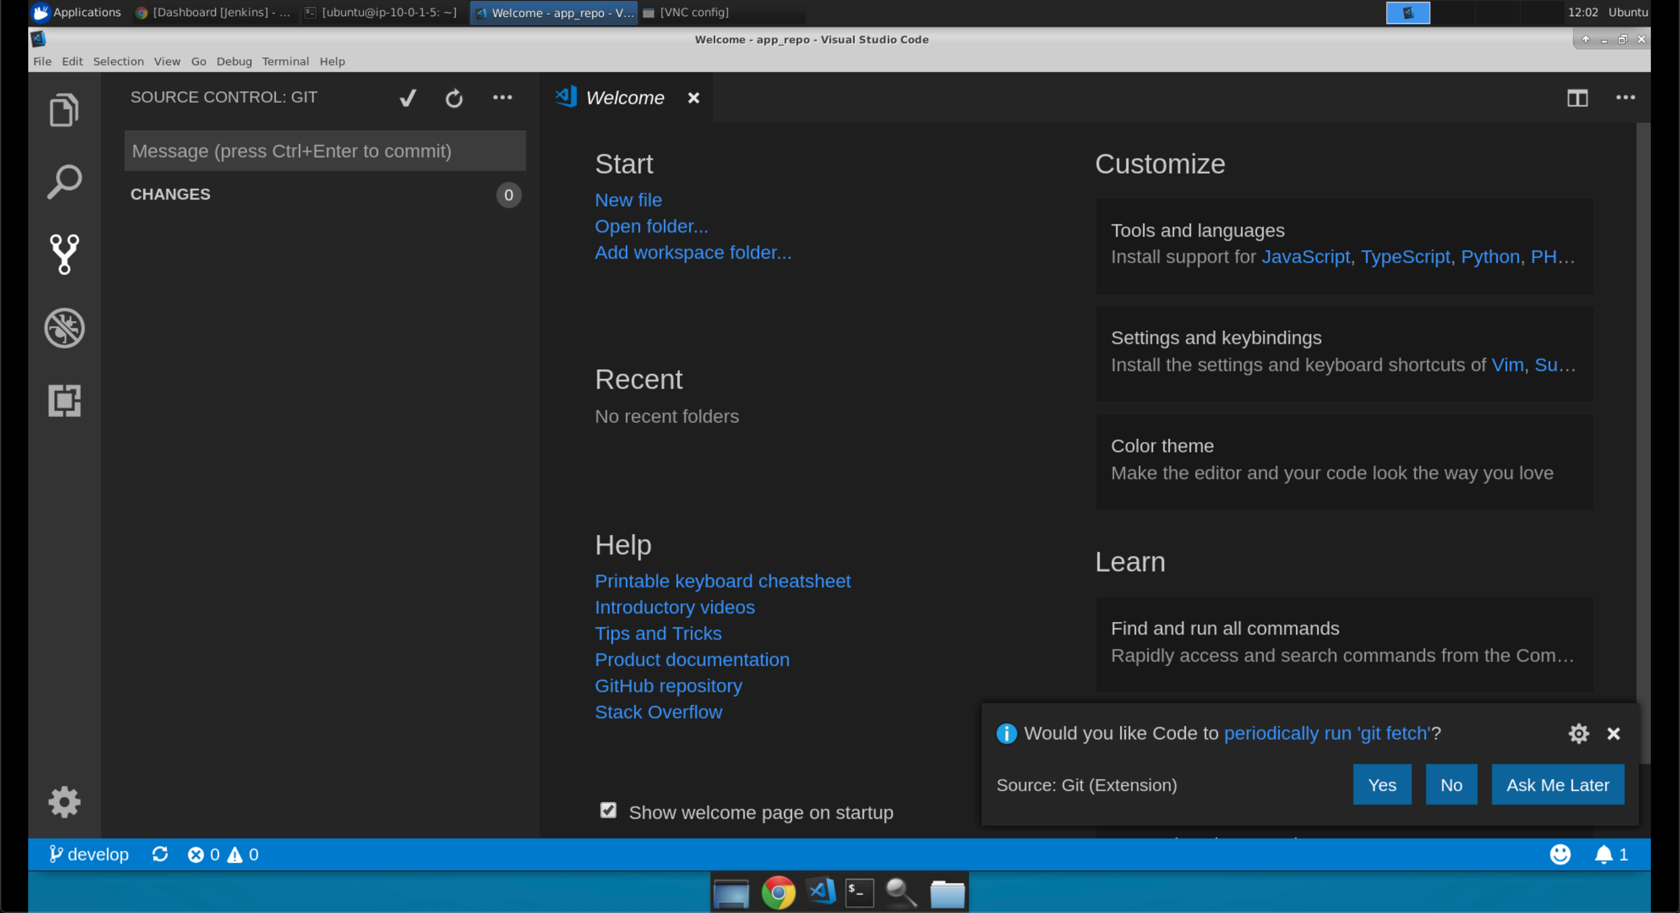
- If you haven’t already done so, open a terminal and navigate to the
~/git/app_repodirectory.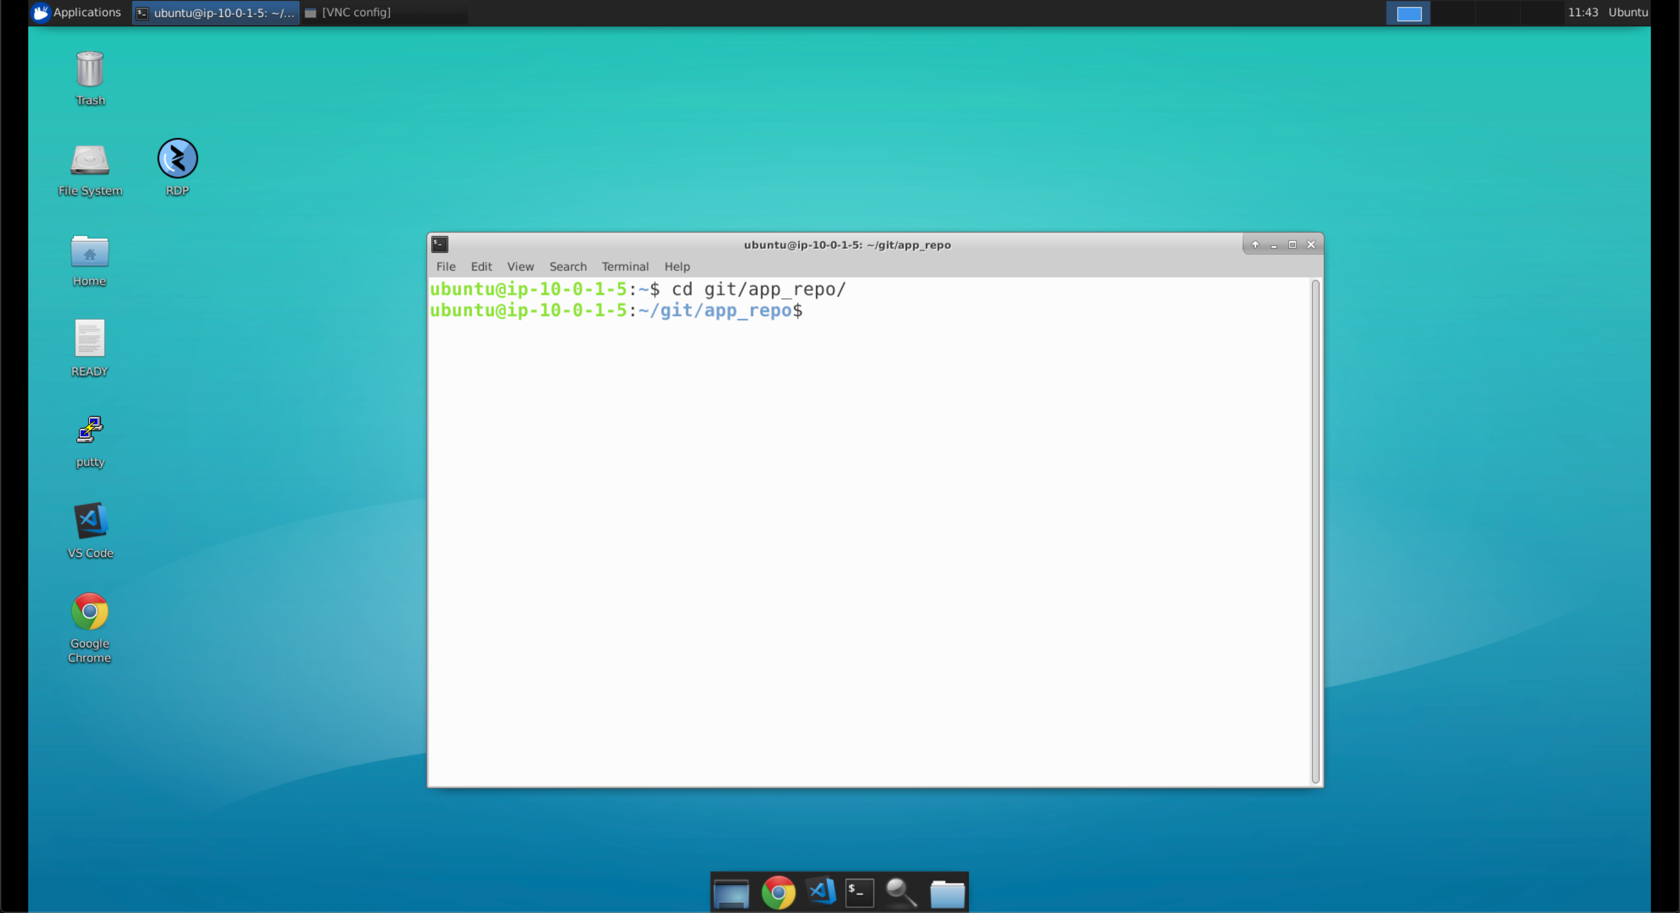
- Enter
git statusif you want to see the staged changes. Then typegit commit -m "Notes Field"to commit the changes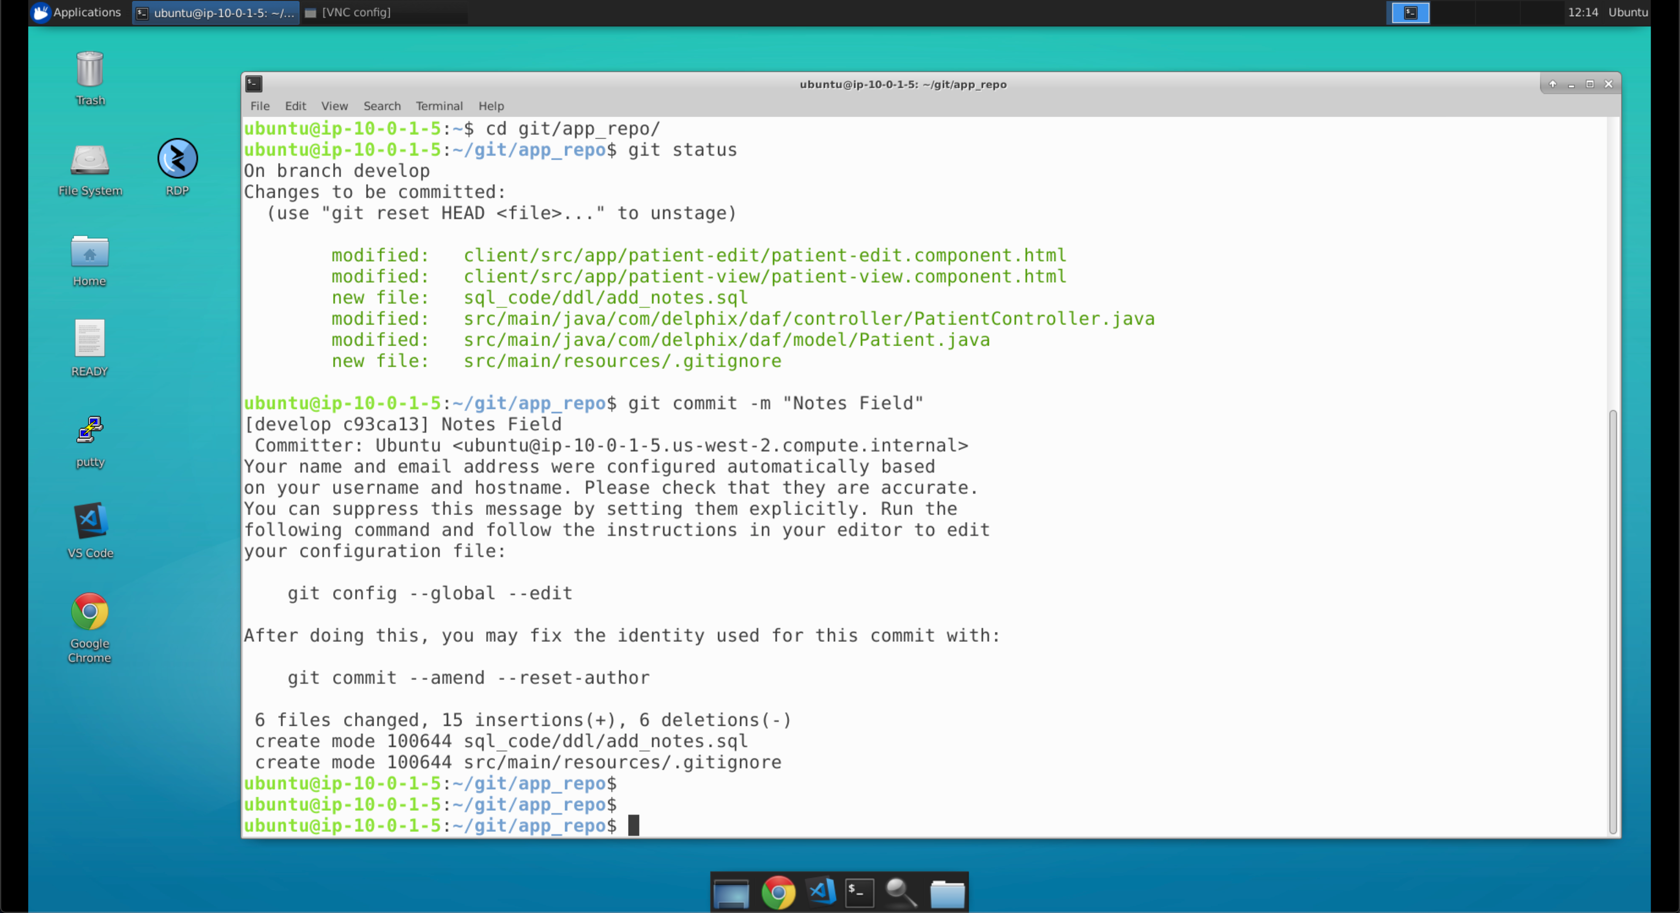
- Enter
git pushto push our changes to thedevelopbranch.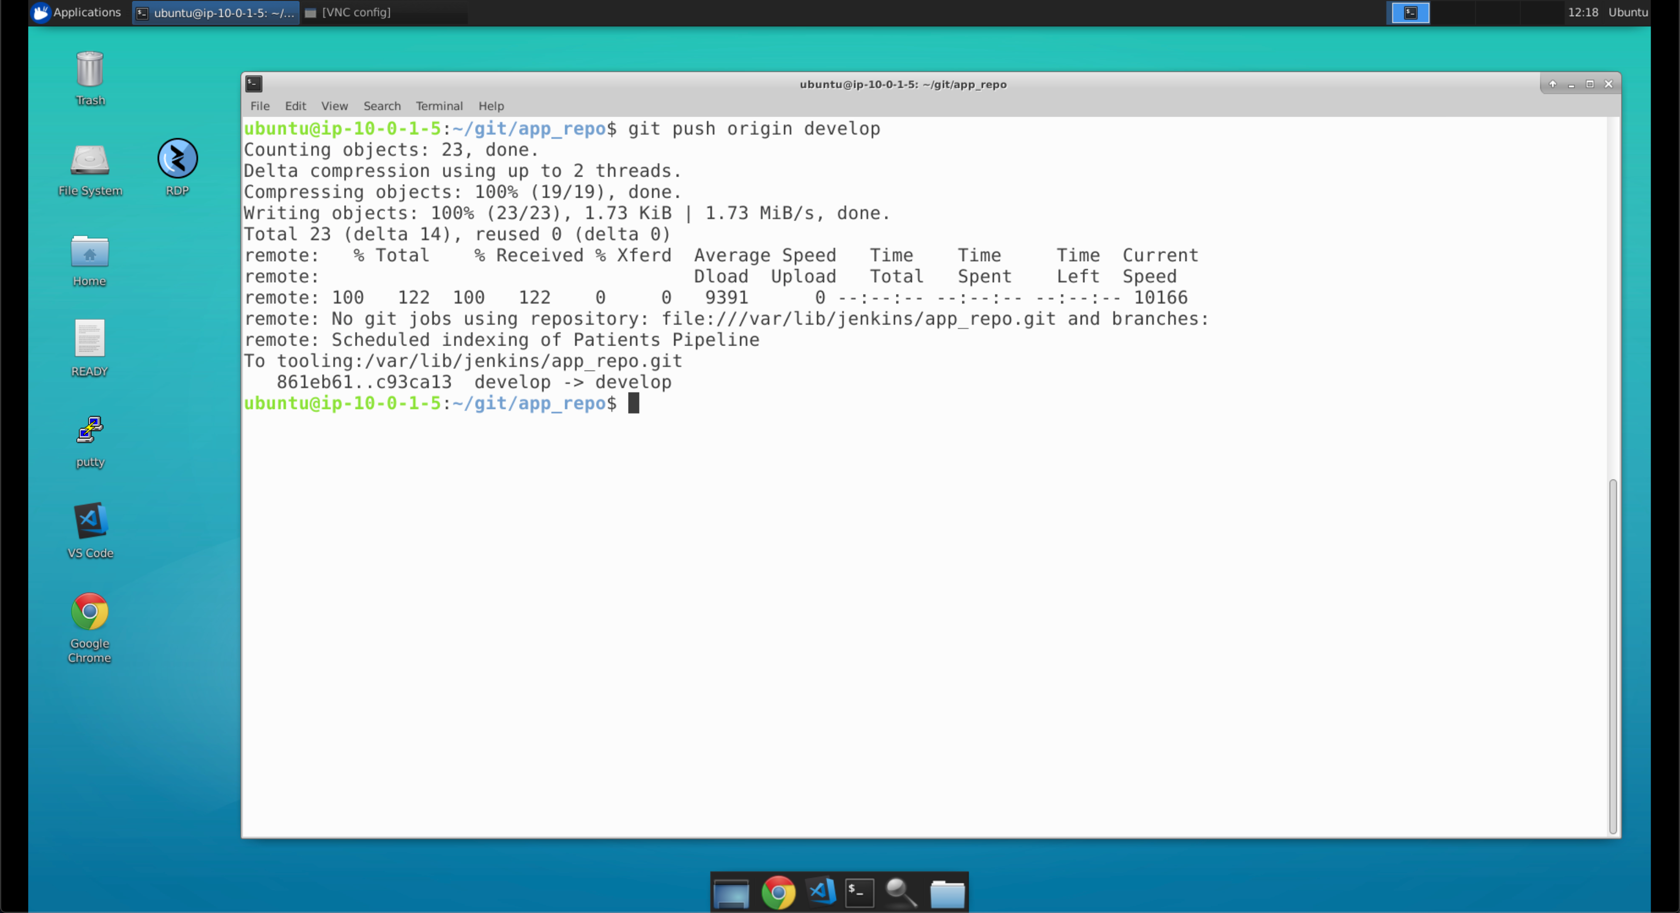
- You should see some output return in your console with
develop -> developat the bottom.