Apache dSource
Create Sourceconfig
- Login to the Delphix Management application.
- Click Manage.
- Select Environments.
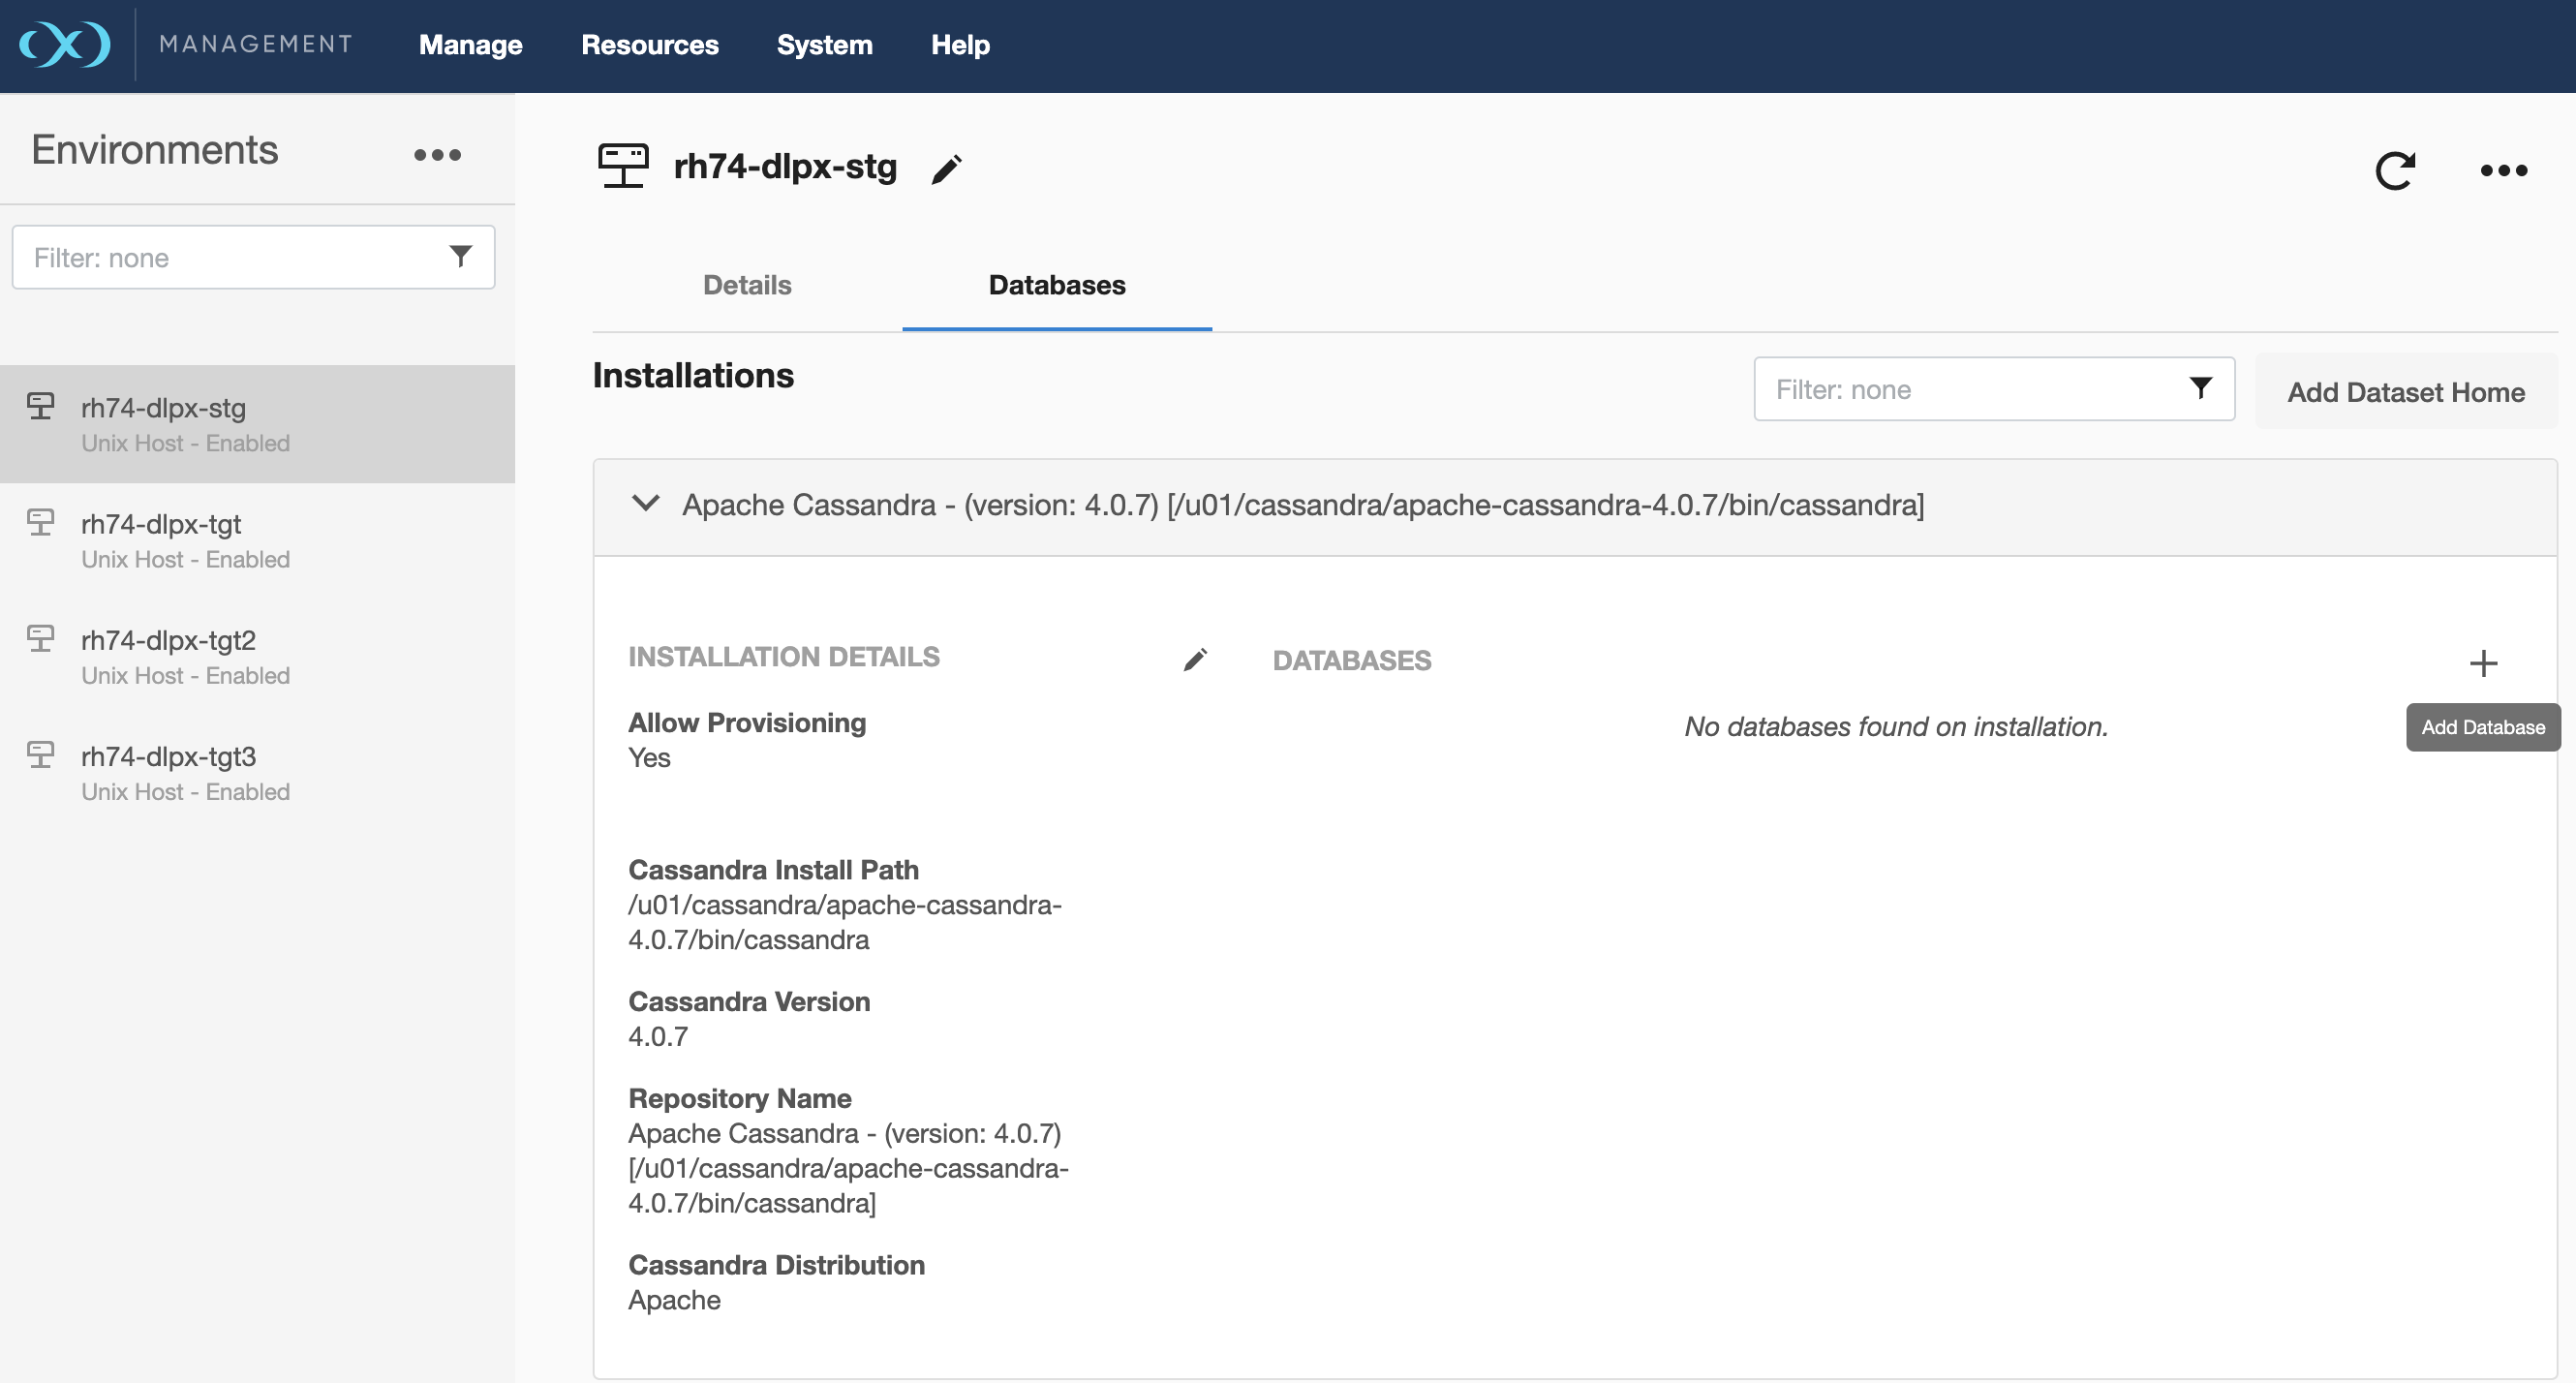
- Select the repository
- Click on + icon ( Shown in next image )
- Add required details in Add database section.
Unique dSource Name: Provide Unique dSource NameCassandra Cluster Name: Provide Cassandra Staging Cluster Name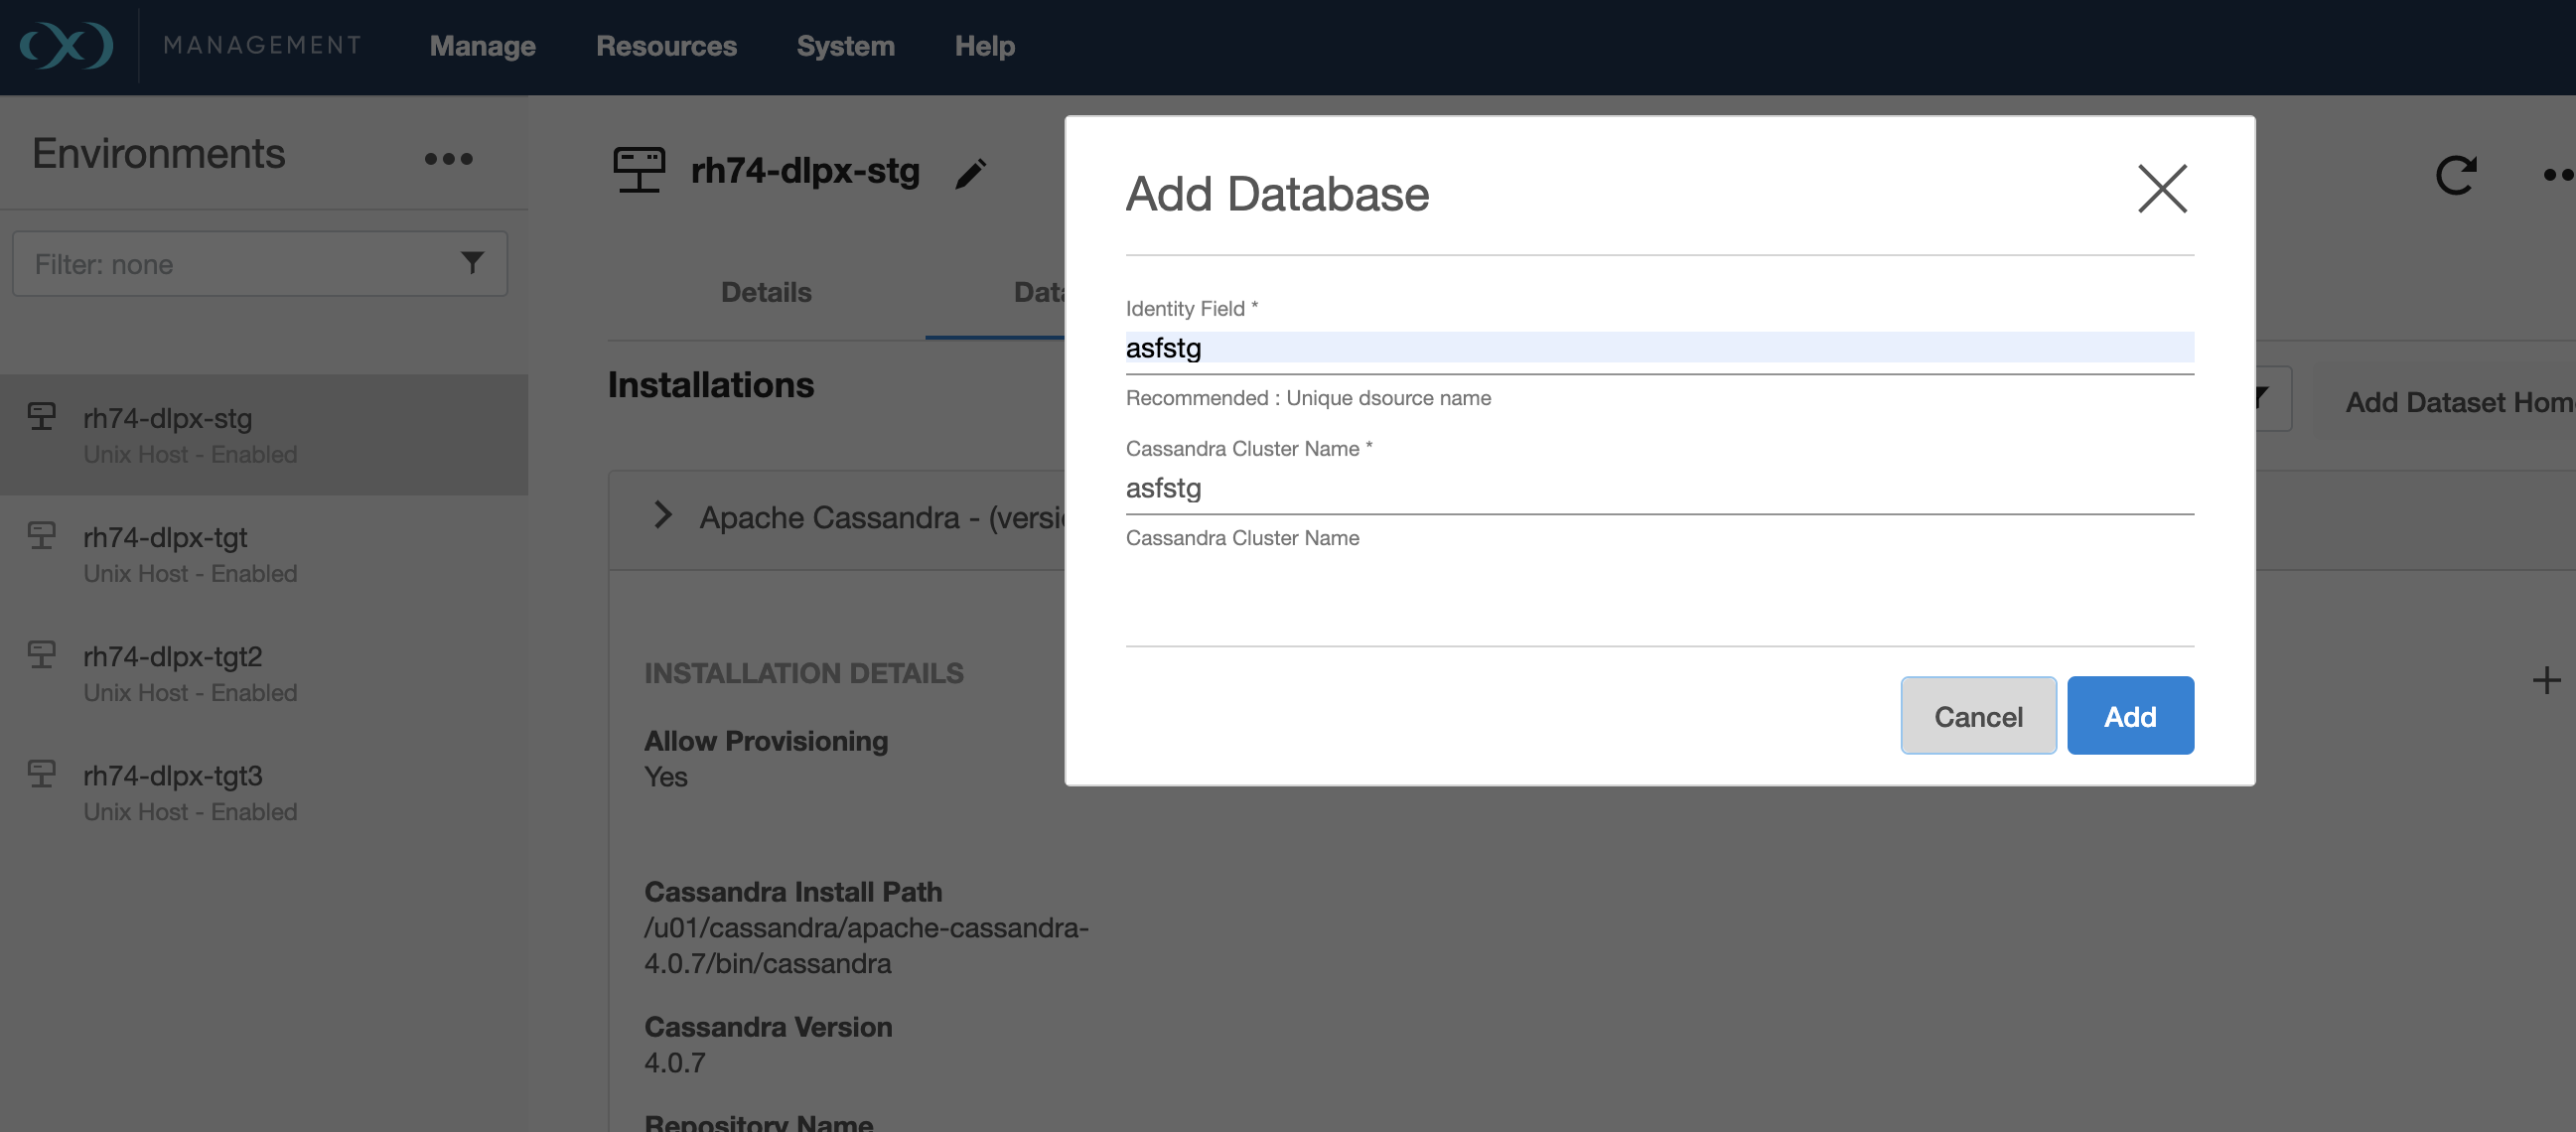
- Click
Addbutton
Steps to create Apache dSource
- Login to Delphix Management application.
- Click Manage > Environments
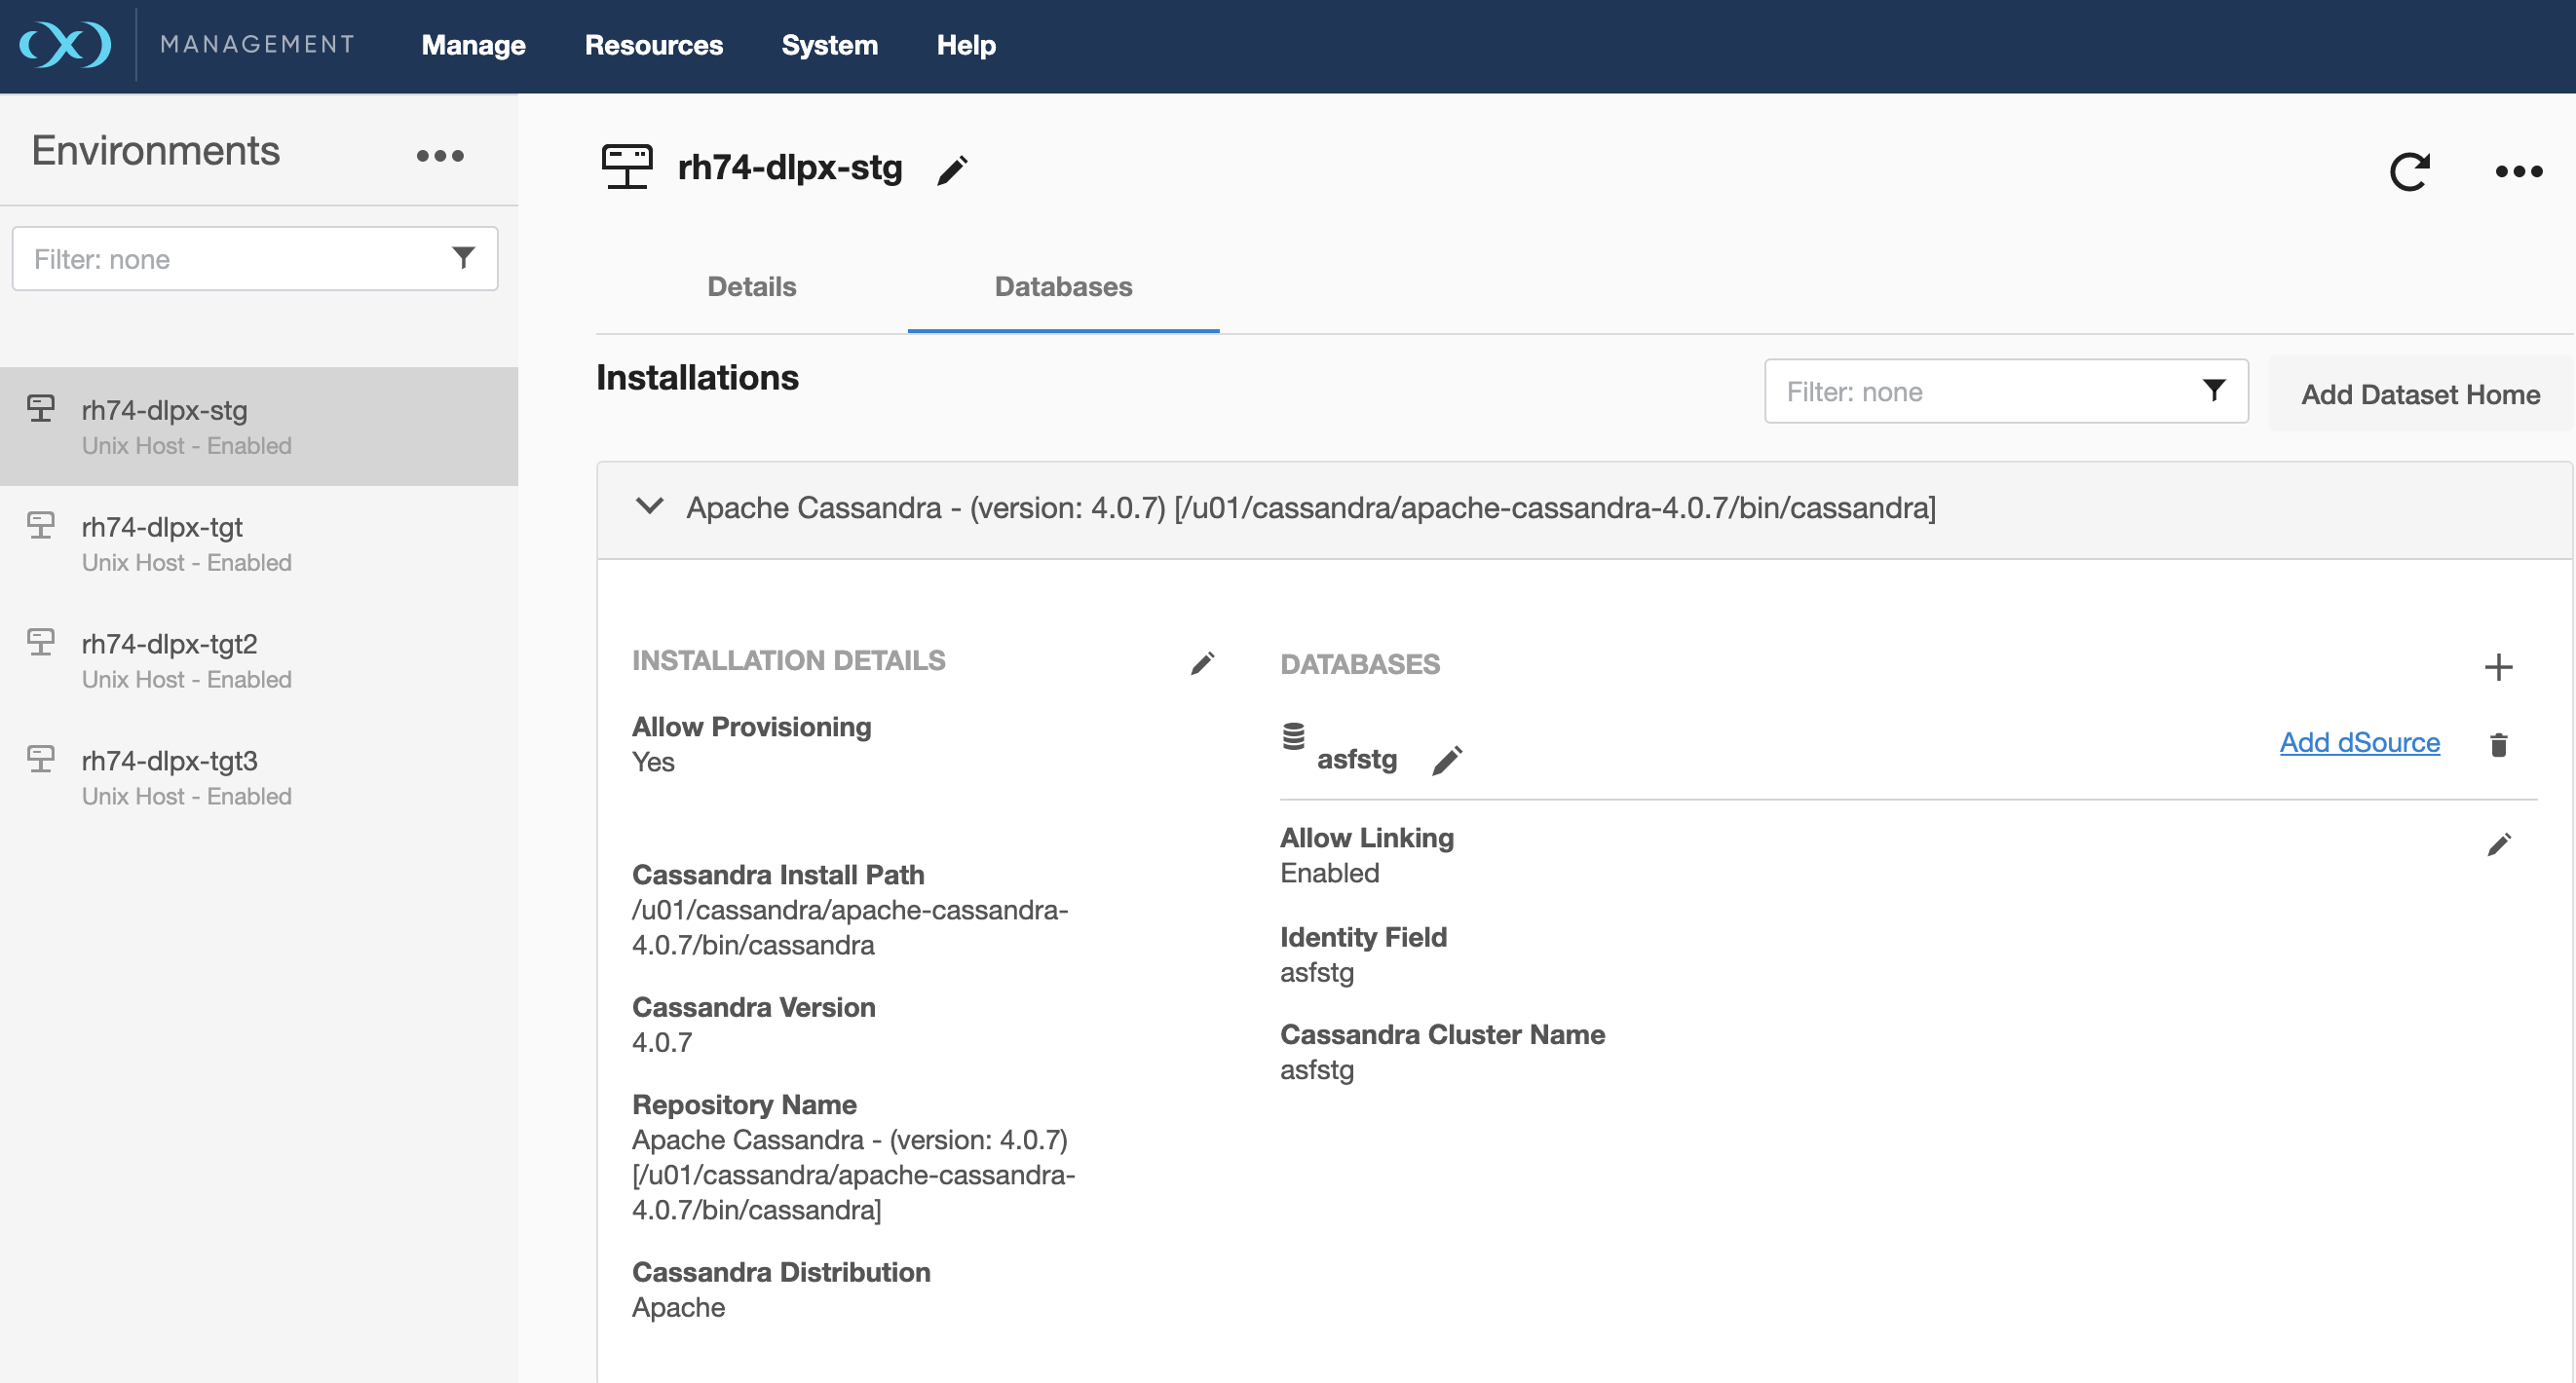
- Select the staging host > click on Databases tab.
- Select Add dSource button.
- In the Add dSource wizard, select the Cassandra source config you just created on the staging host.
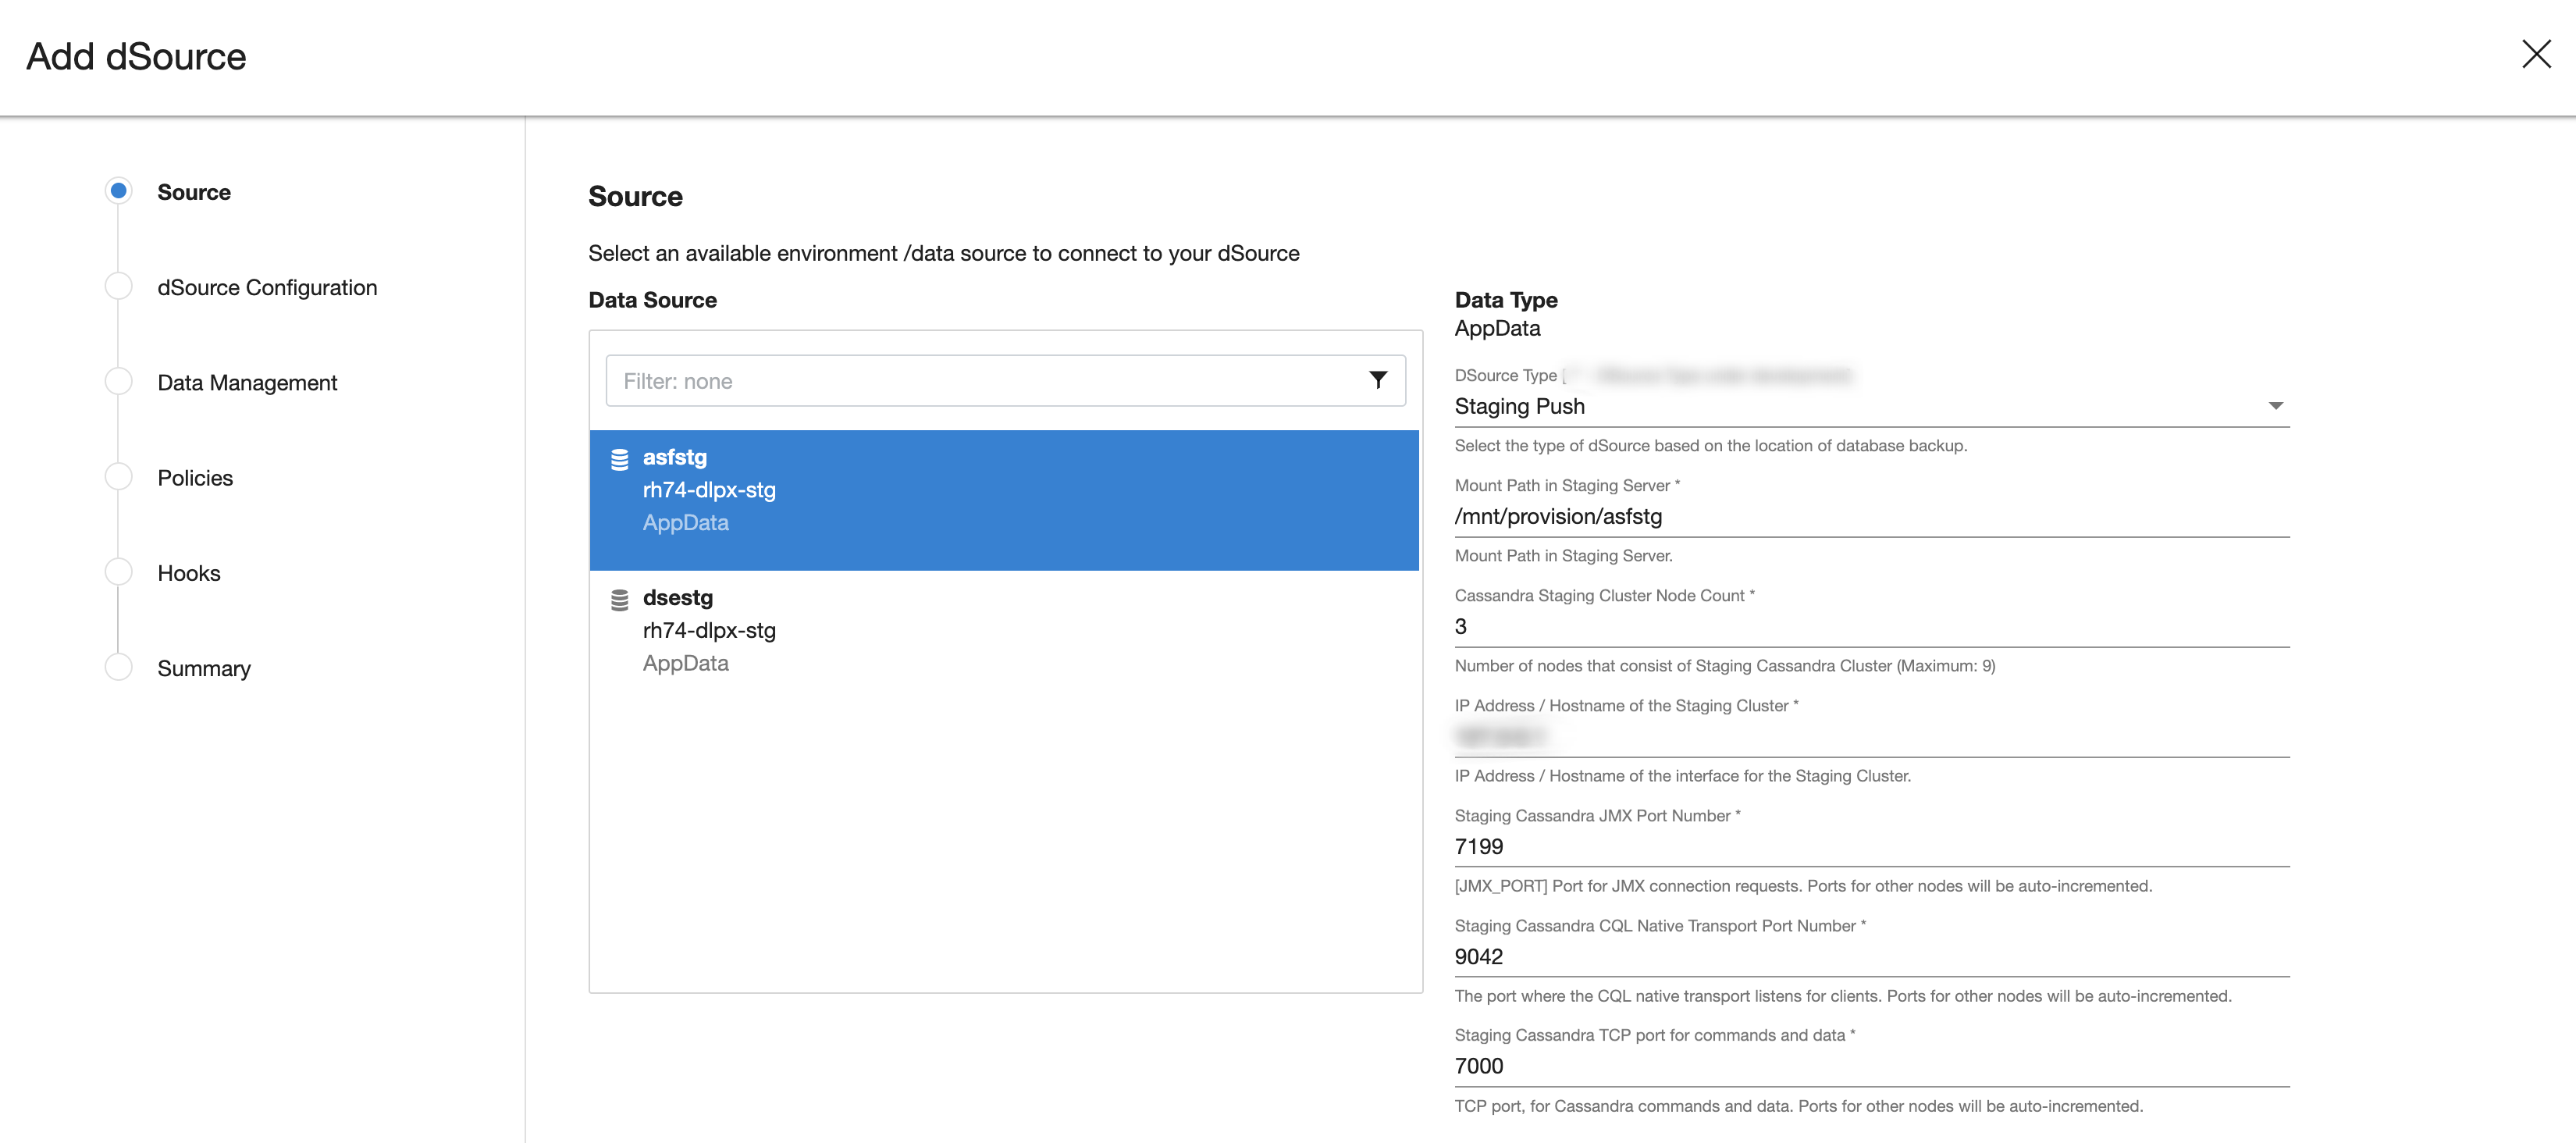
- In the Add dSource wizard, select the dSource Type (
Staging Pushis selected as default) for creating Cassandra staging cluster on the staging host. - Enter dSource specific parameters for your configuration.
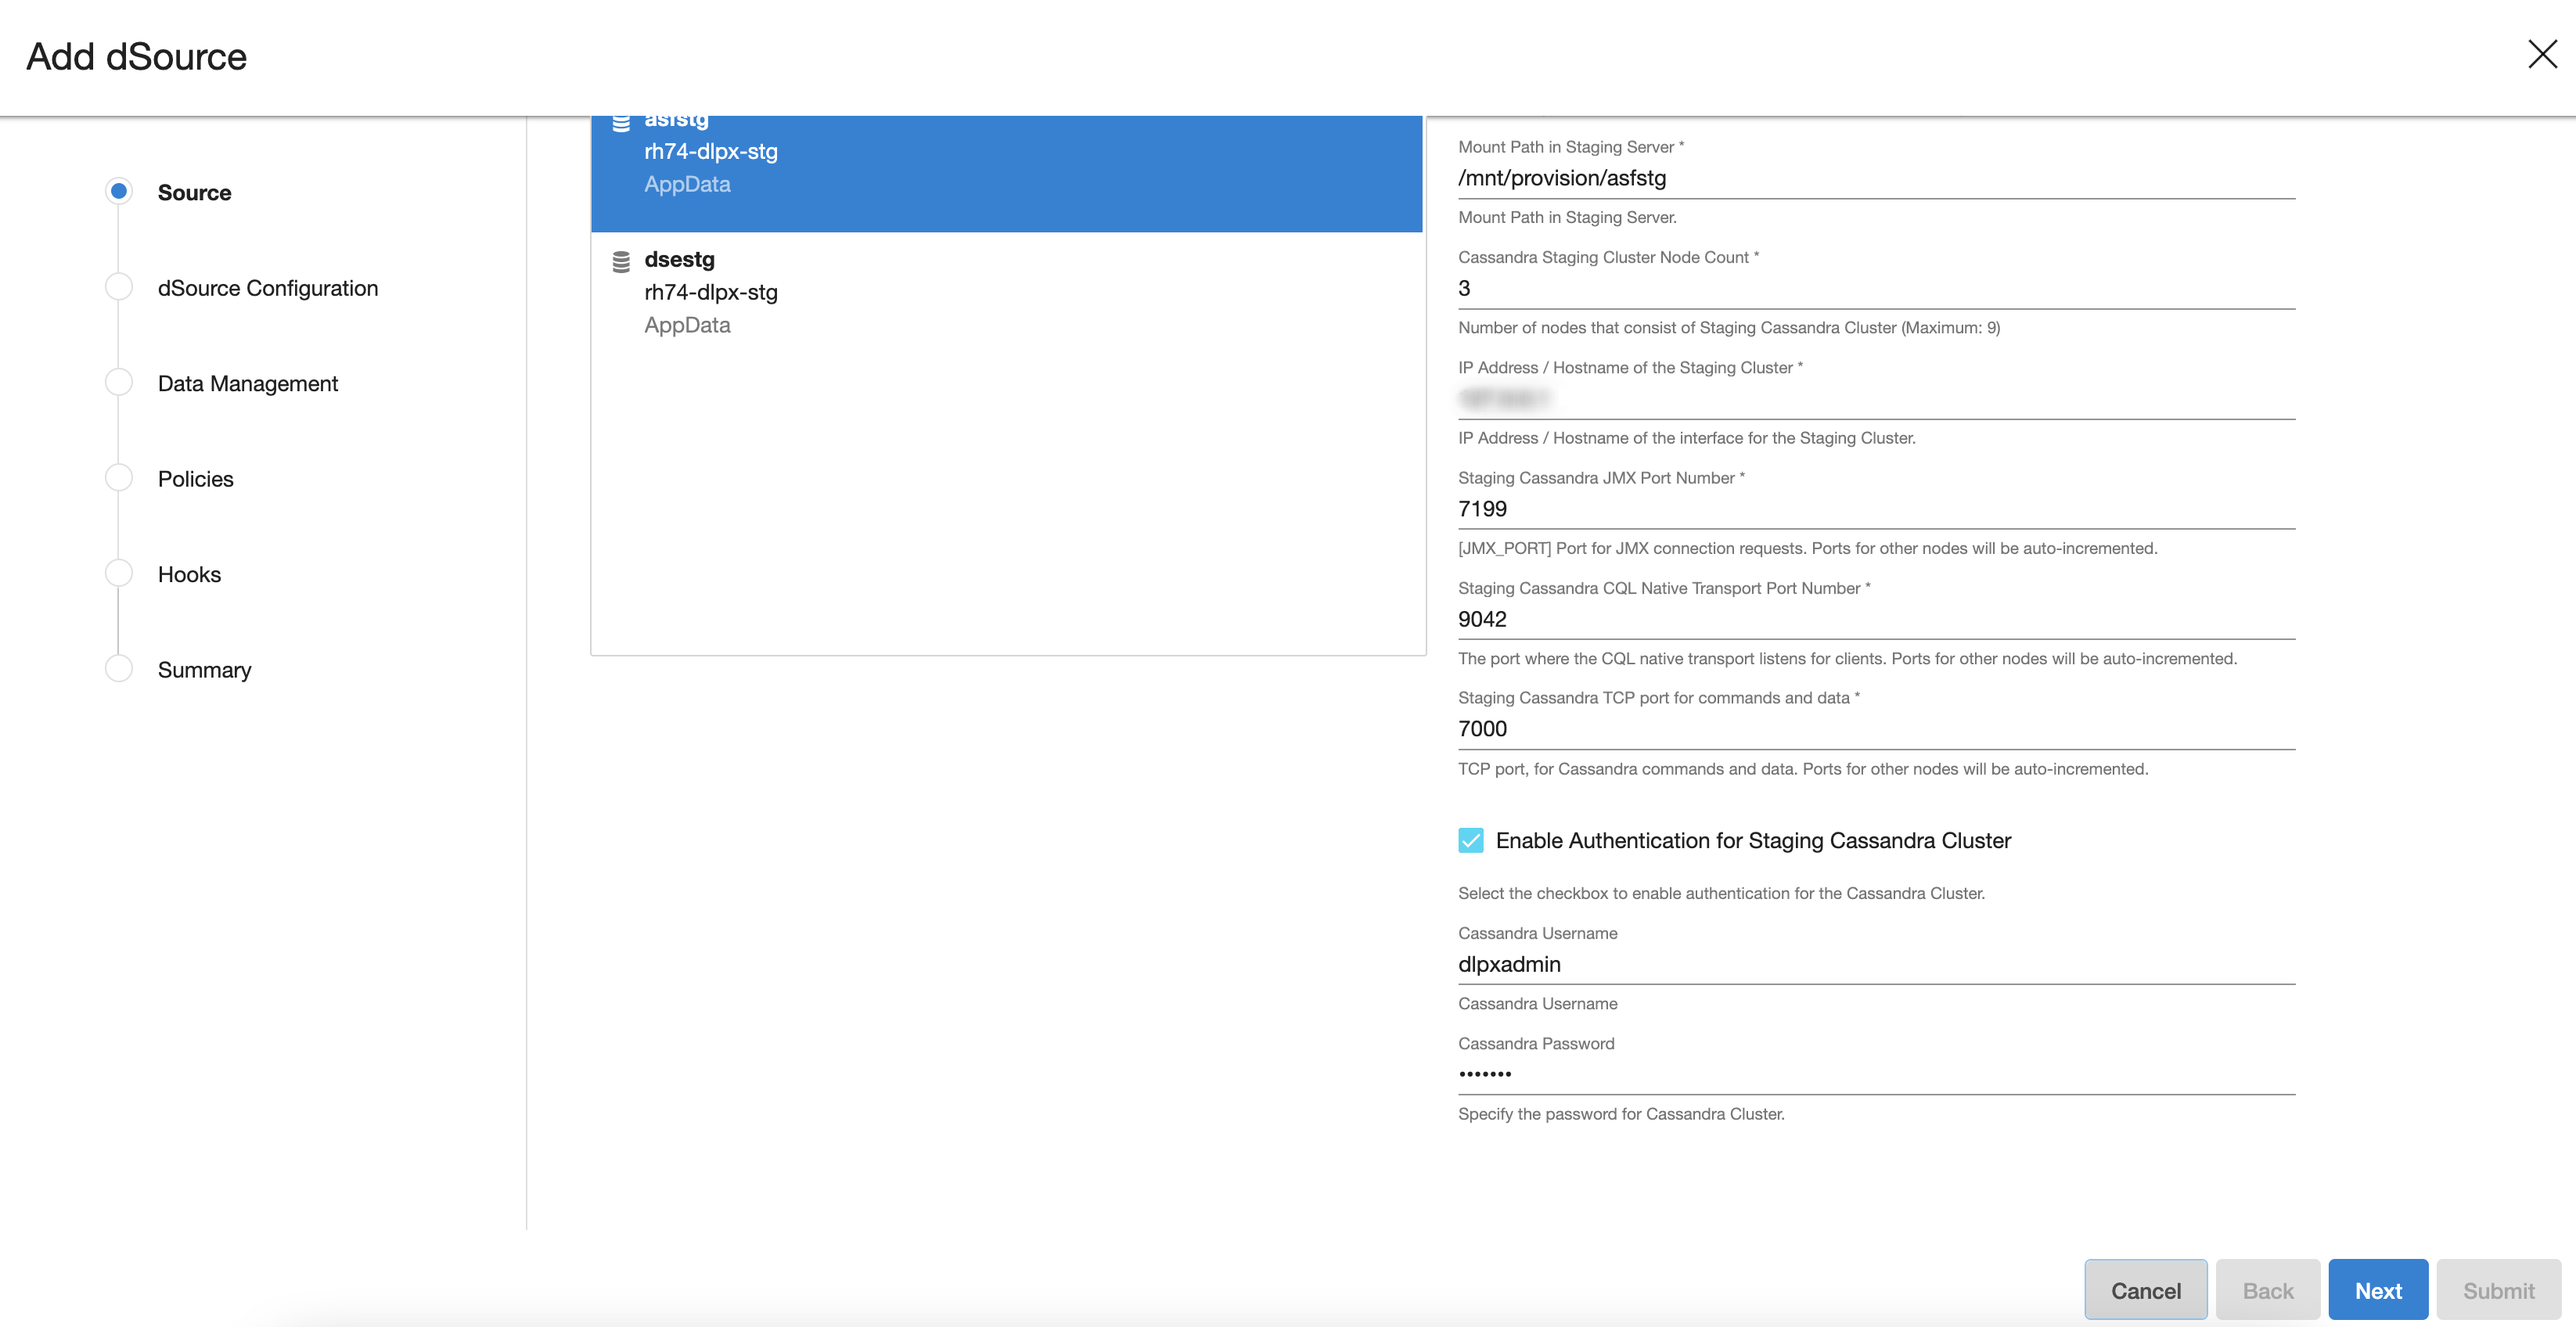
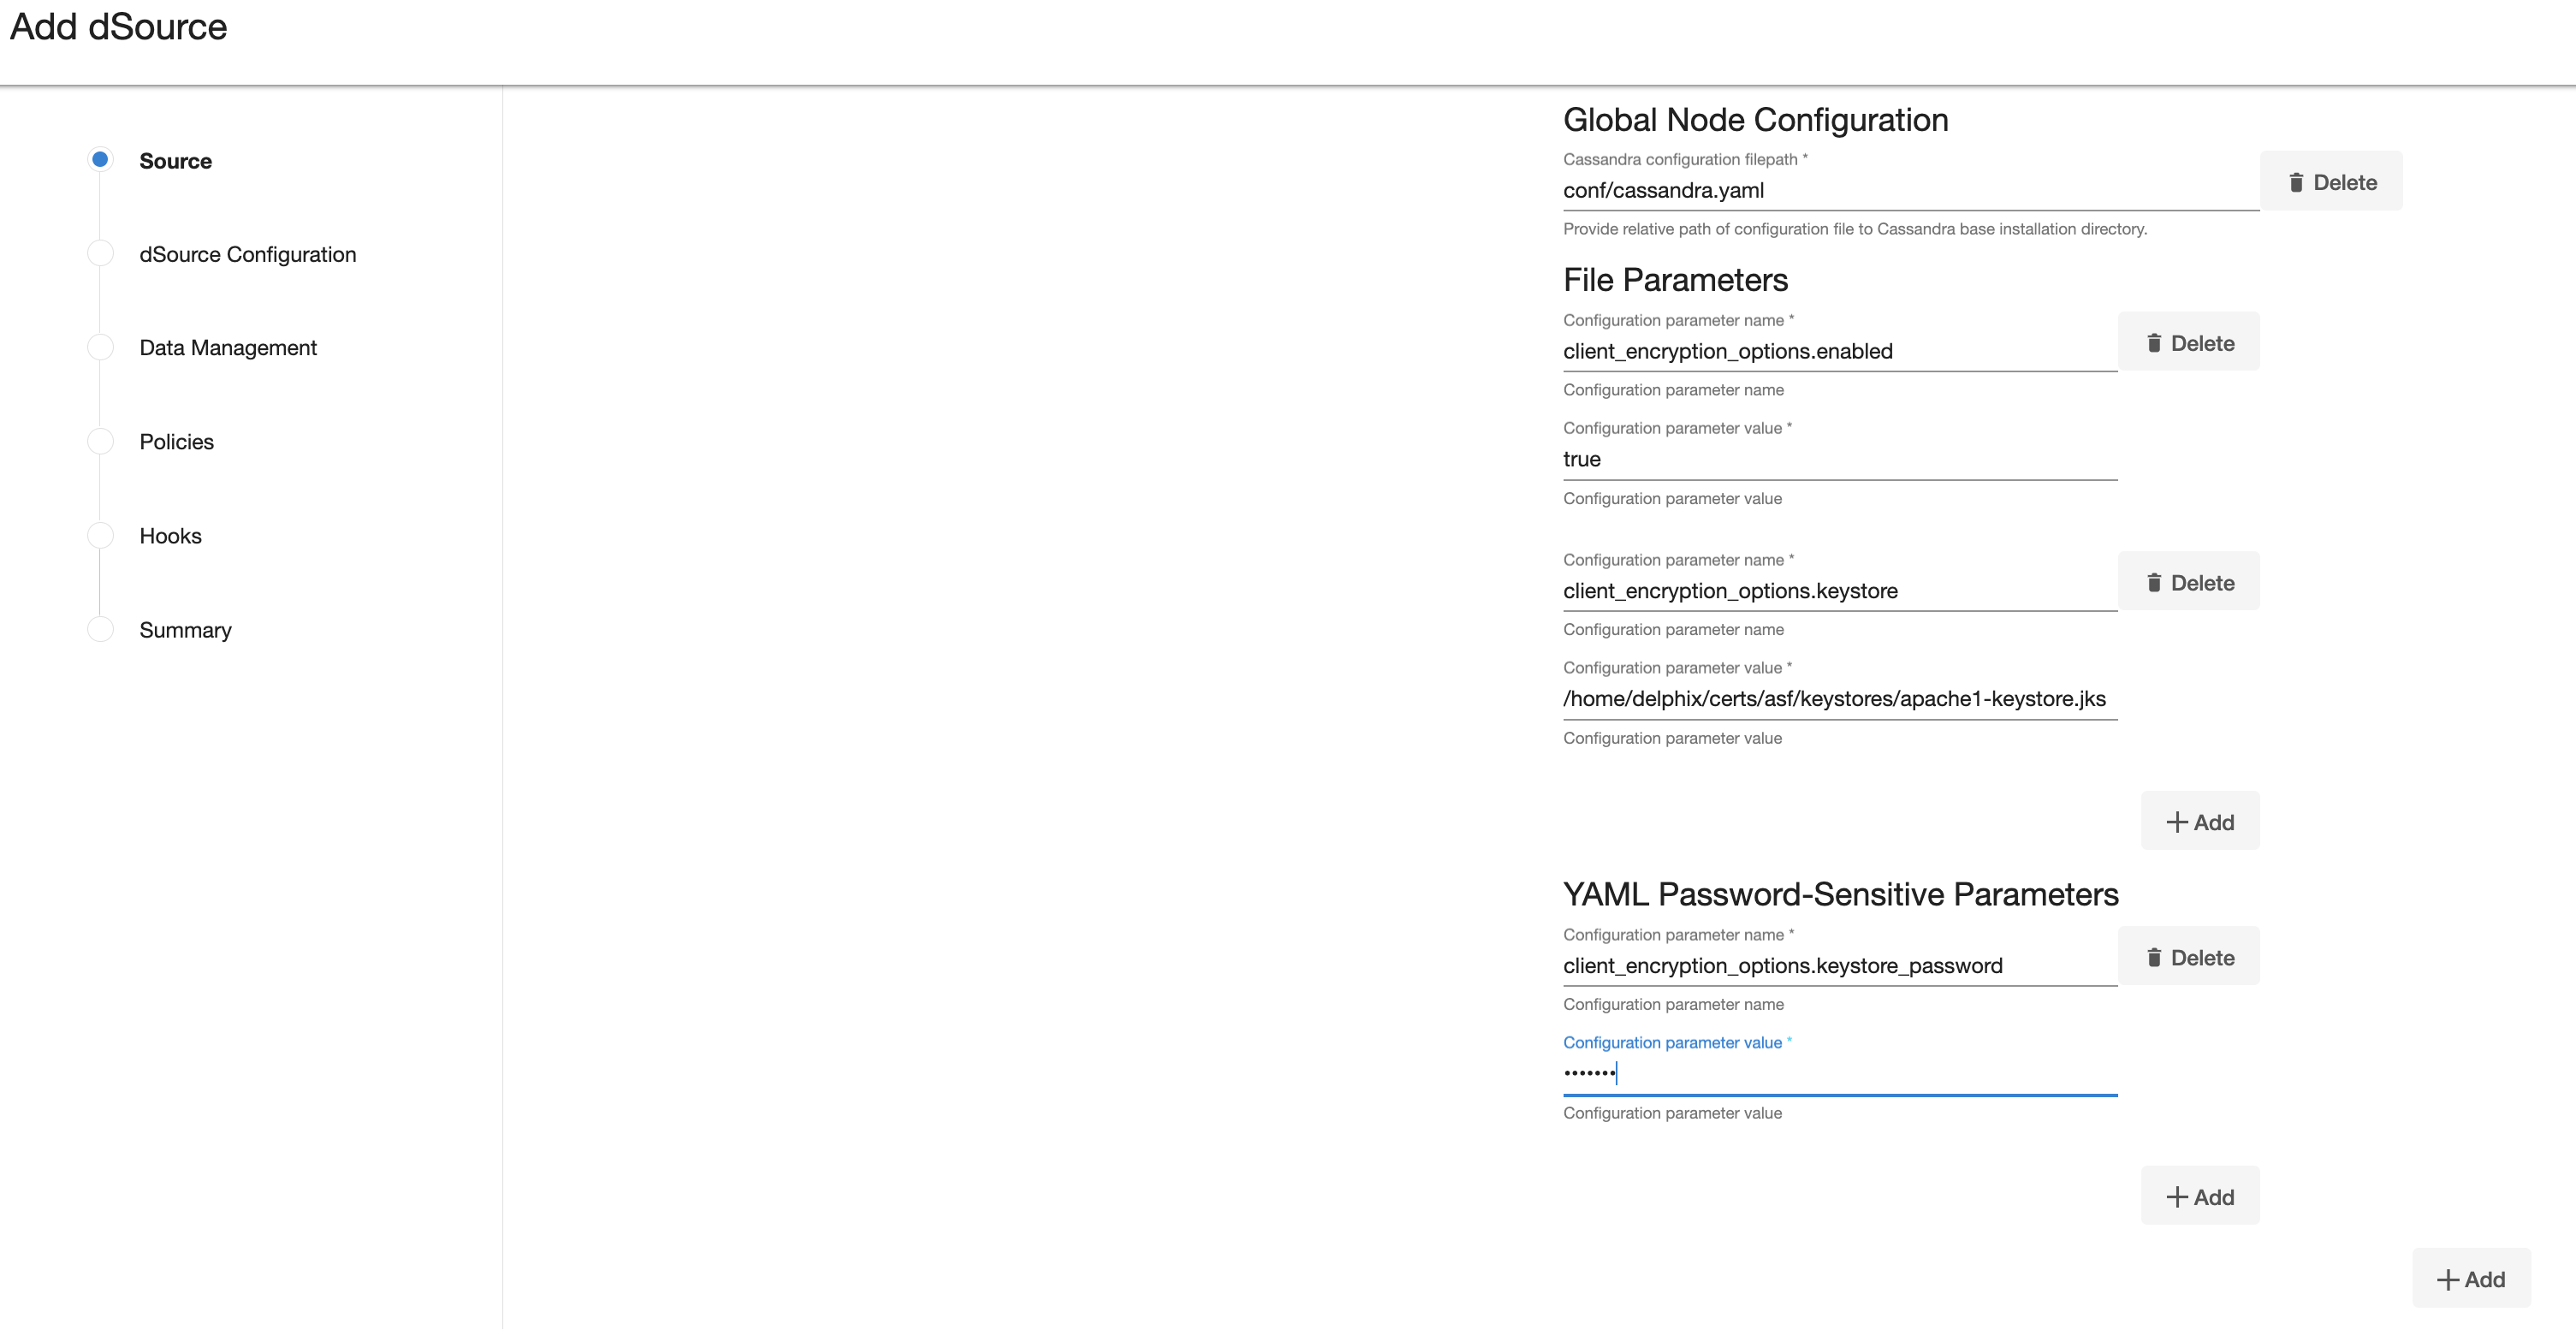
- Click Next.
- Enter a dSource Name.
- Select a Database Group for the dSource.
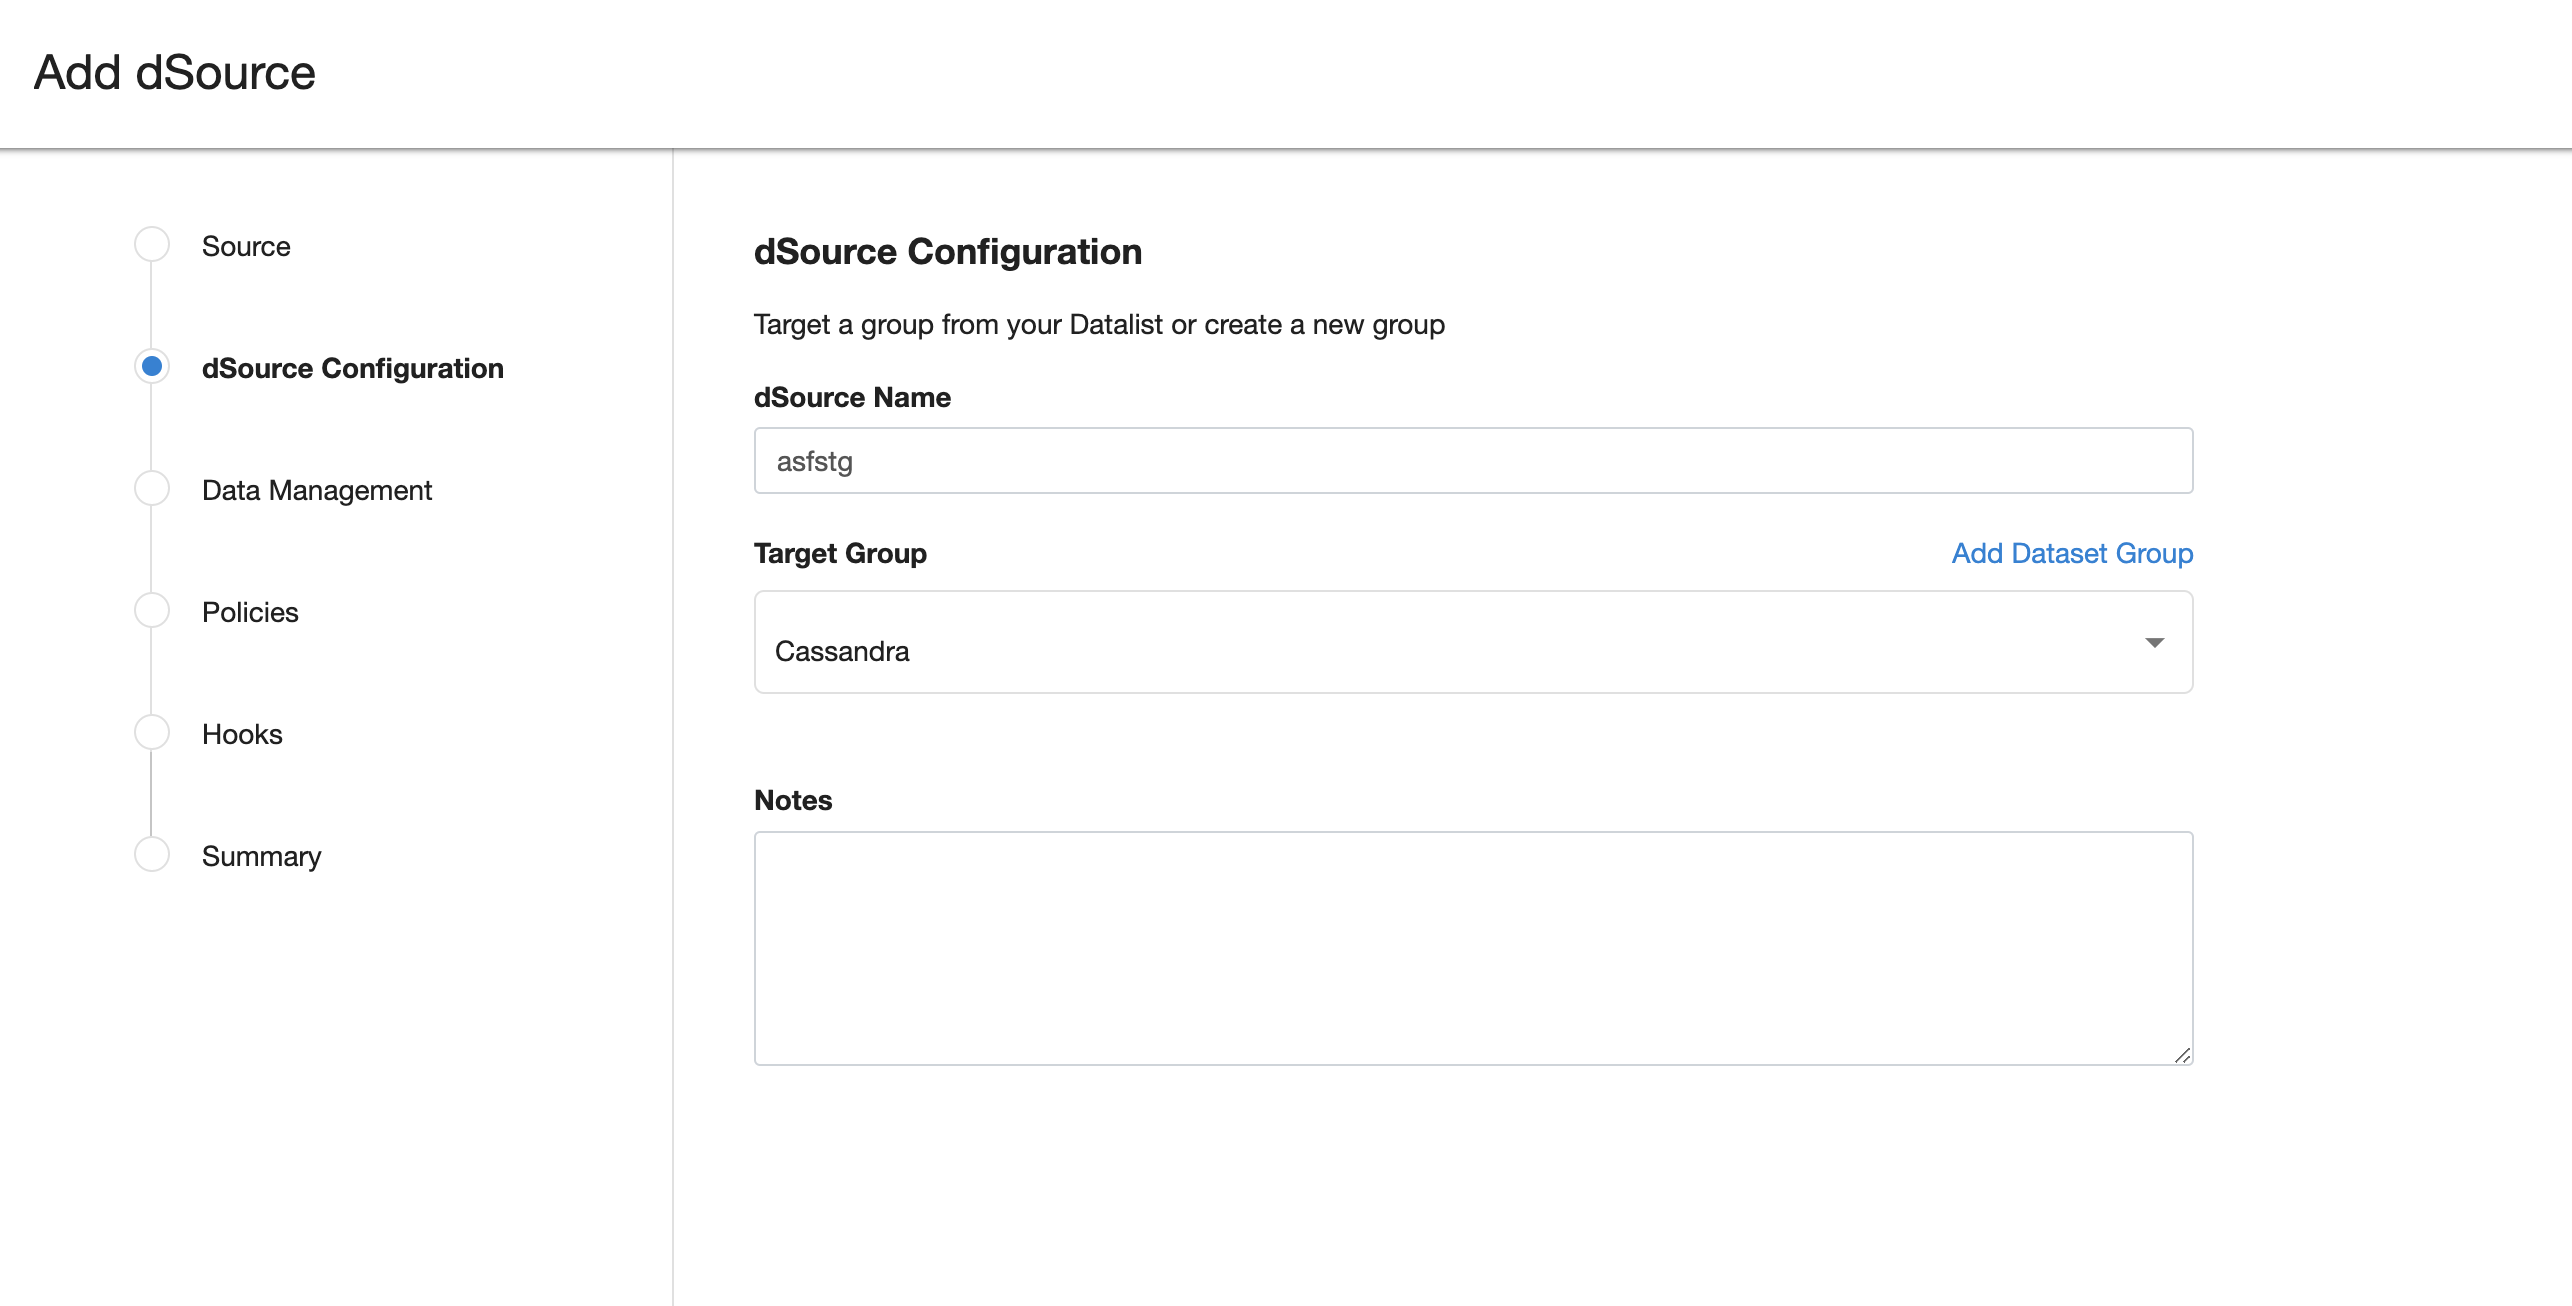
- Click Next.
- Verify the Staging environment and ensure
Resynchronize dSourceoption is selected.
- Select a SnapSync policy.
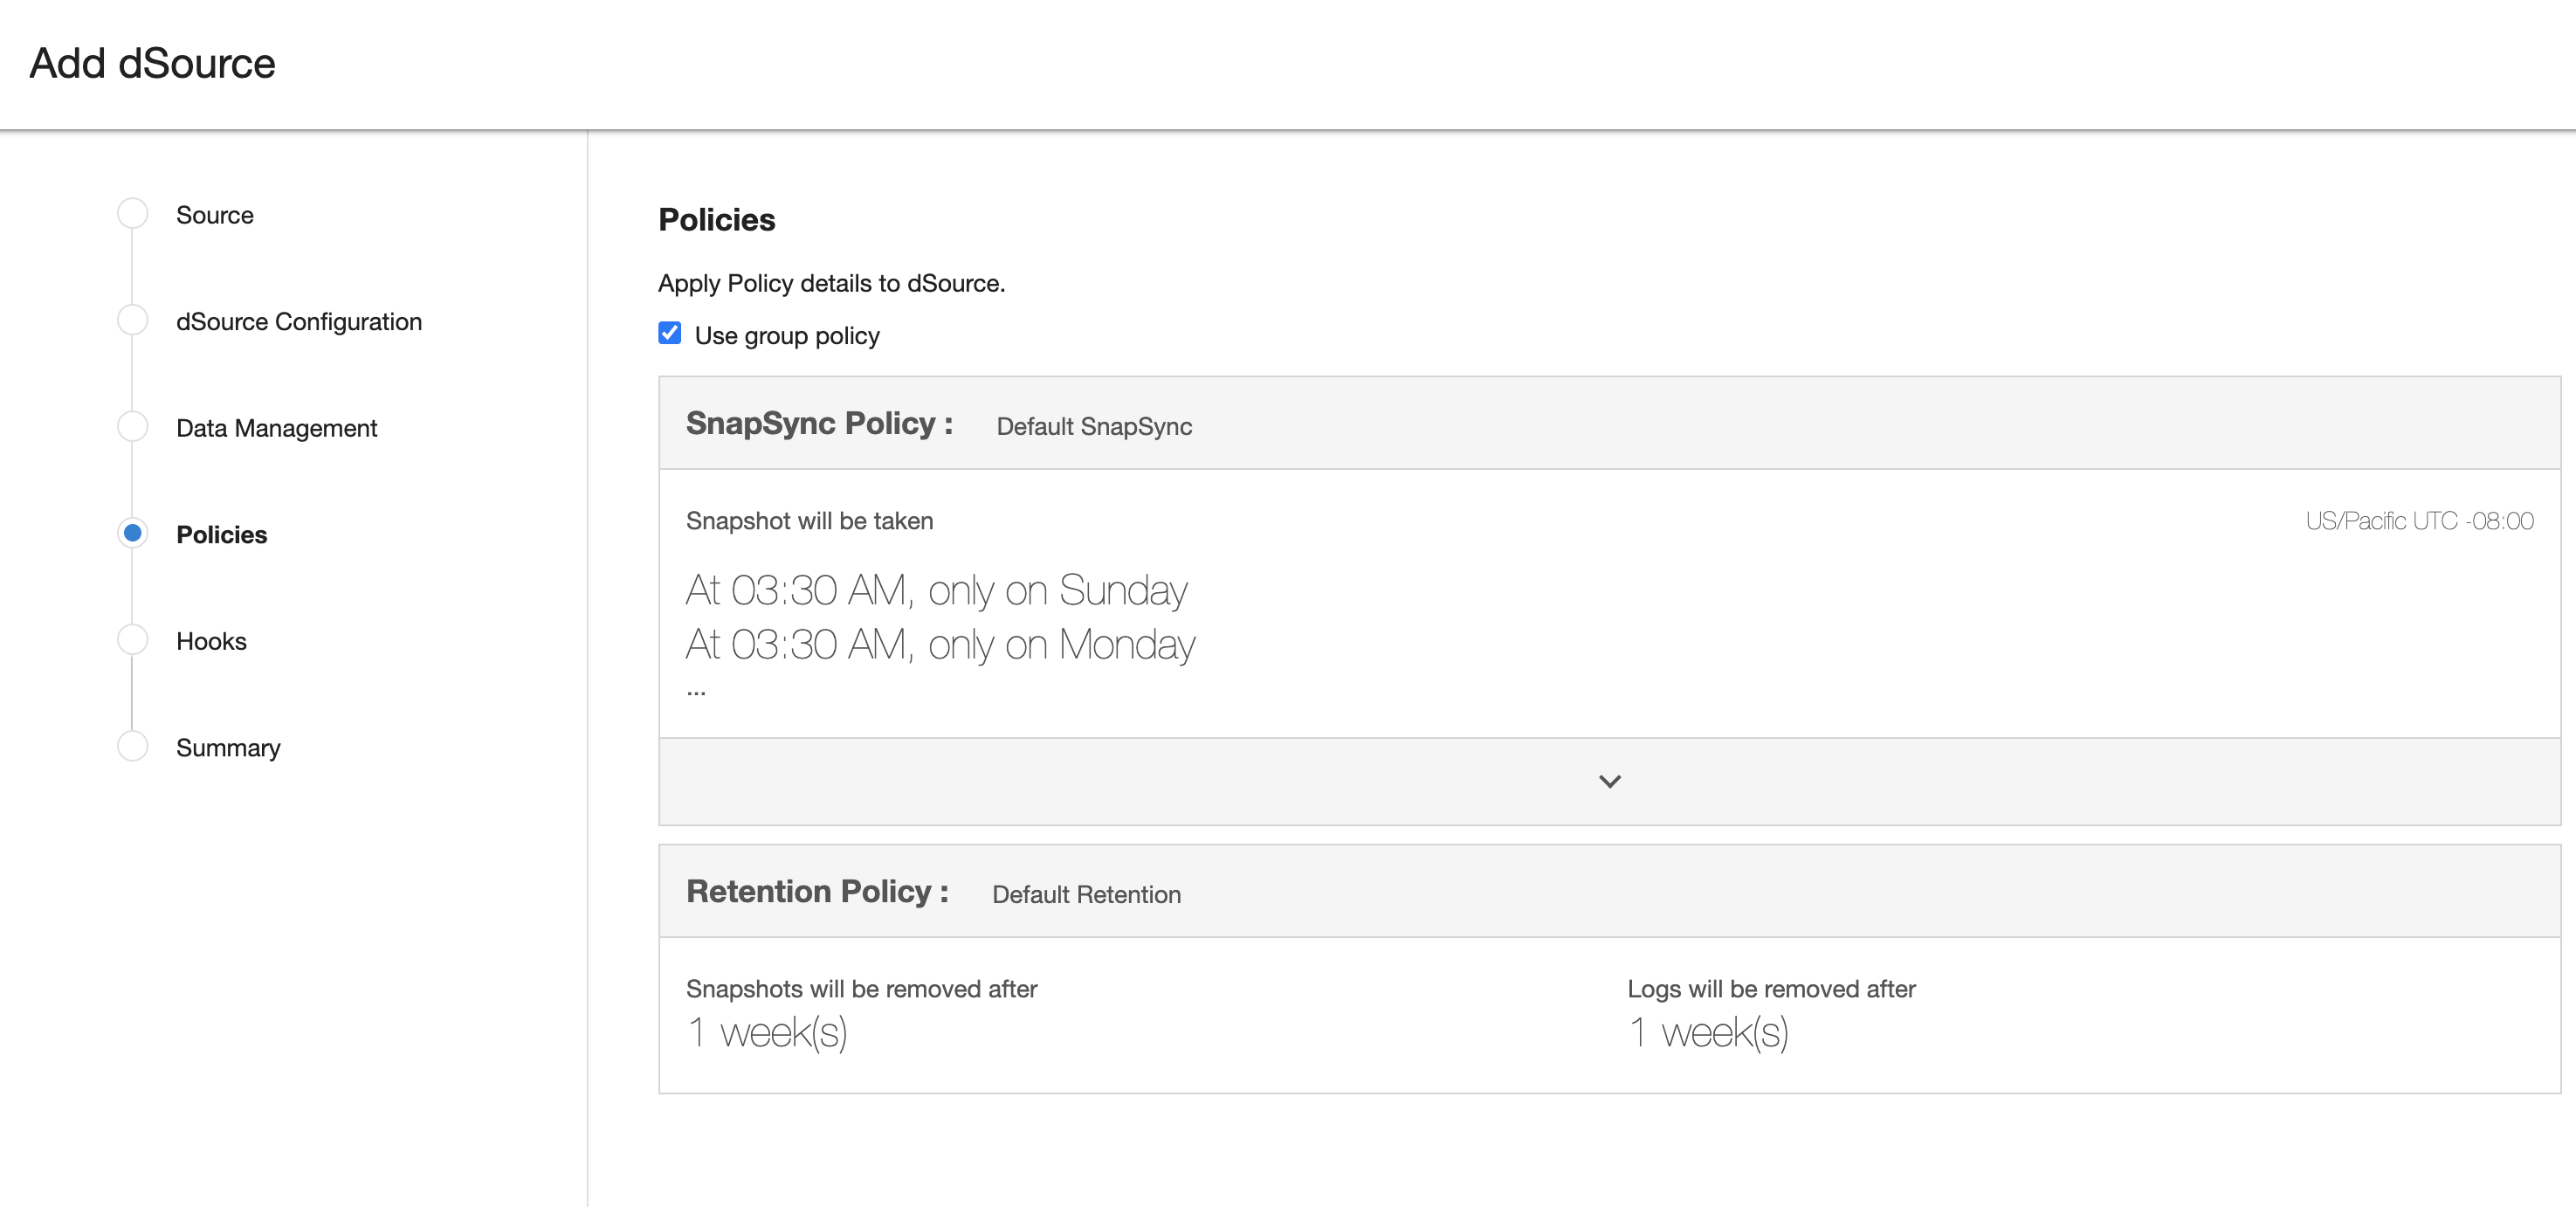
- Click Next.
- Enter any custom pre or post sync logic as Pre-Sync or Post-Sync hook operations.
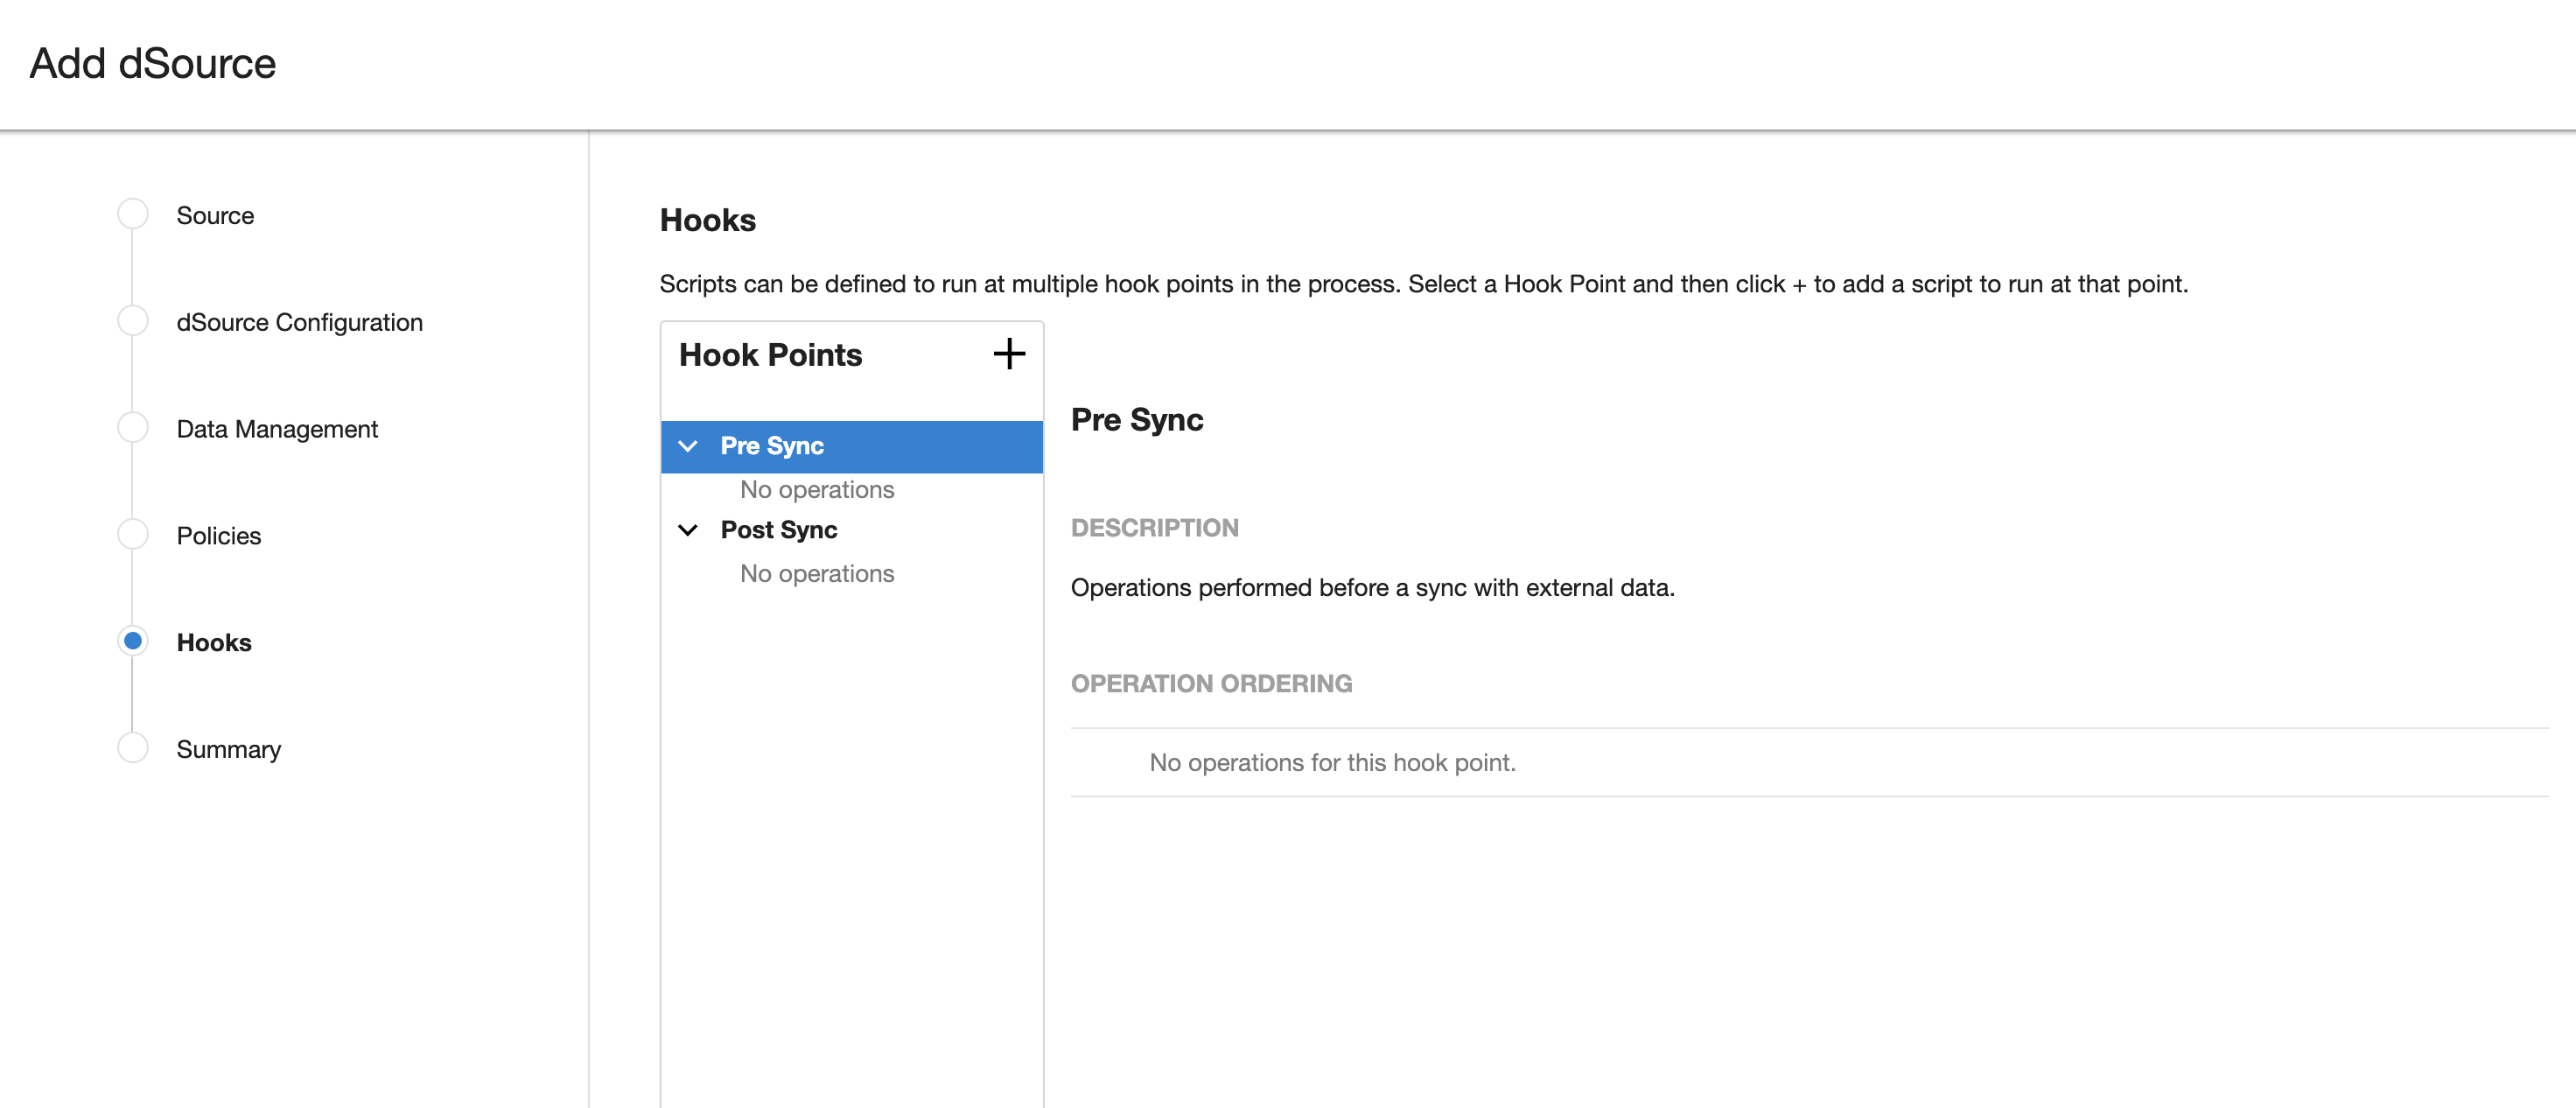
- Click Next.
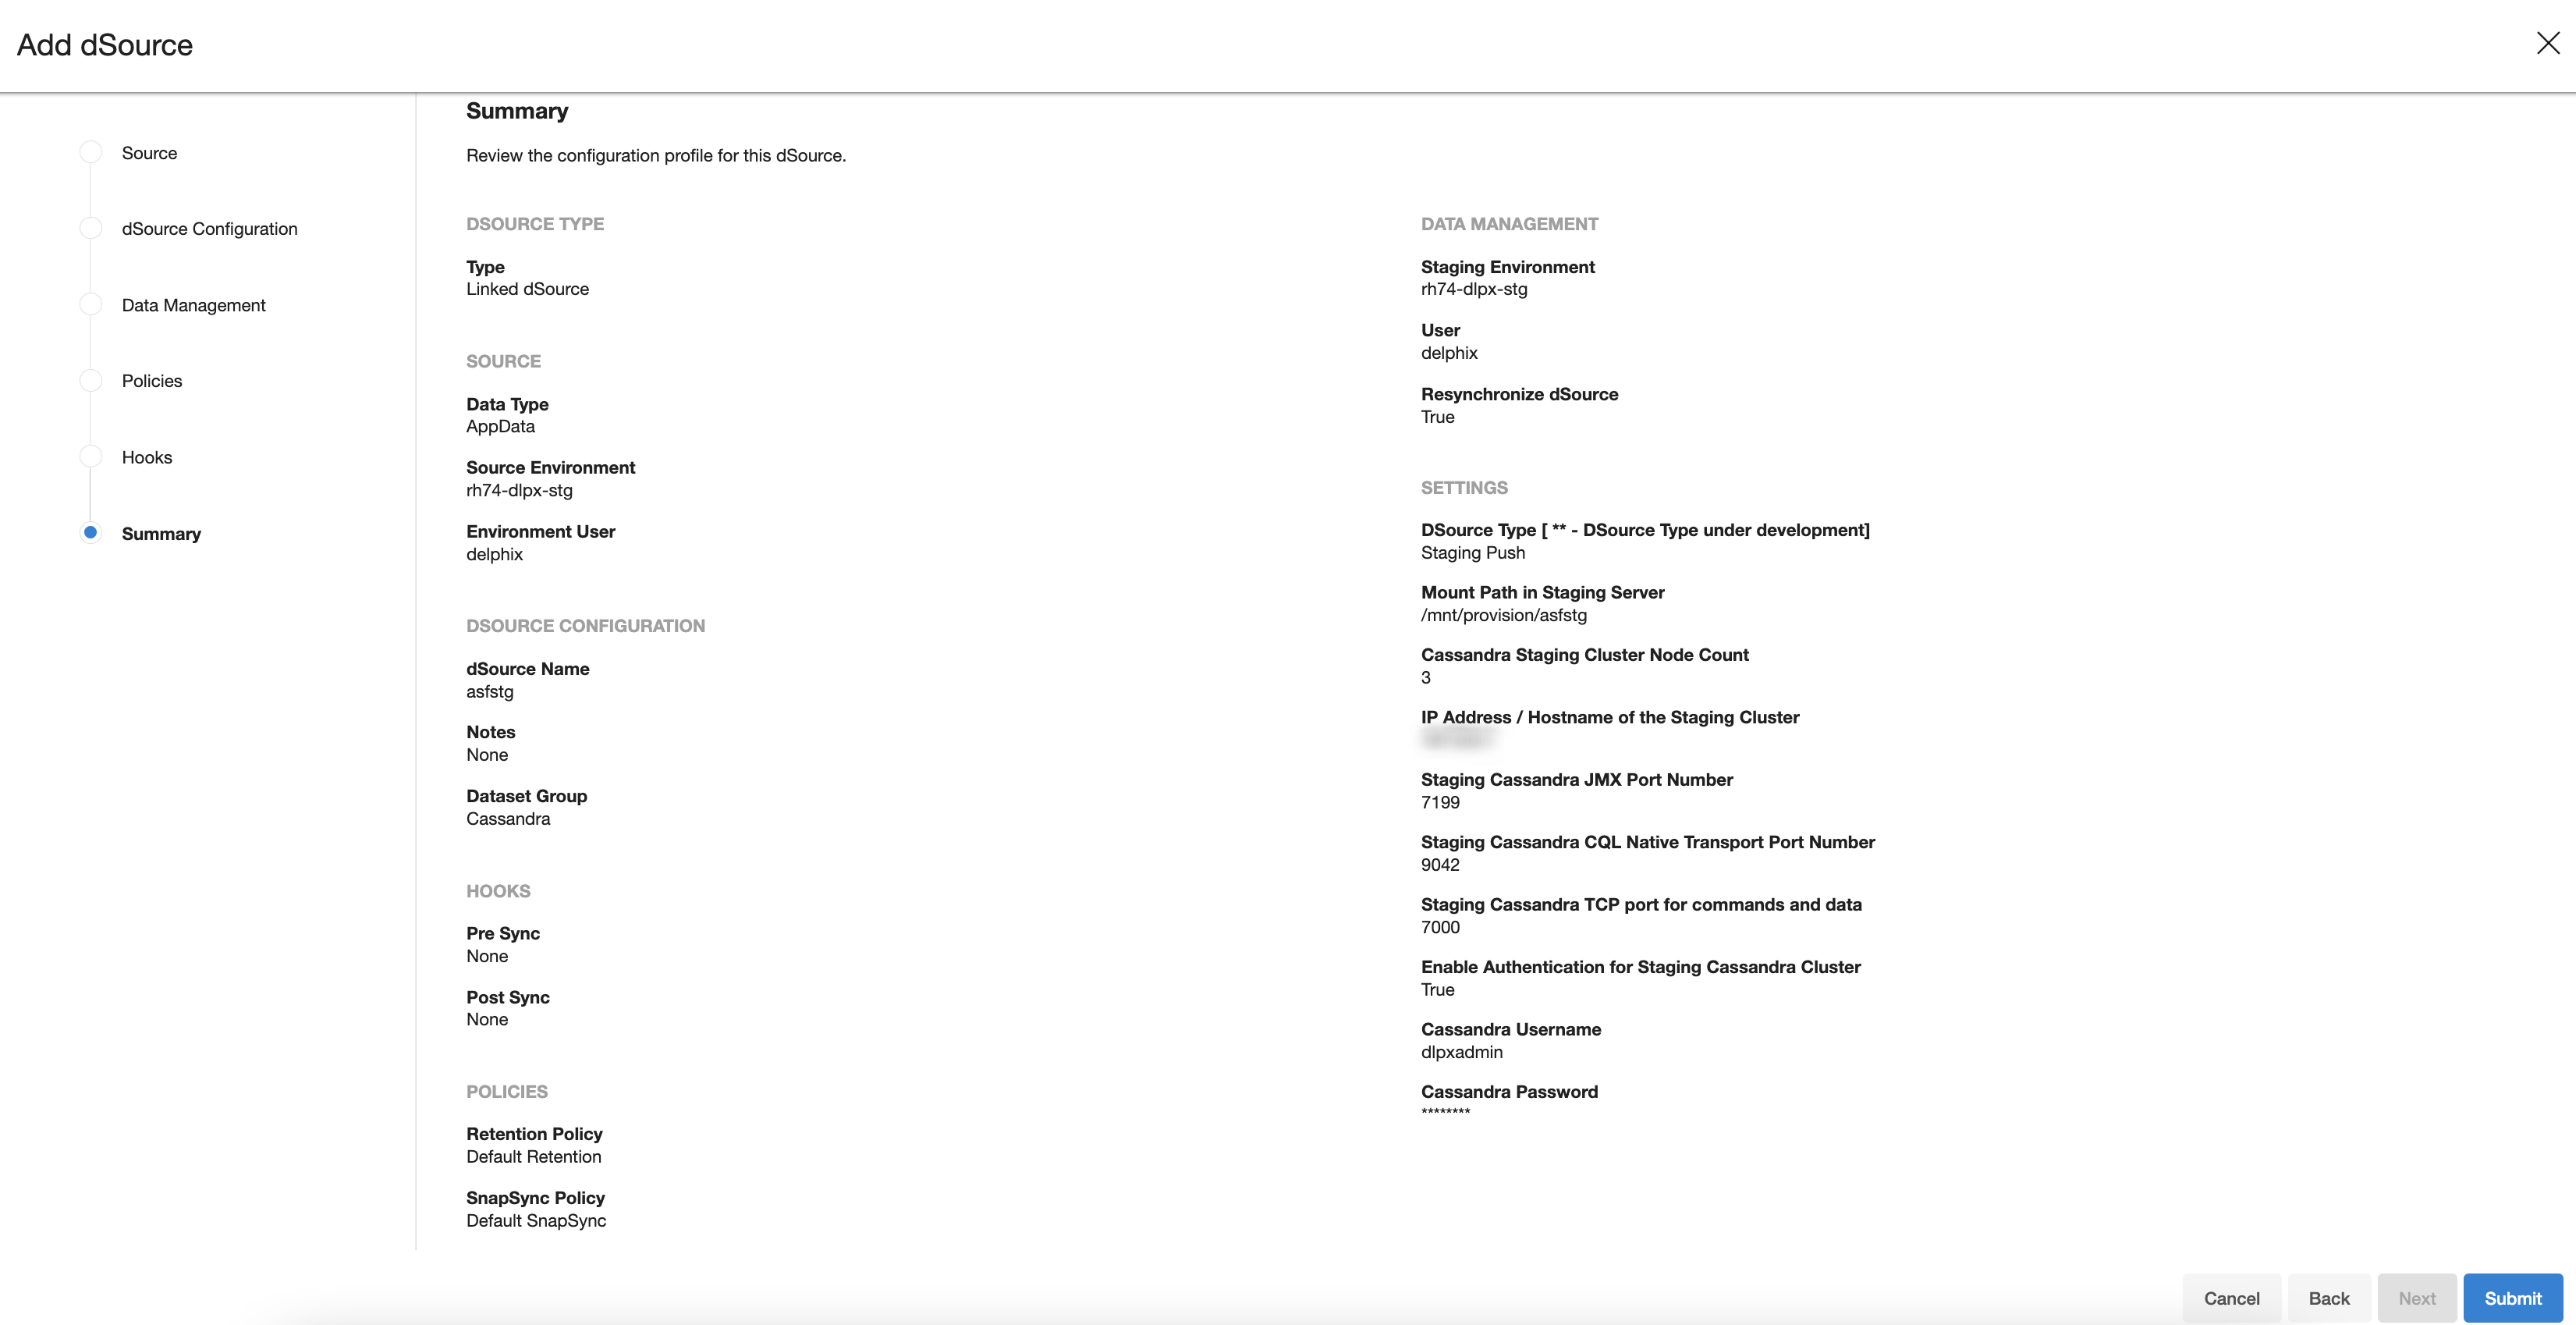
- Review the dSource Configuration and Data Management information, and then click Finish.
The Delphix Engine will initiate two jobs to create the dSource, DB_Link and DB_Sync . You can monitor these jobs by clicking Active Jobs in the top menu bar.
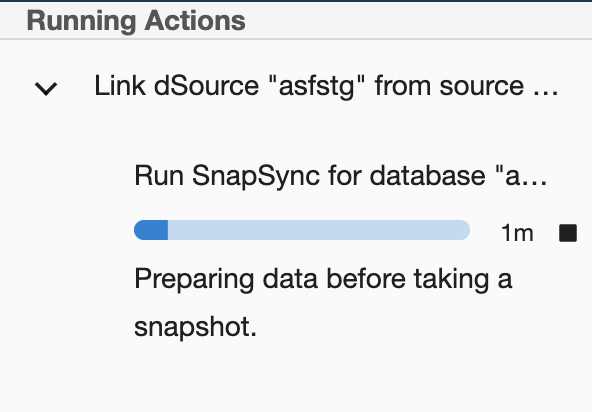
Or you can view the last running jobs by selecting System –> Events Viewer

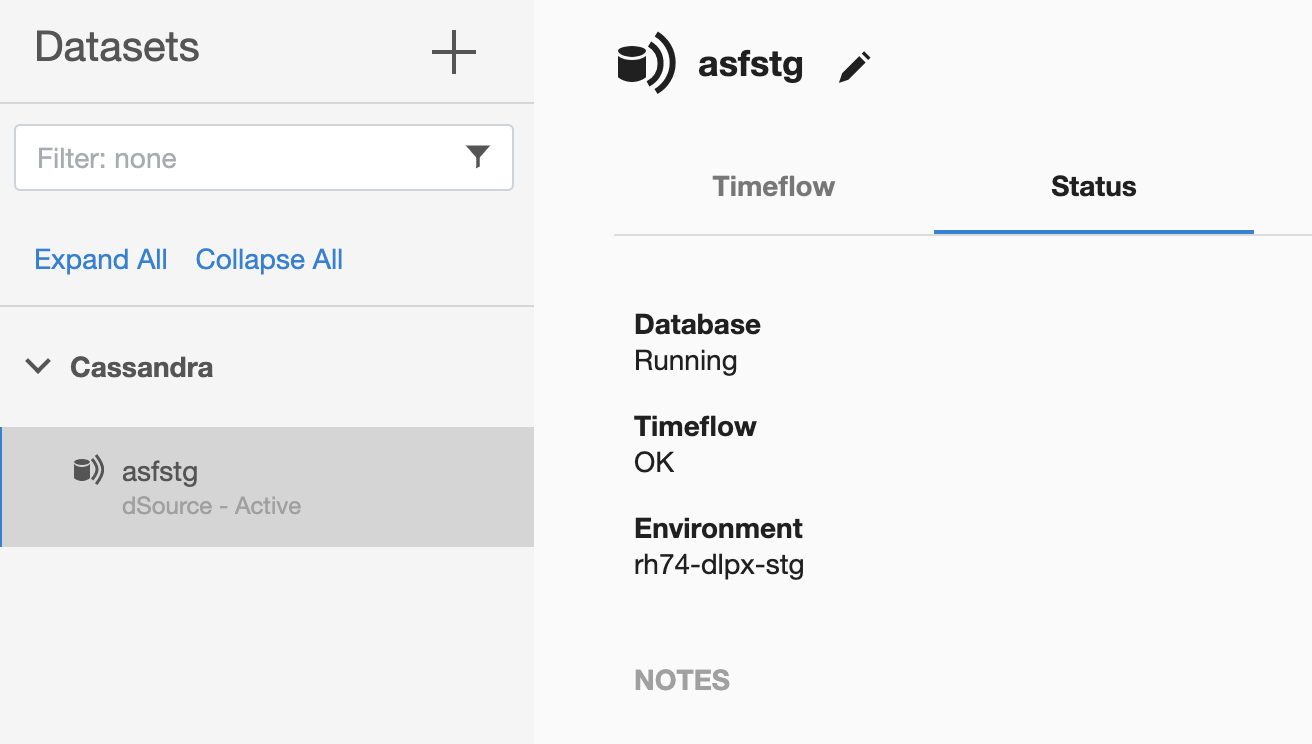
Once the jobs have completed successfully, the files icon will change to a dSource icon on the Environments –> Databases screen, and the dSource will be added to the list of Datasets under its assigned group.