DataStax VDB
Create DataStax VDB
- Login to the Delphix Management application.
- Click Manage.
- Select Datasets.
- Select a dSource.
- Select a snapshot from which you want to provision.
- Click Provision VDB icon to open Provision VDB wizard.

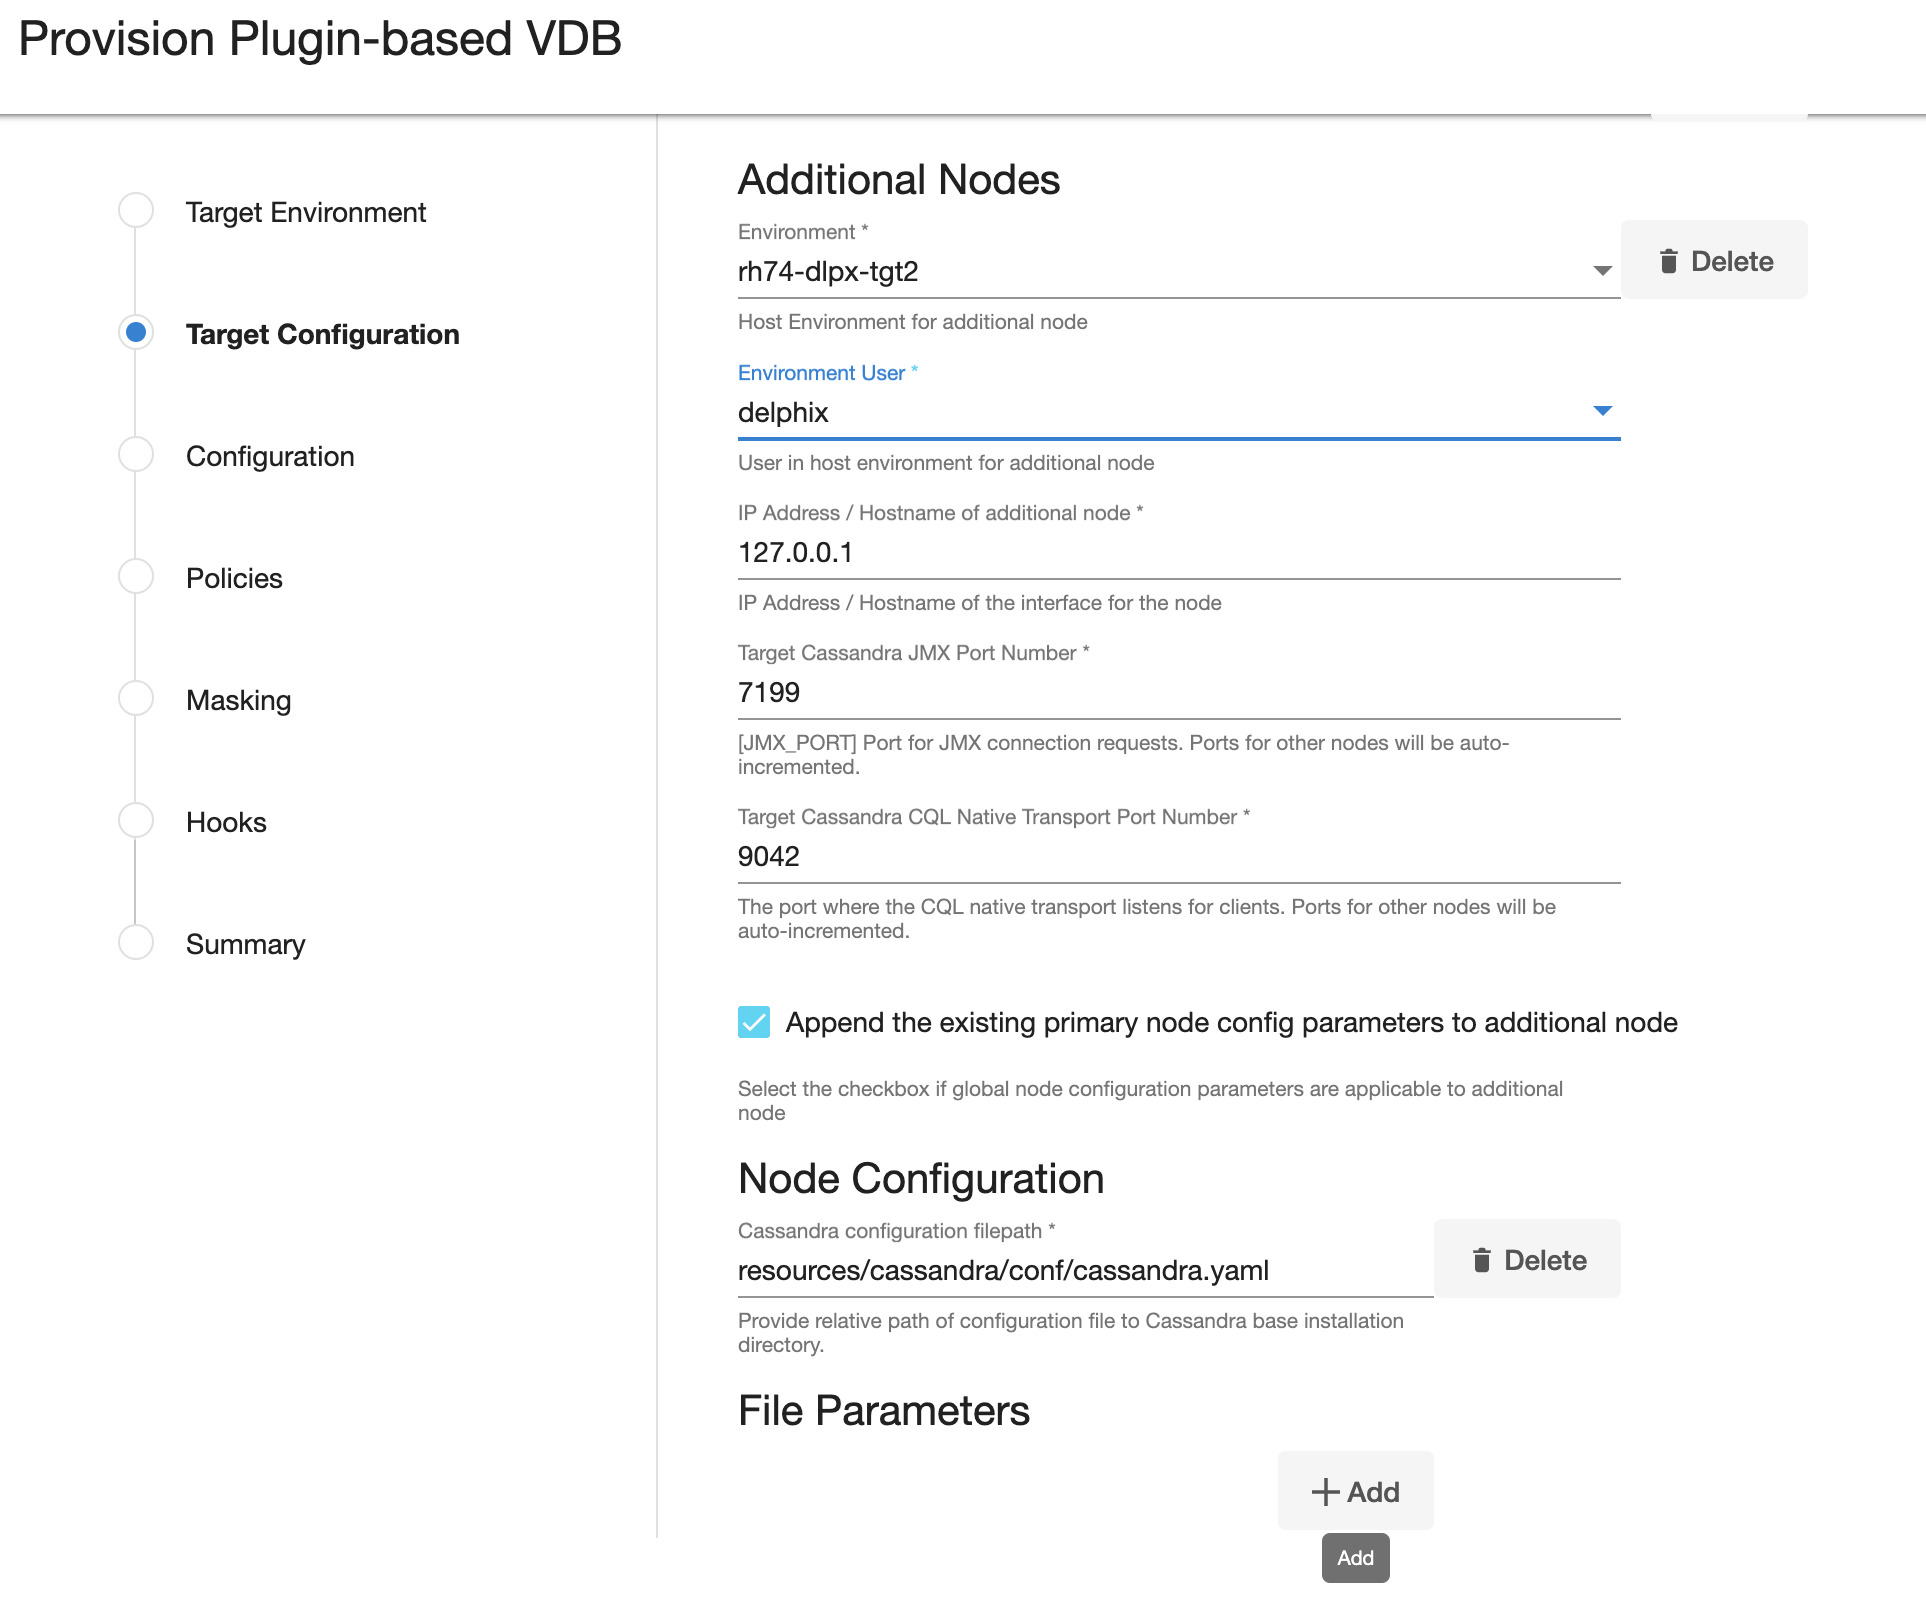
- Select a target environment from the left pane.
- Select an Installation to use from the dropdown list of available Cassandra repositories on that environment.
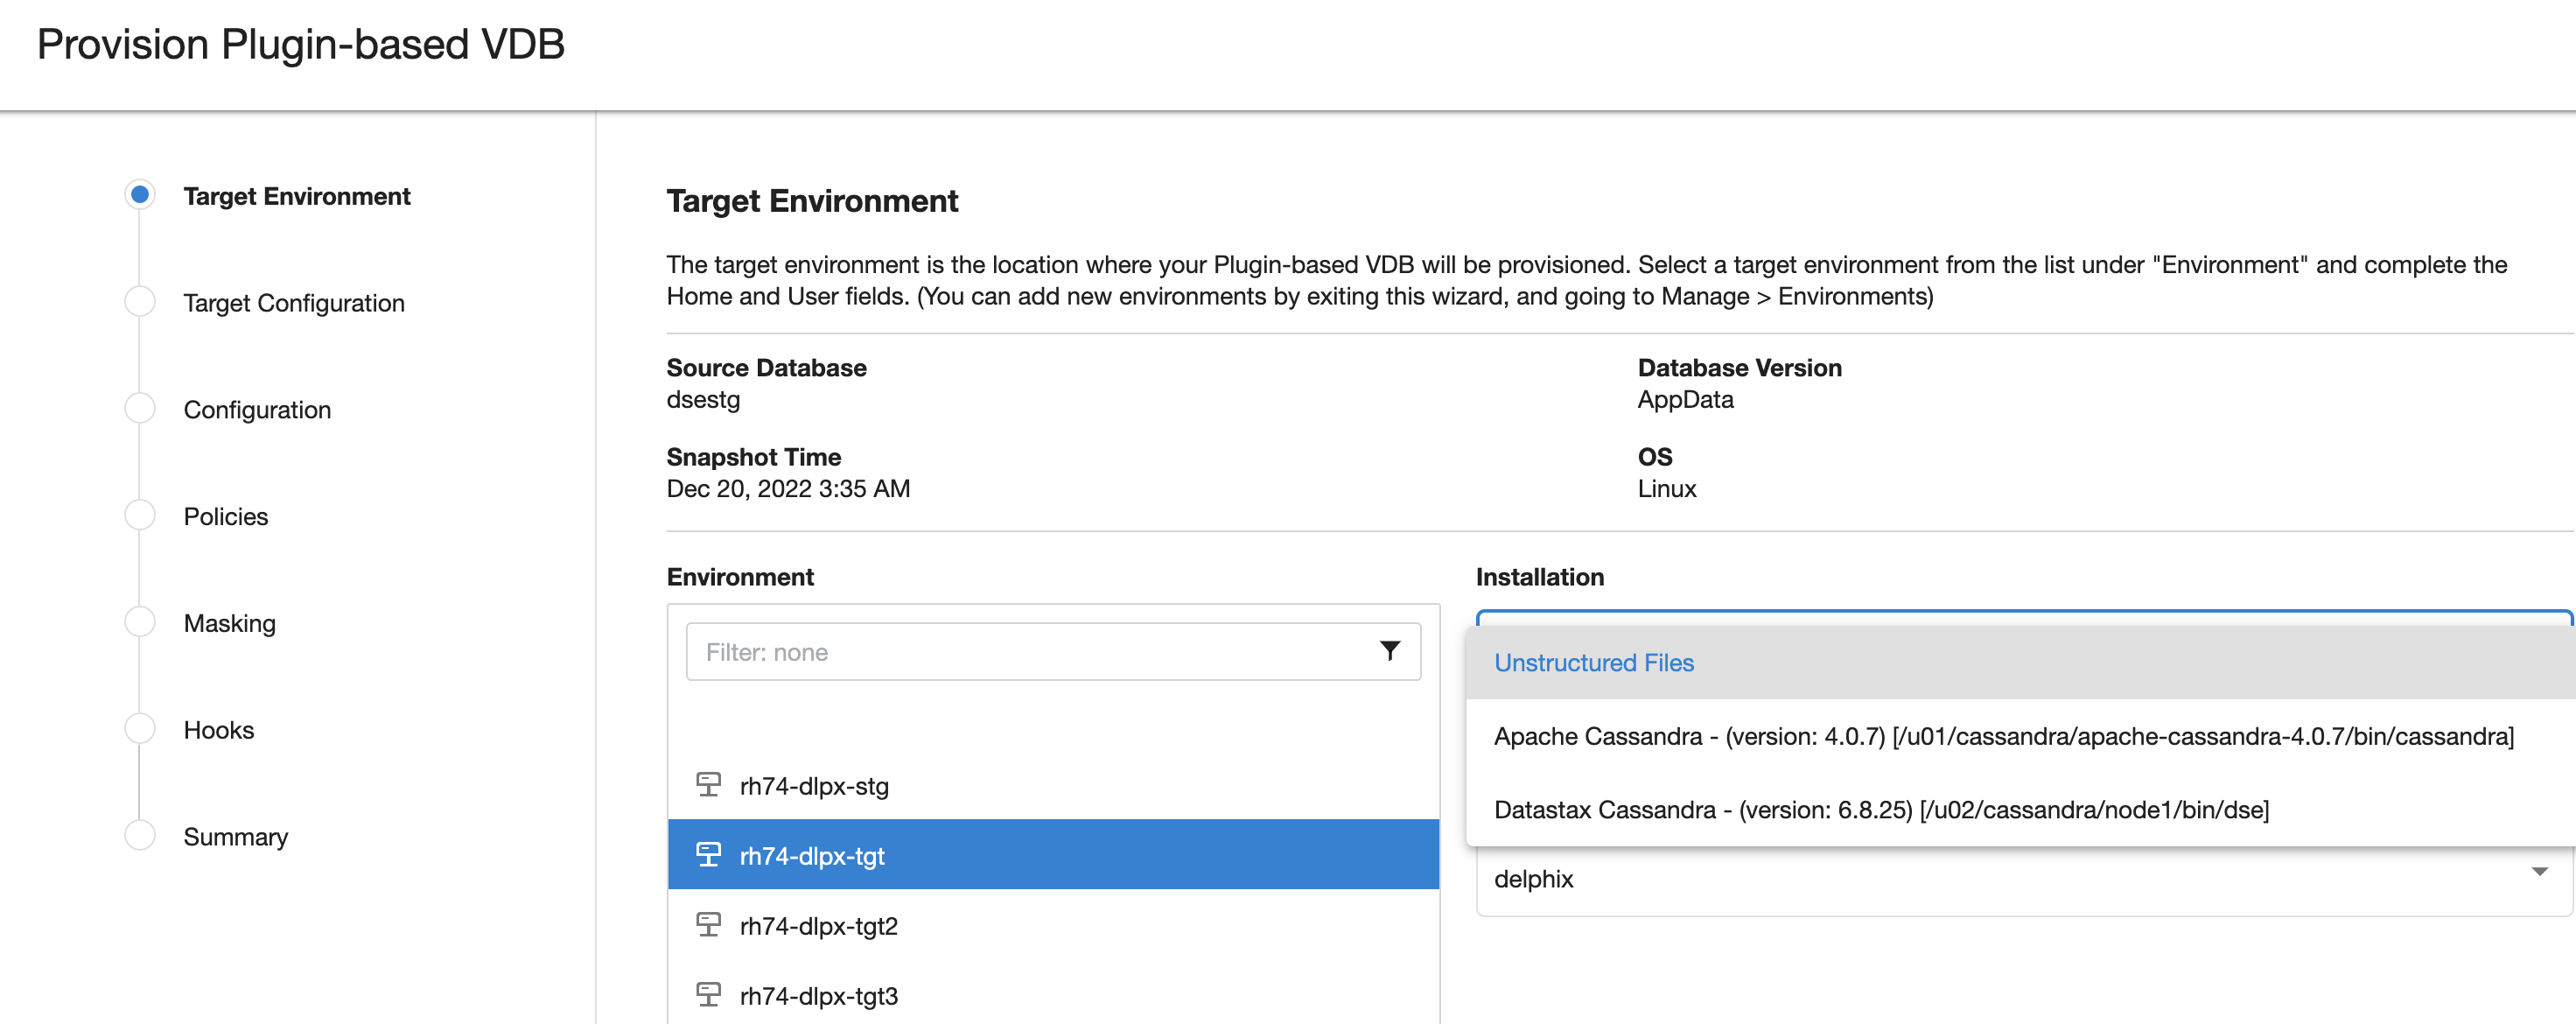
- Select the Environment User.
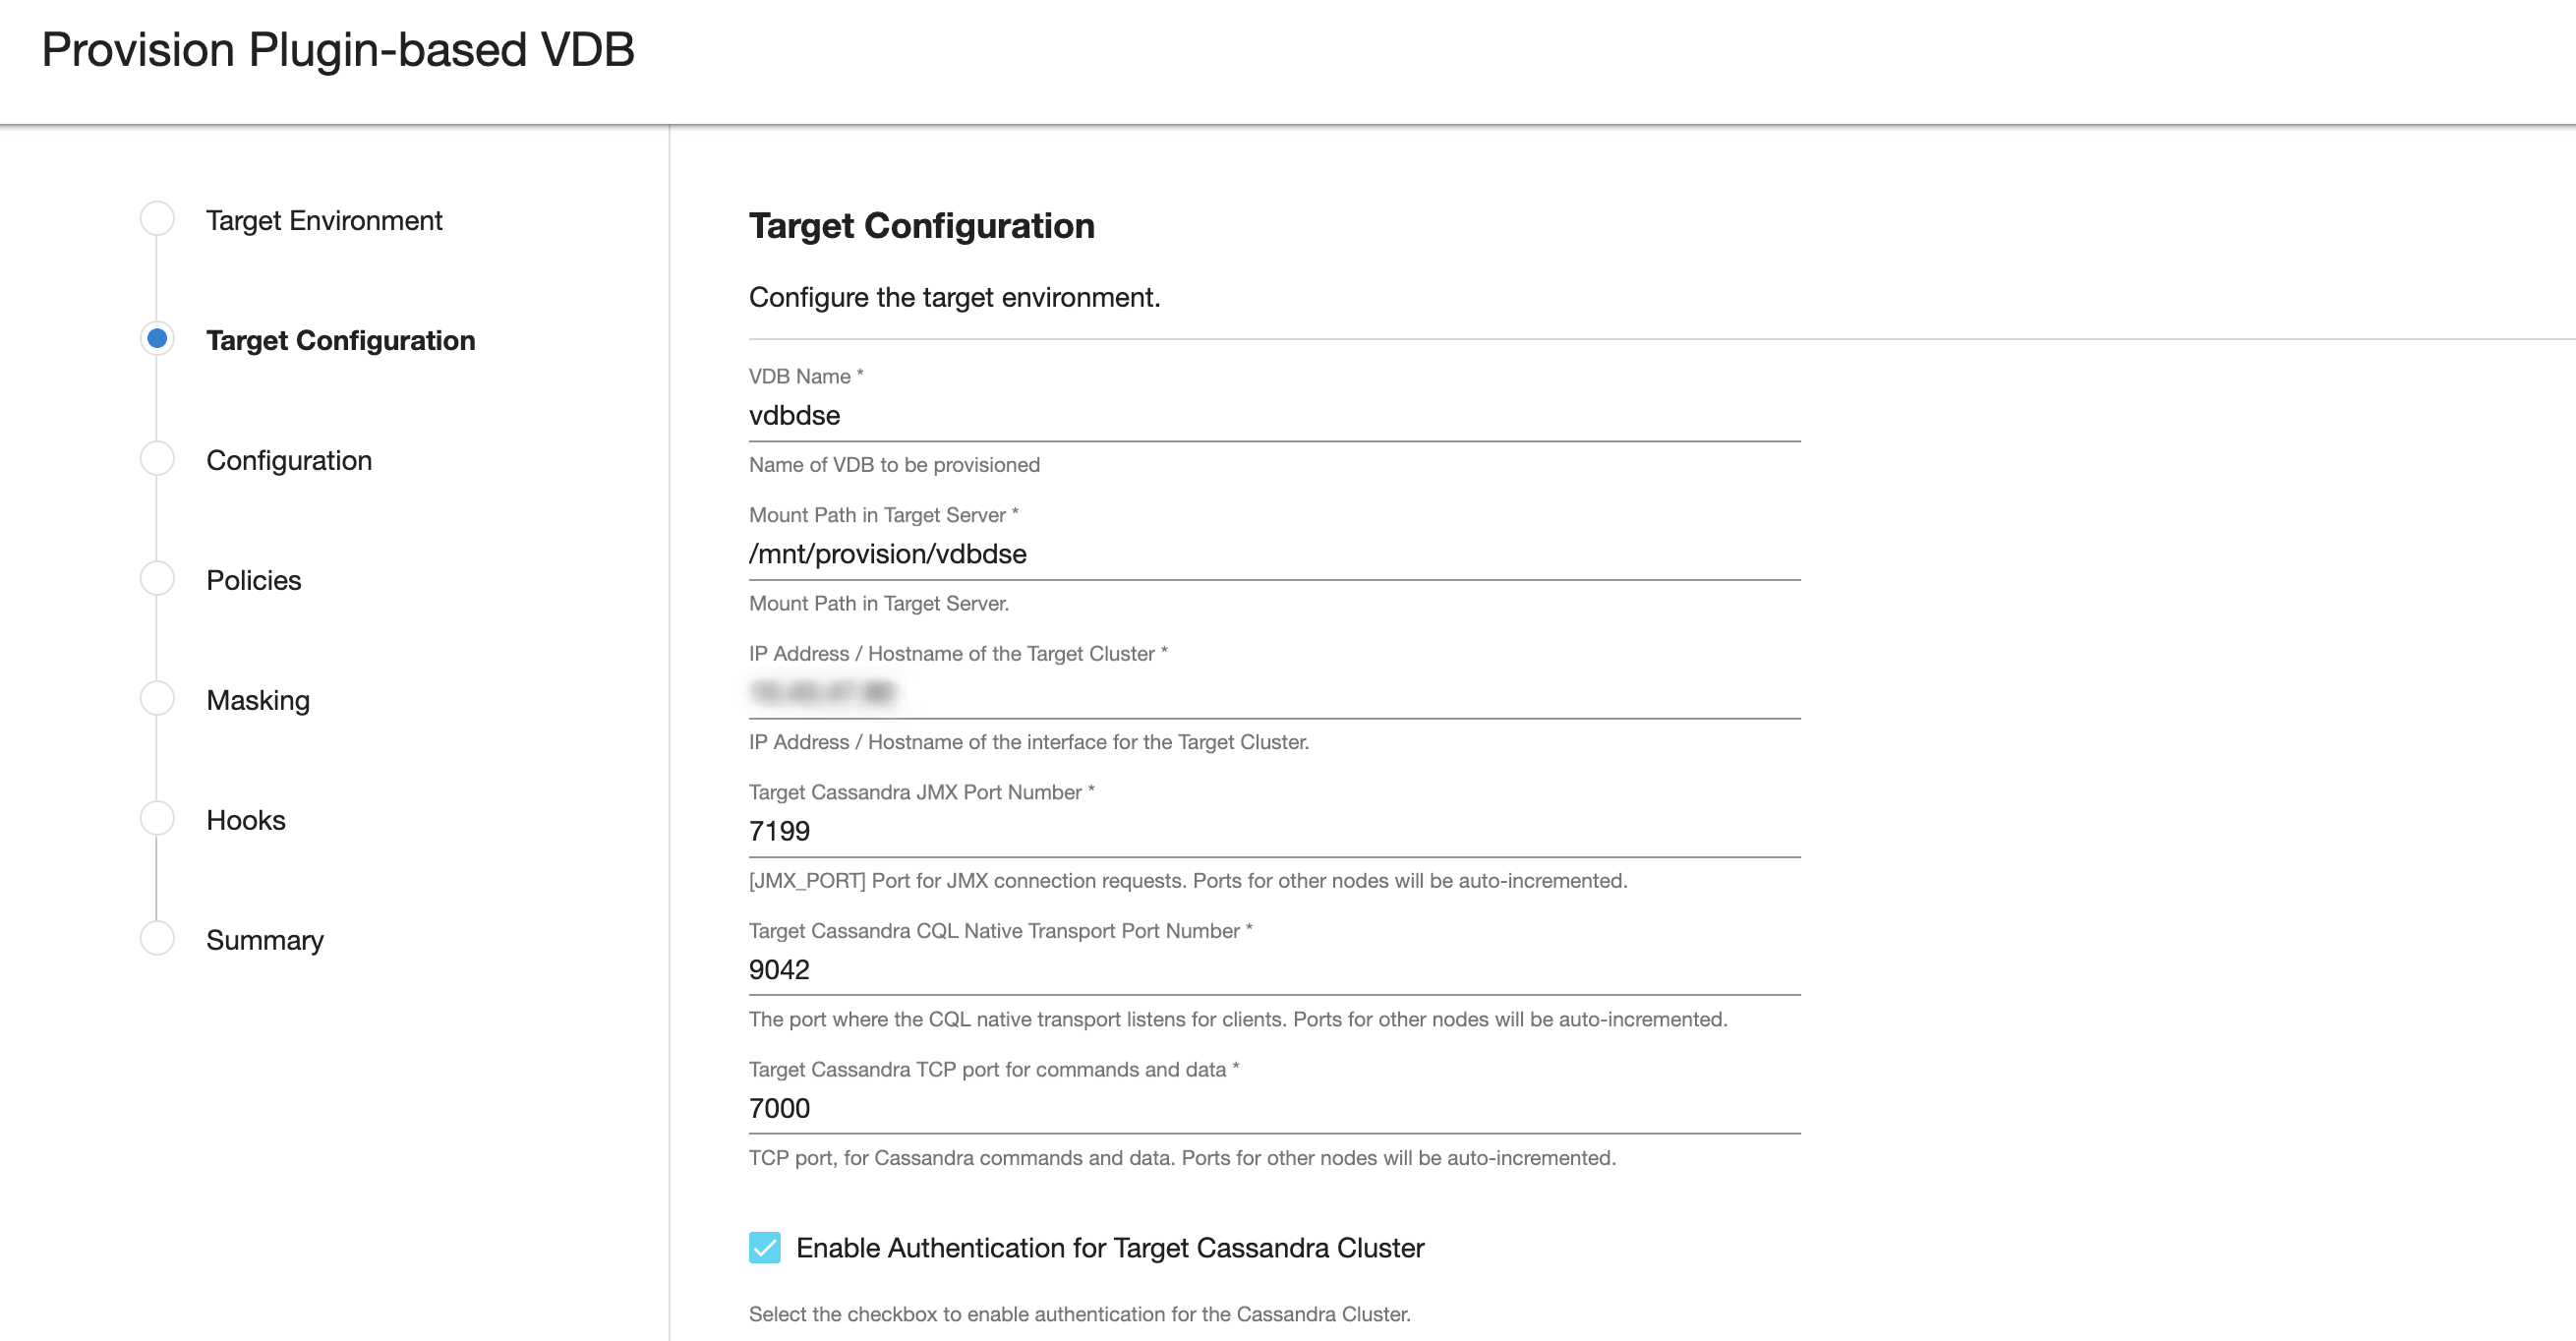
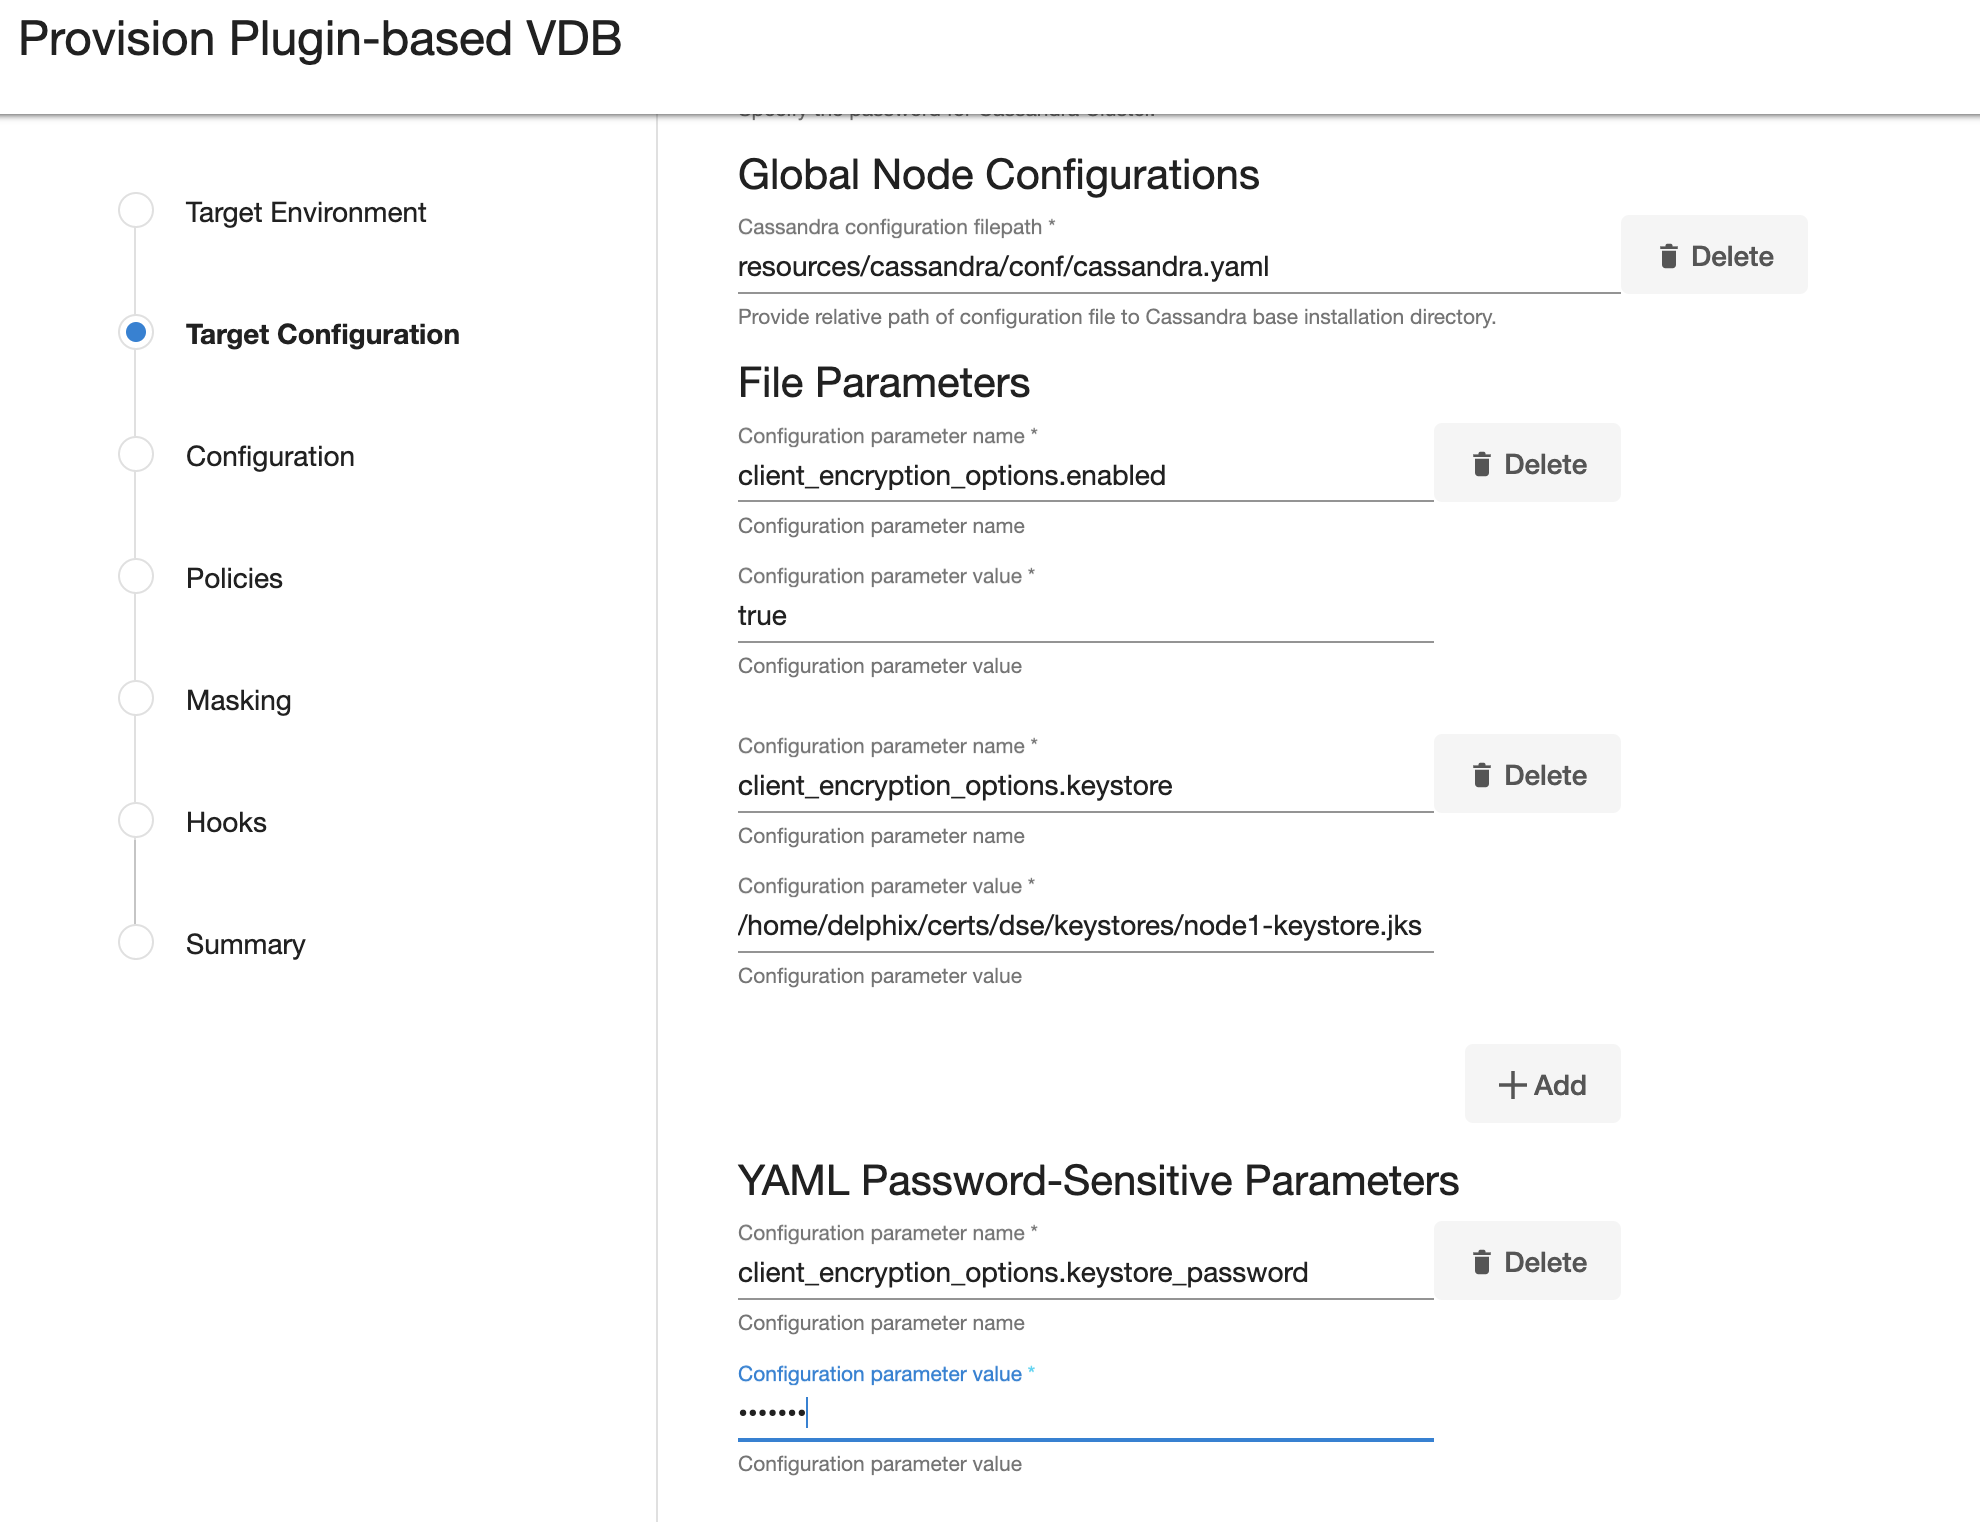
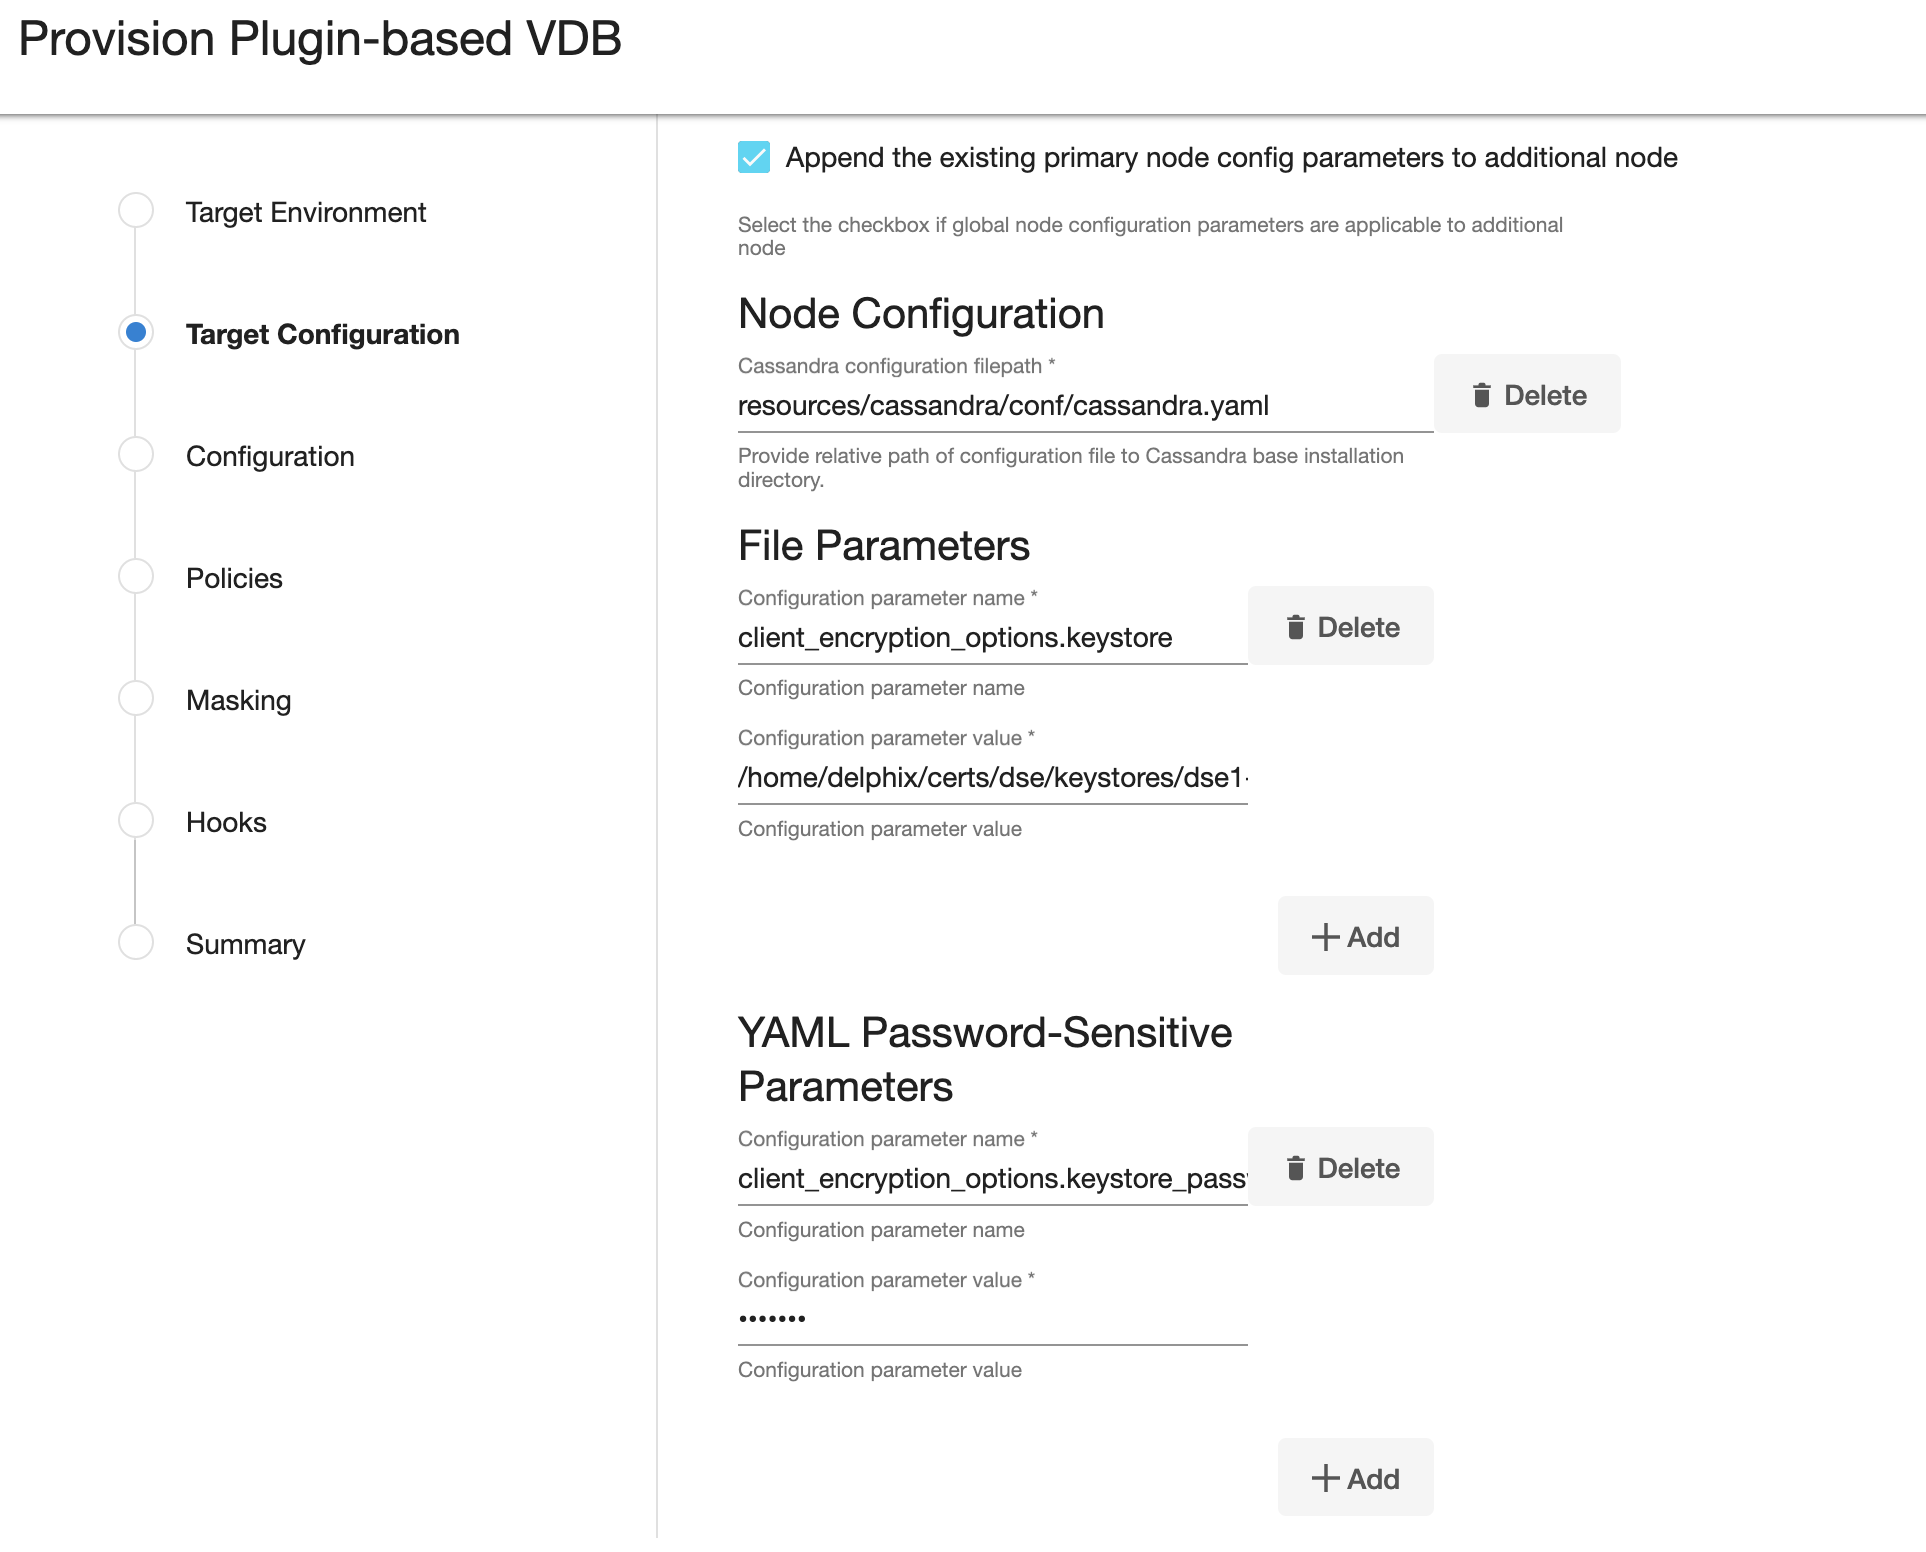
- Enter VDB specific parameters for creating virtual copy of Cassandra target cluster on target host.
- Select a Target Group for the VDB.
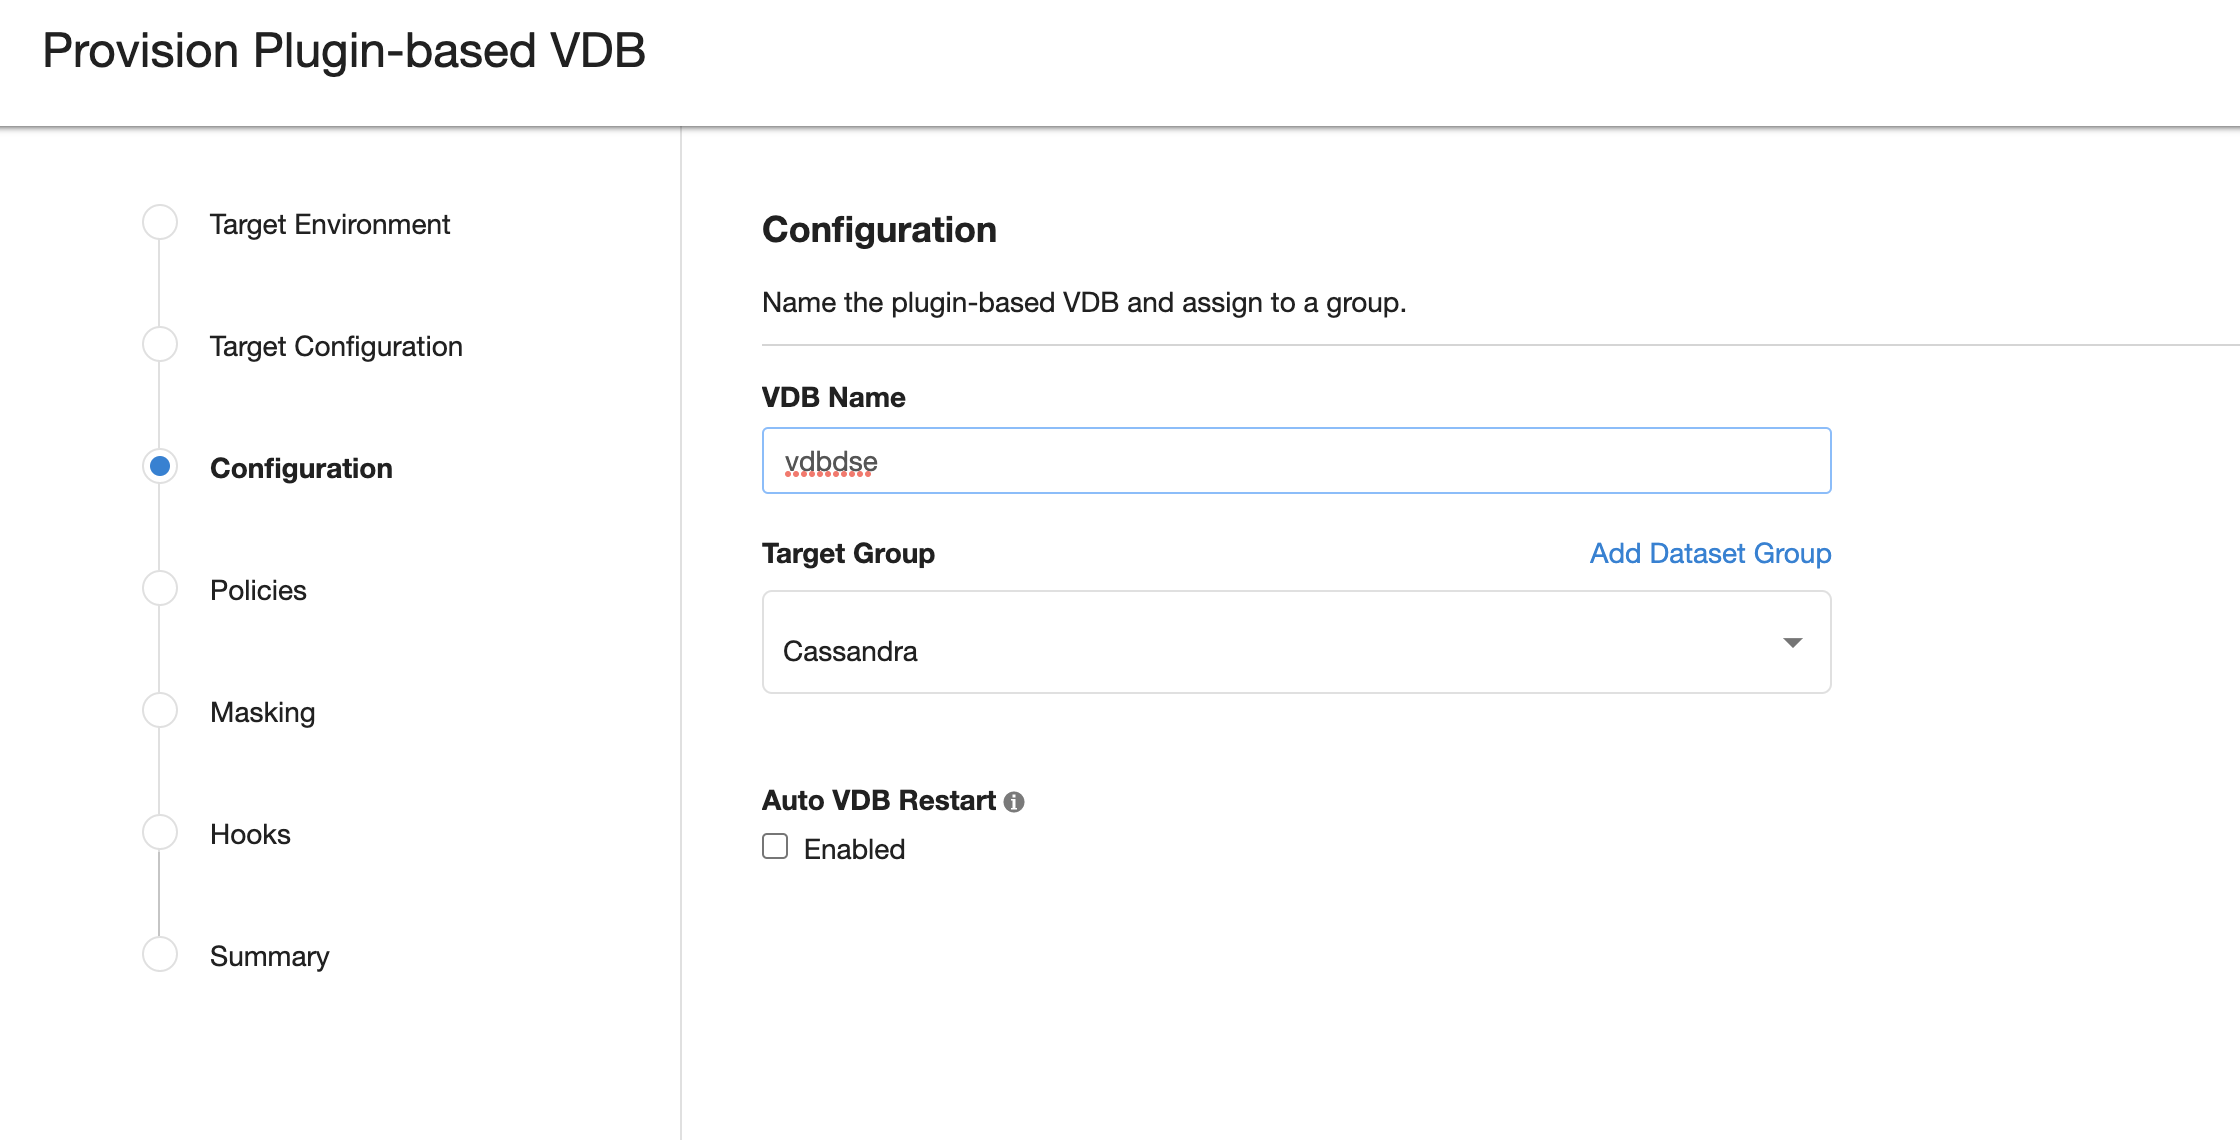
- Click the
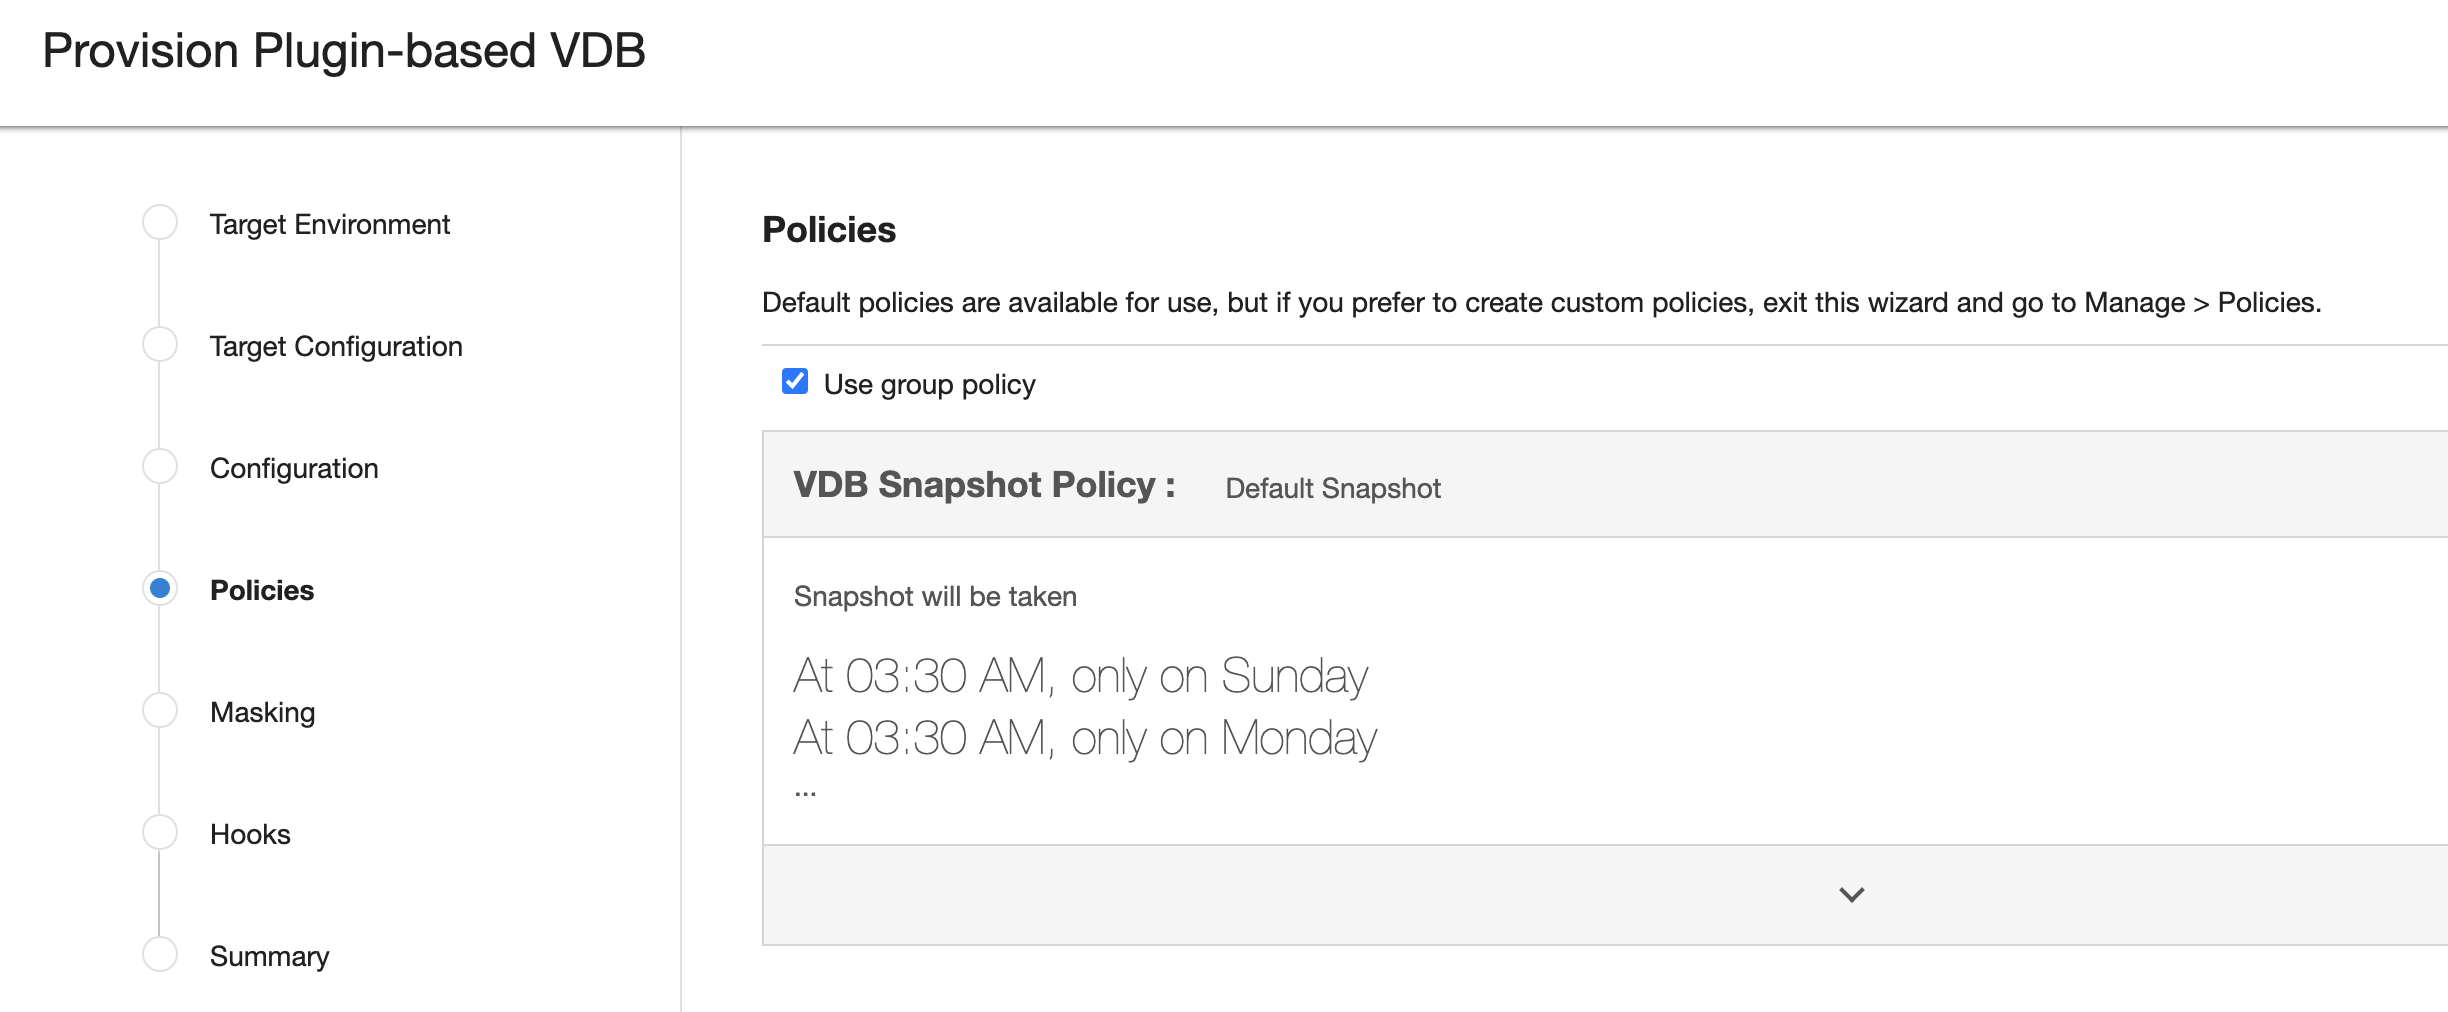
Add Dataset Groupicon to add a new group, if necessary. - Select a Snapshot Policy for the VDB.
- Click Next.
- Select the
maskingoption if you wish to mask this VDB.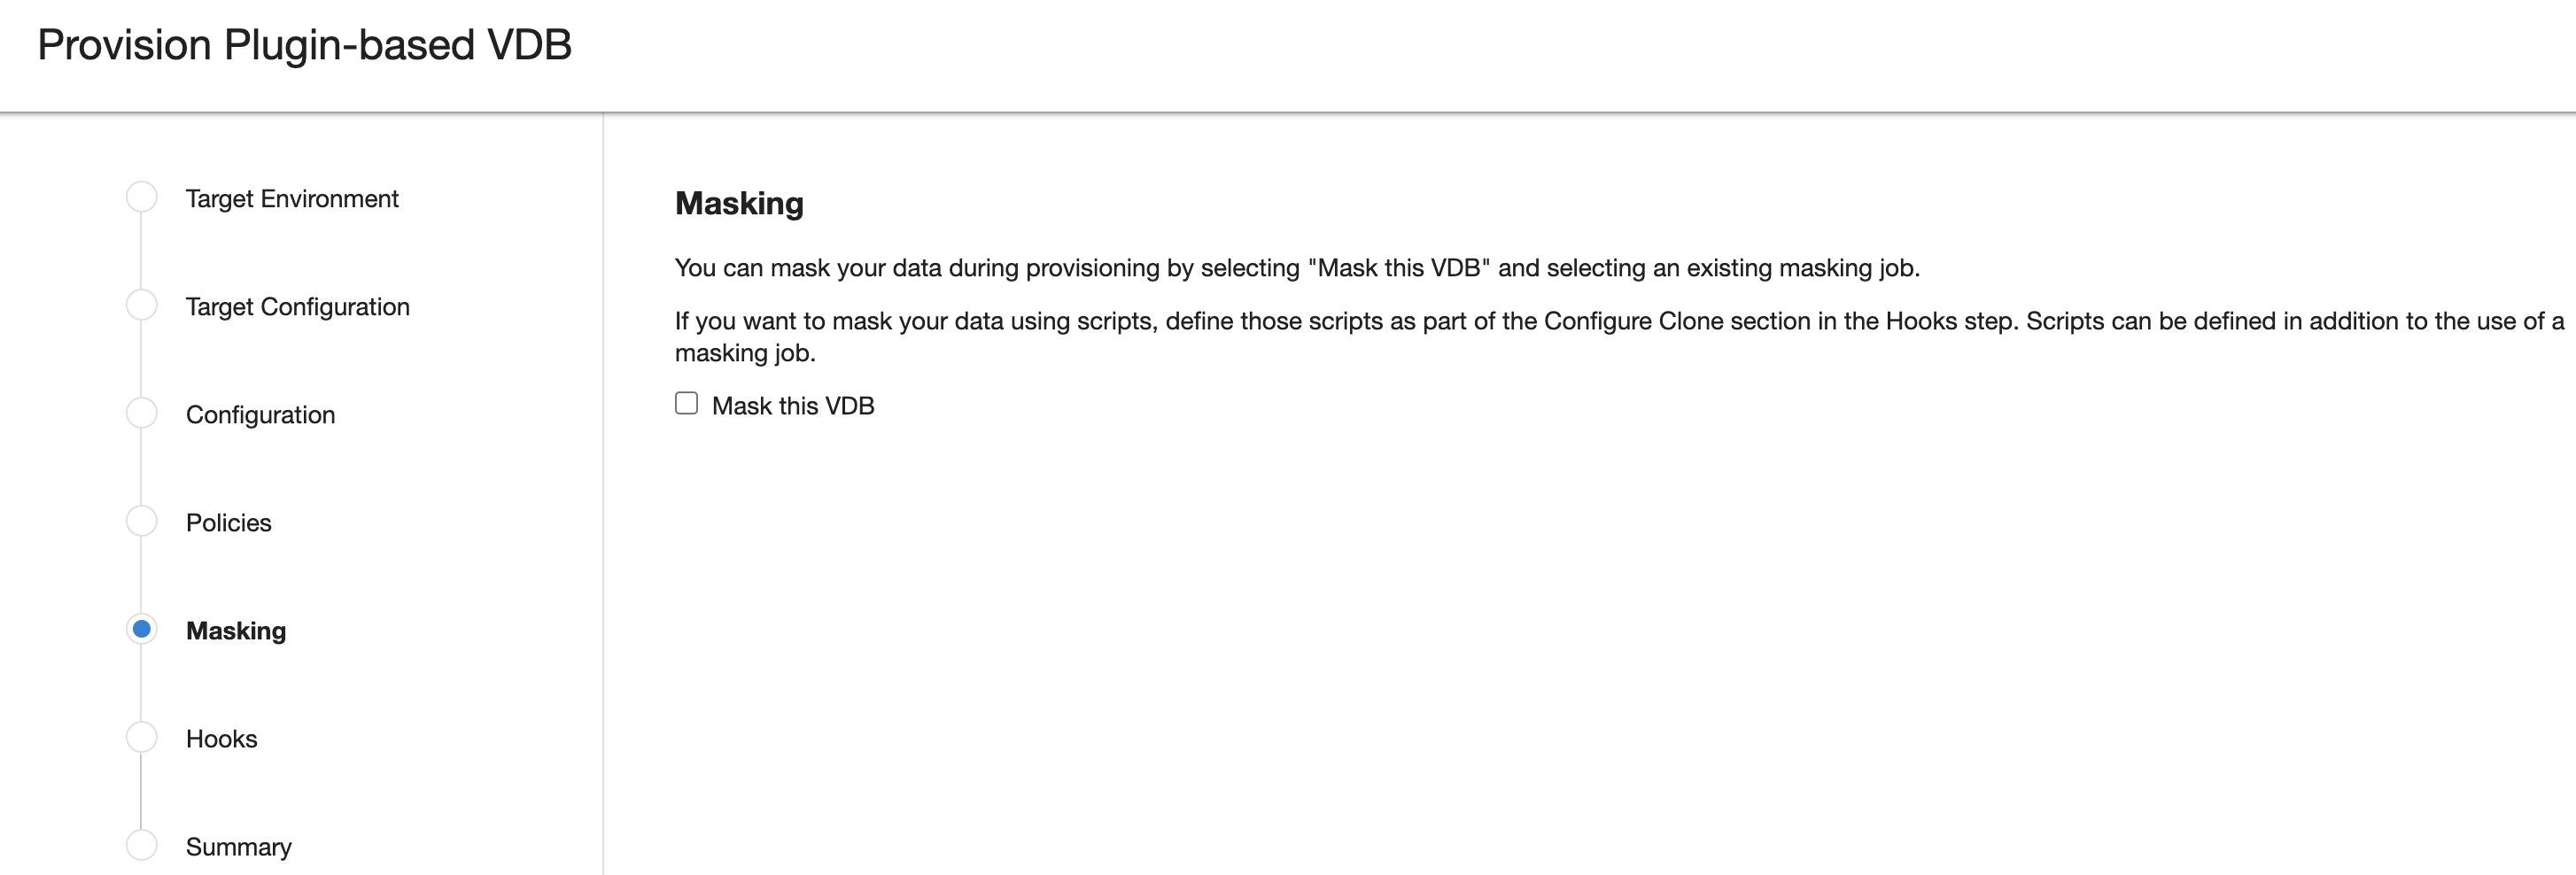
- Click Next.
- Specify any desired hook operations.
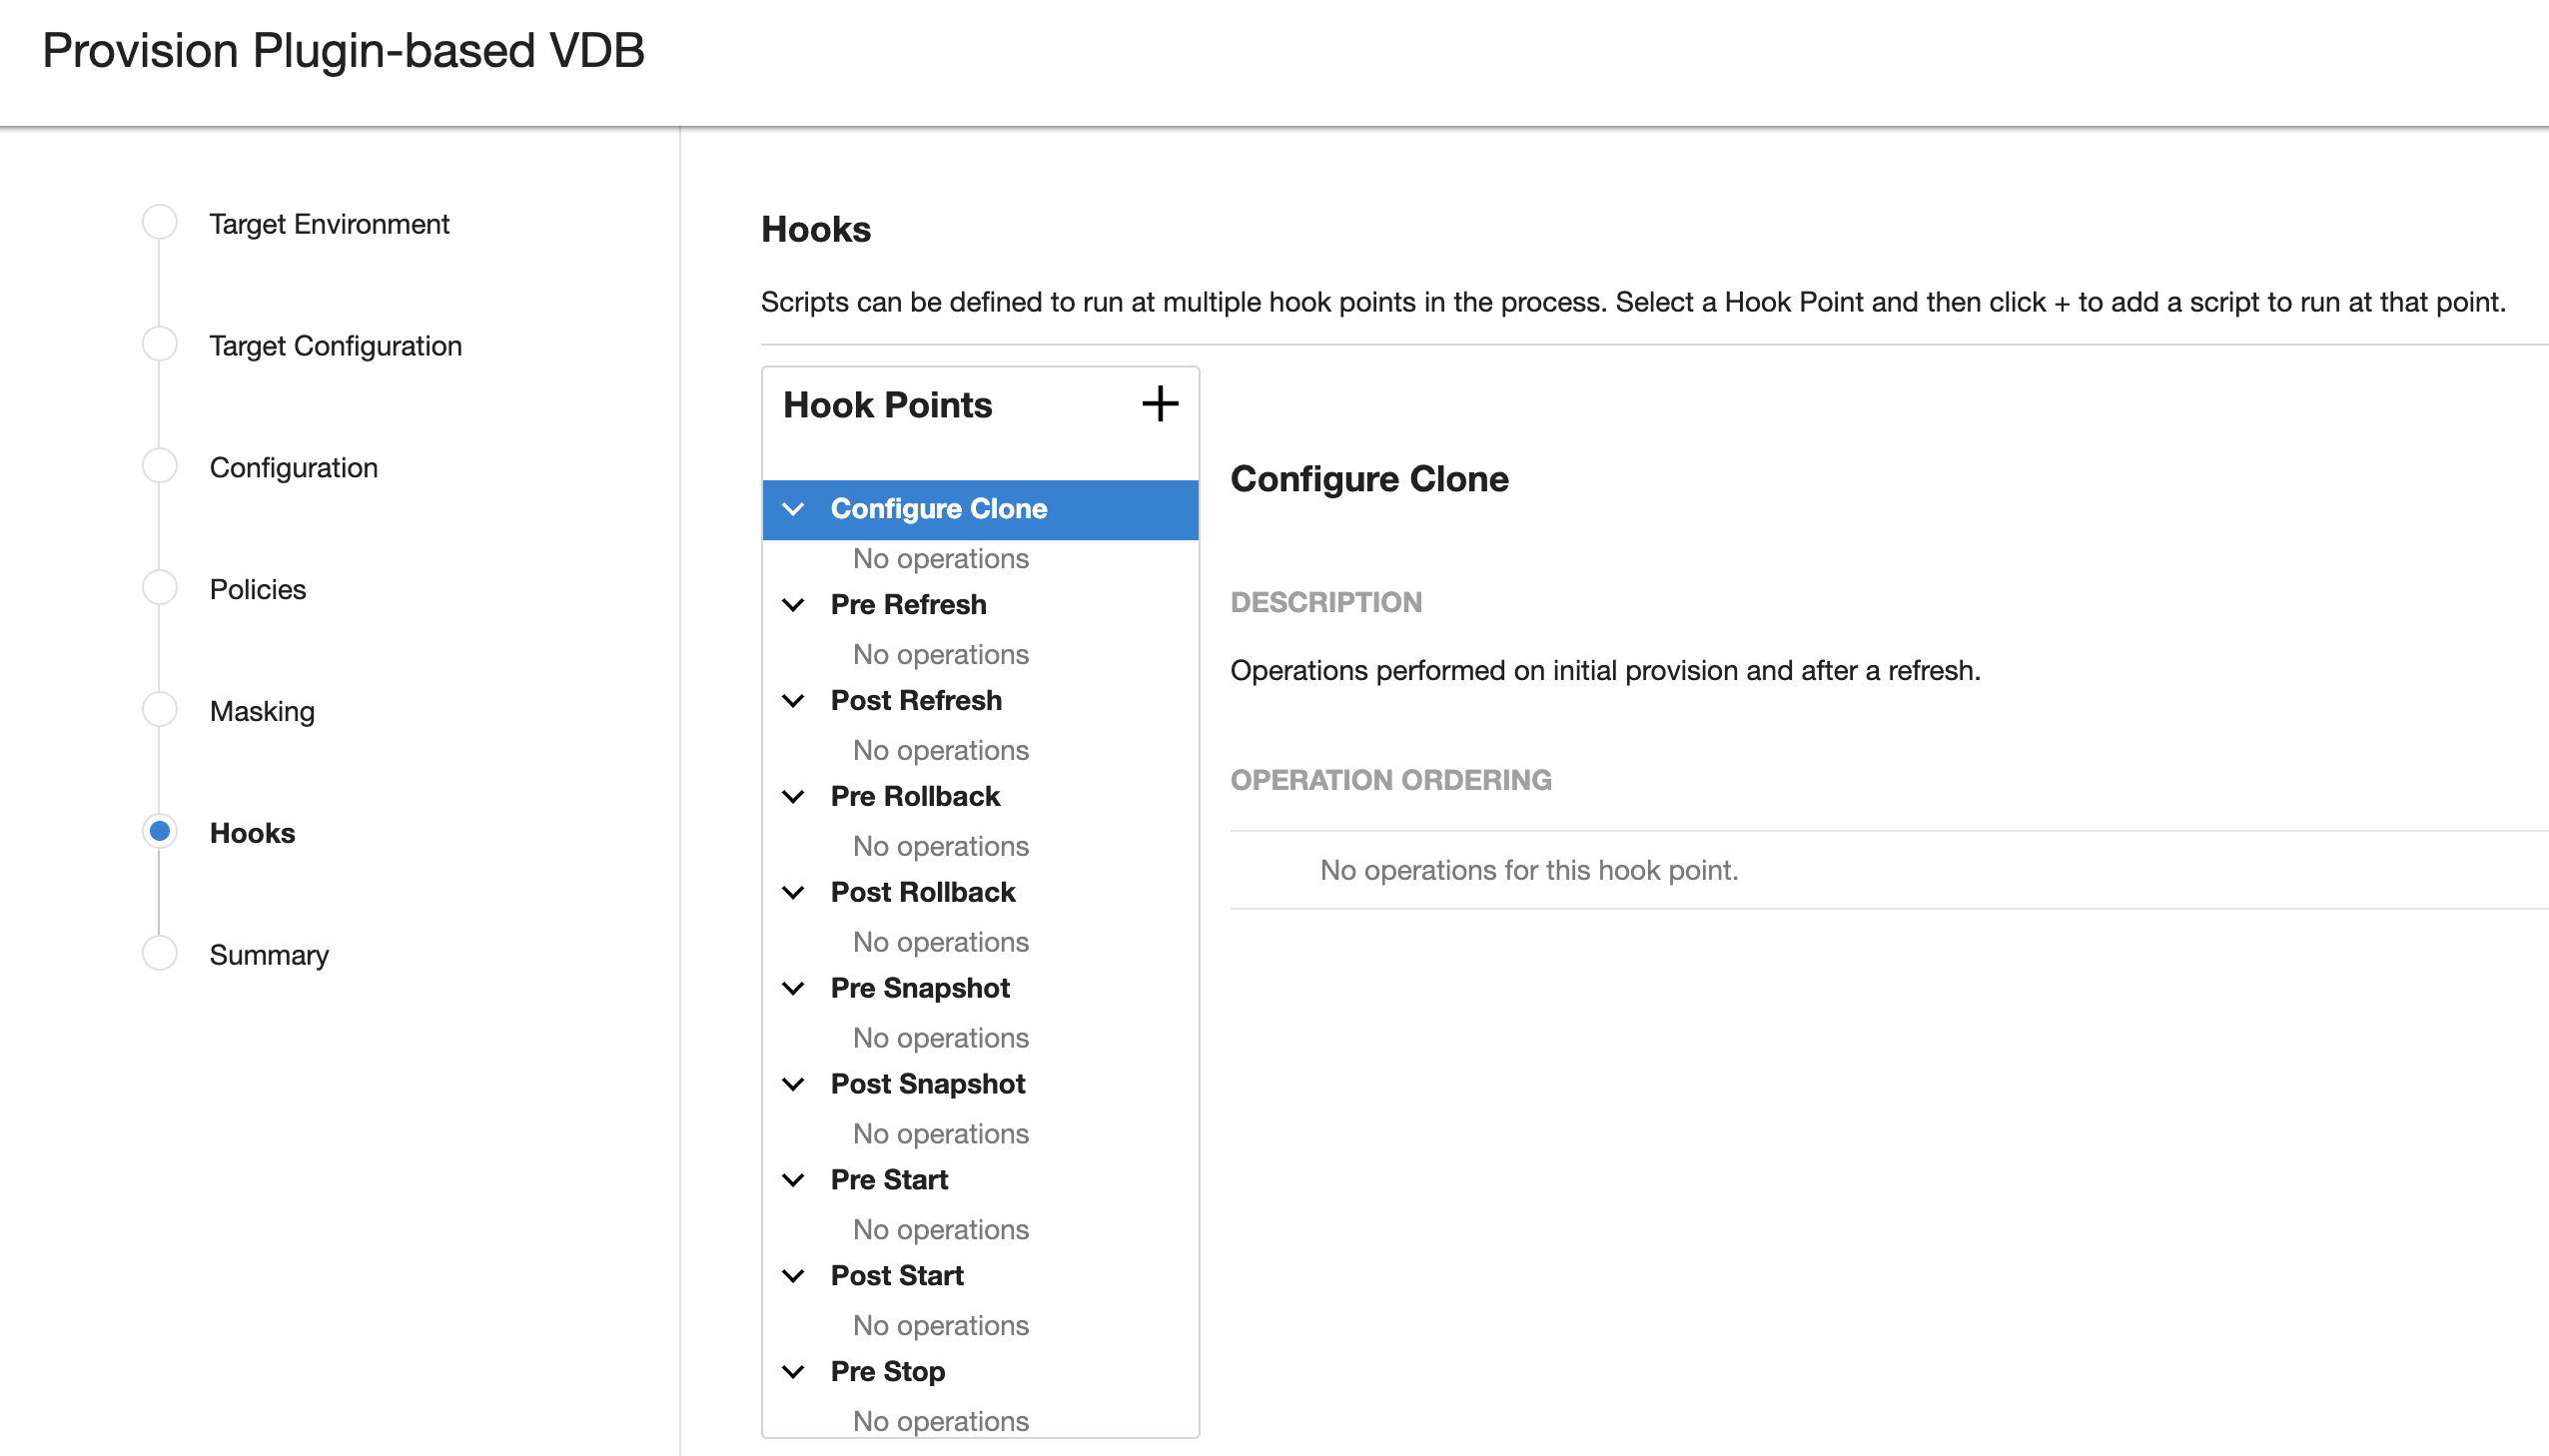
- Click Next.
- Review the Provisioning Configuration and Data Management information.
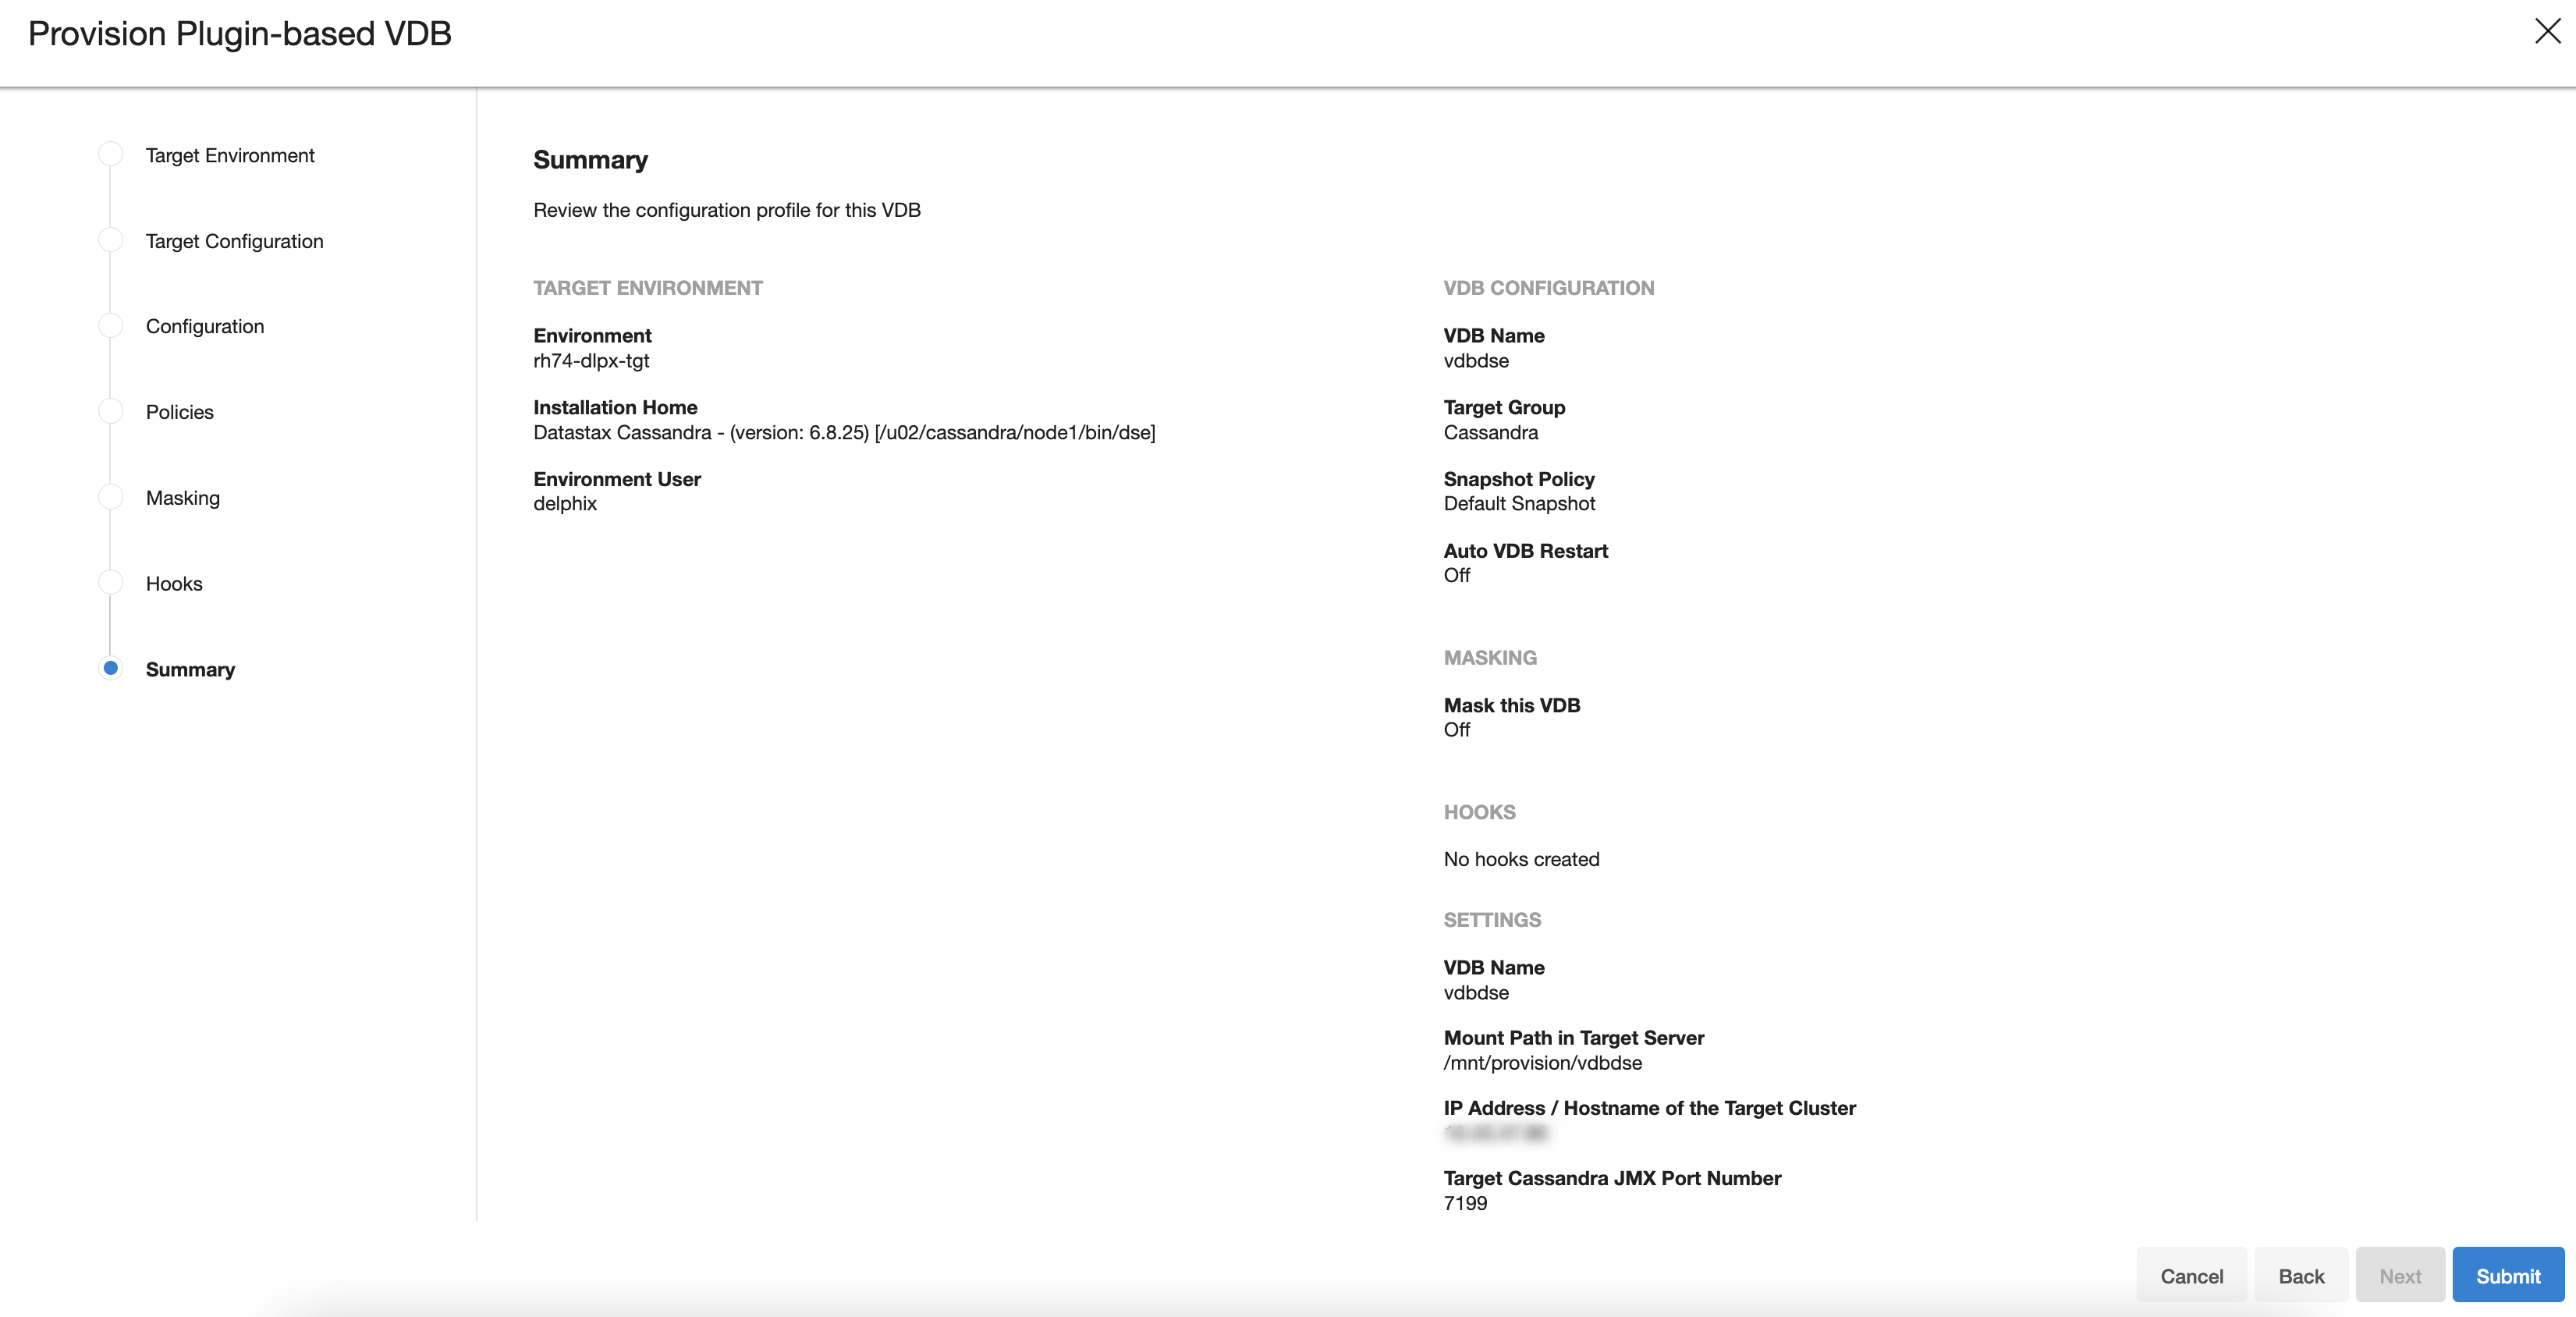
- Click Submit.
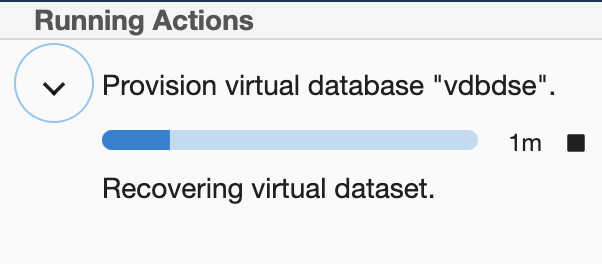
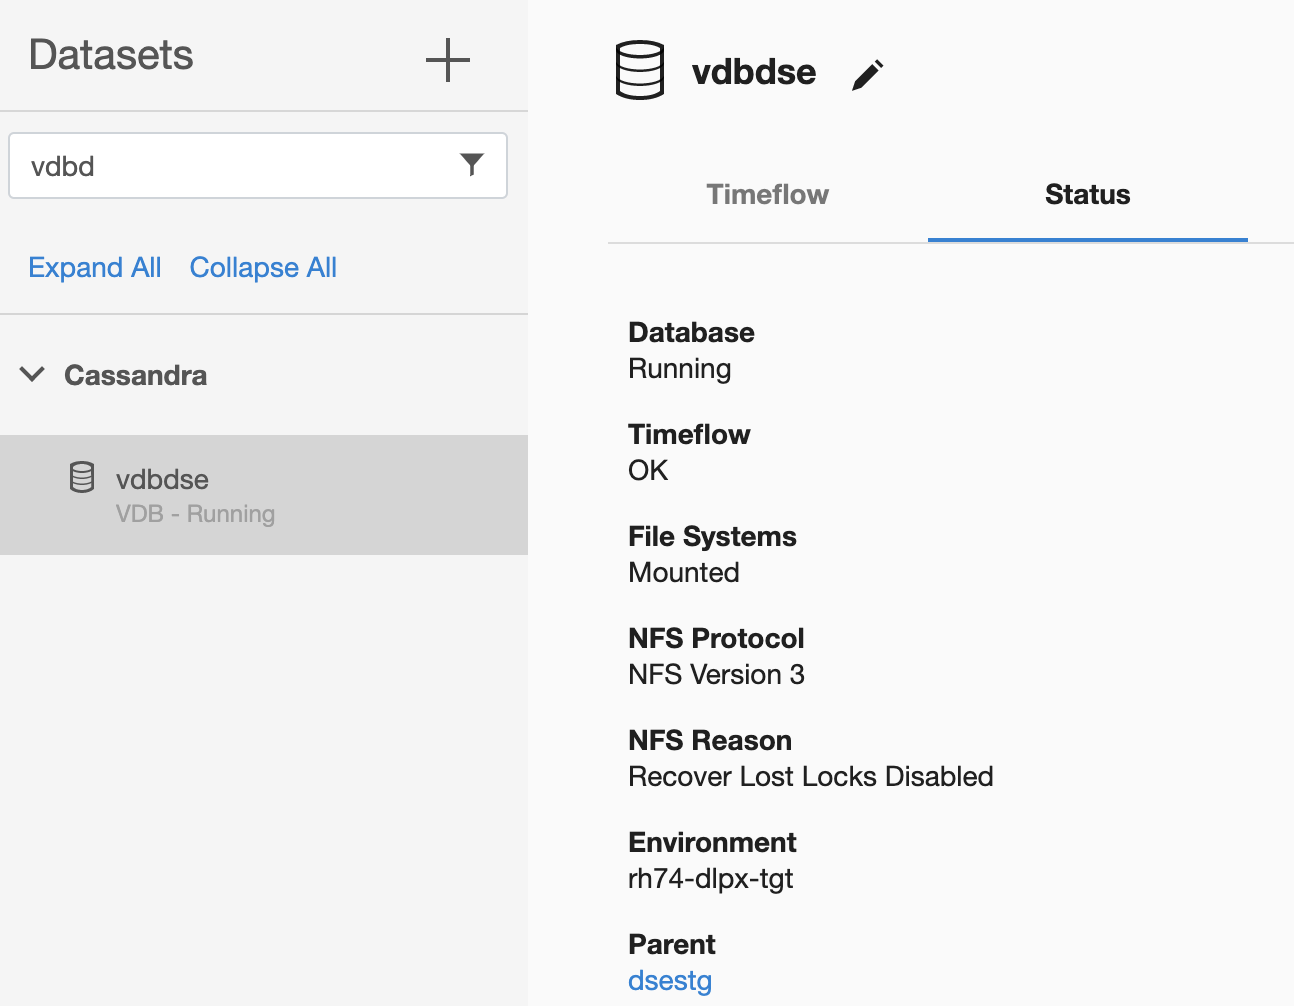
When provisioning starts, you can review the progress of the job in the Databases panel, or in the Job History panel of the Dashboard.
When provisioning is complete, the VDB will be included in the group you designated and listed in the Databases panel.
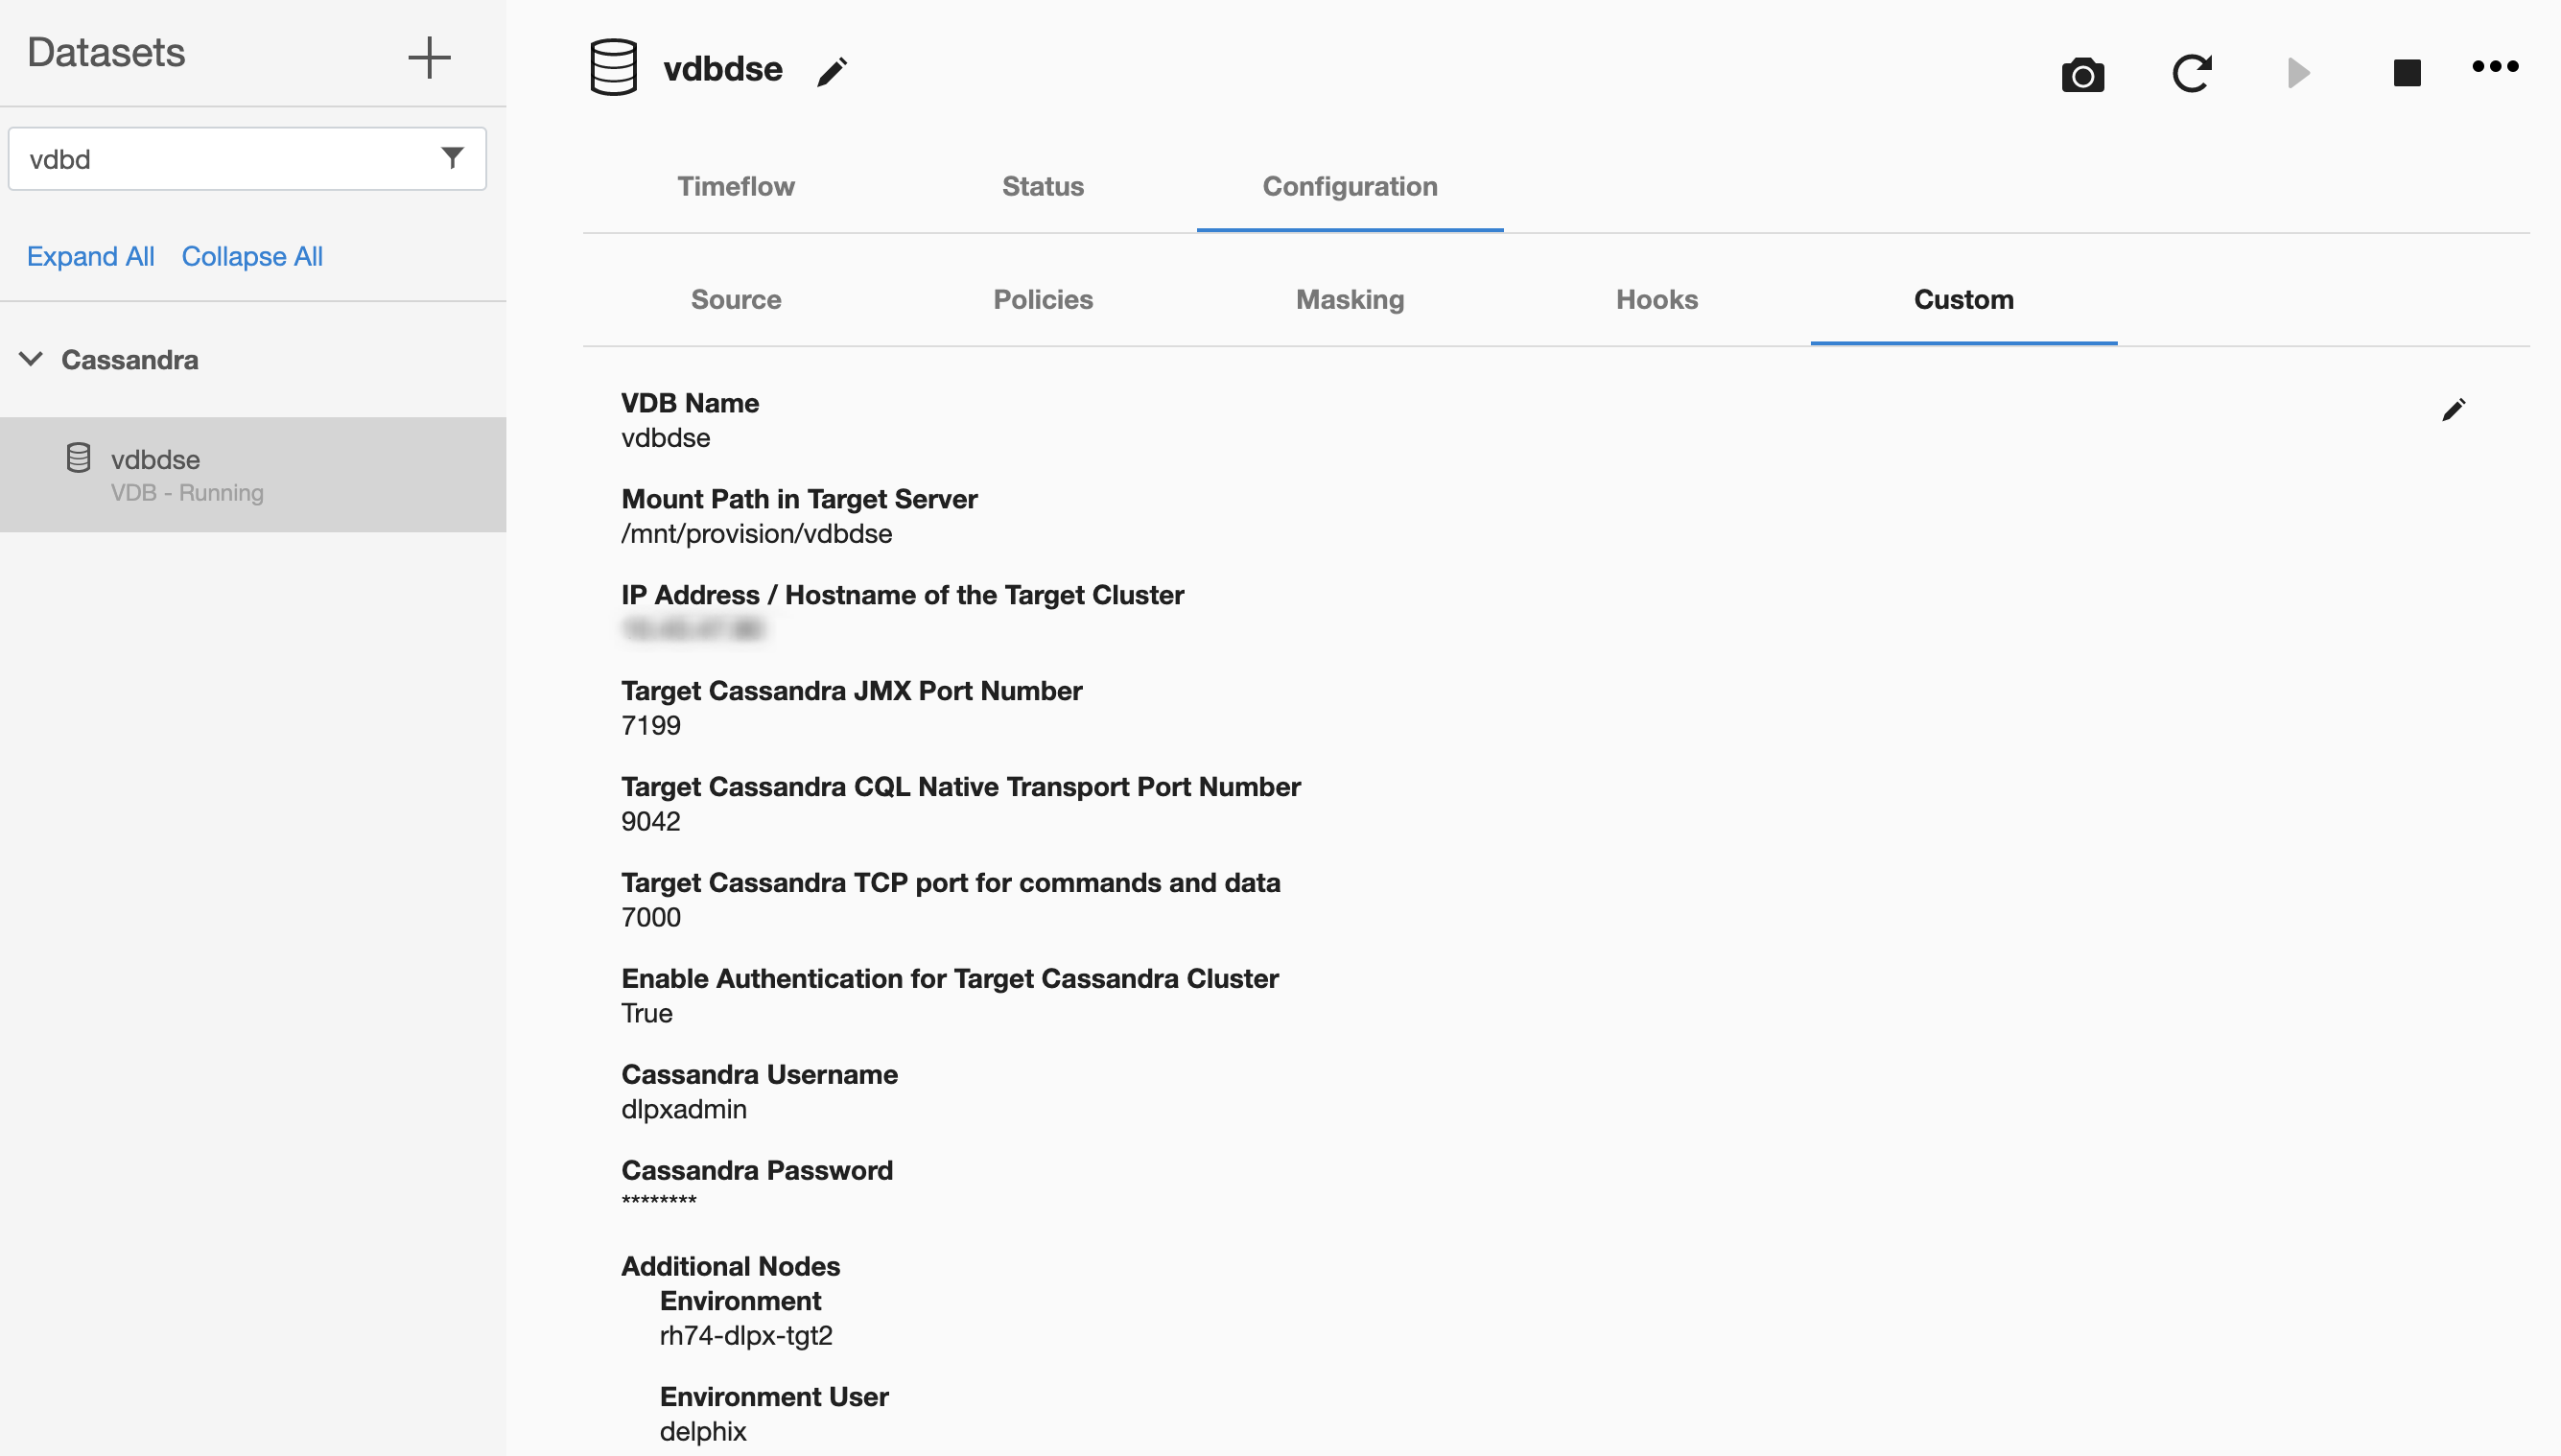
If you select the VDB in the Databases panel and click the Configurations -> Custom section, you can view the details of VDB configuration that was selected during it’s setup.